Recent Blog Posts


All Recent Posts

“OUCH!” How to Express Pain in Korean | Korean FAQ

Here are the most common ways how to say "it hurts" in Korean, and how to use each of them. This was requested by a few of my subscribers and took a while to put together, as there are so many different ways. I only included the most essential ways in this video, starting with the most common ones you should know.

This video teaches the words 아프다, 따갑다, 쑤시다, 쓰리다, 두통, 치통, 복통, 맵다, 욱신거리다, 저리다, 쥐(가) 나다, 얼얼하다, 뻐근하다, and how to use each of them.

The post “OUCH!” How to Express Pain in Korean | Korean FAQ appeared first on Learn Korean with GO! Billy Korean.
www.GoBillyKorean.com

 Learn Korean with GO! Billy Korean

FOLLOW ME HERE:

Google+   
 

SUBSCRIBE BY EMAIL:


Geumgoksa Temple – 금곡사 (Gangjin, Jeollanam-do)

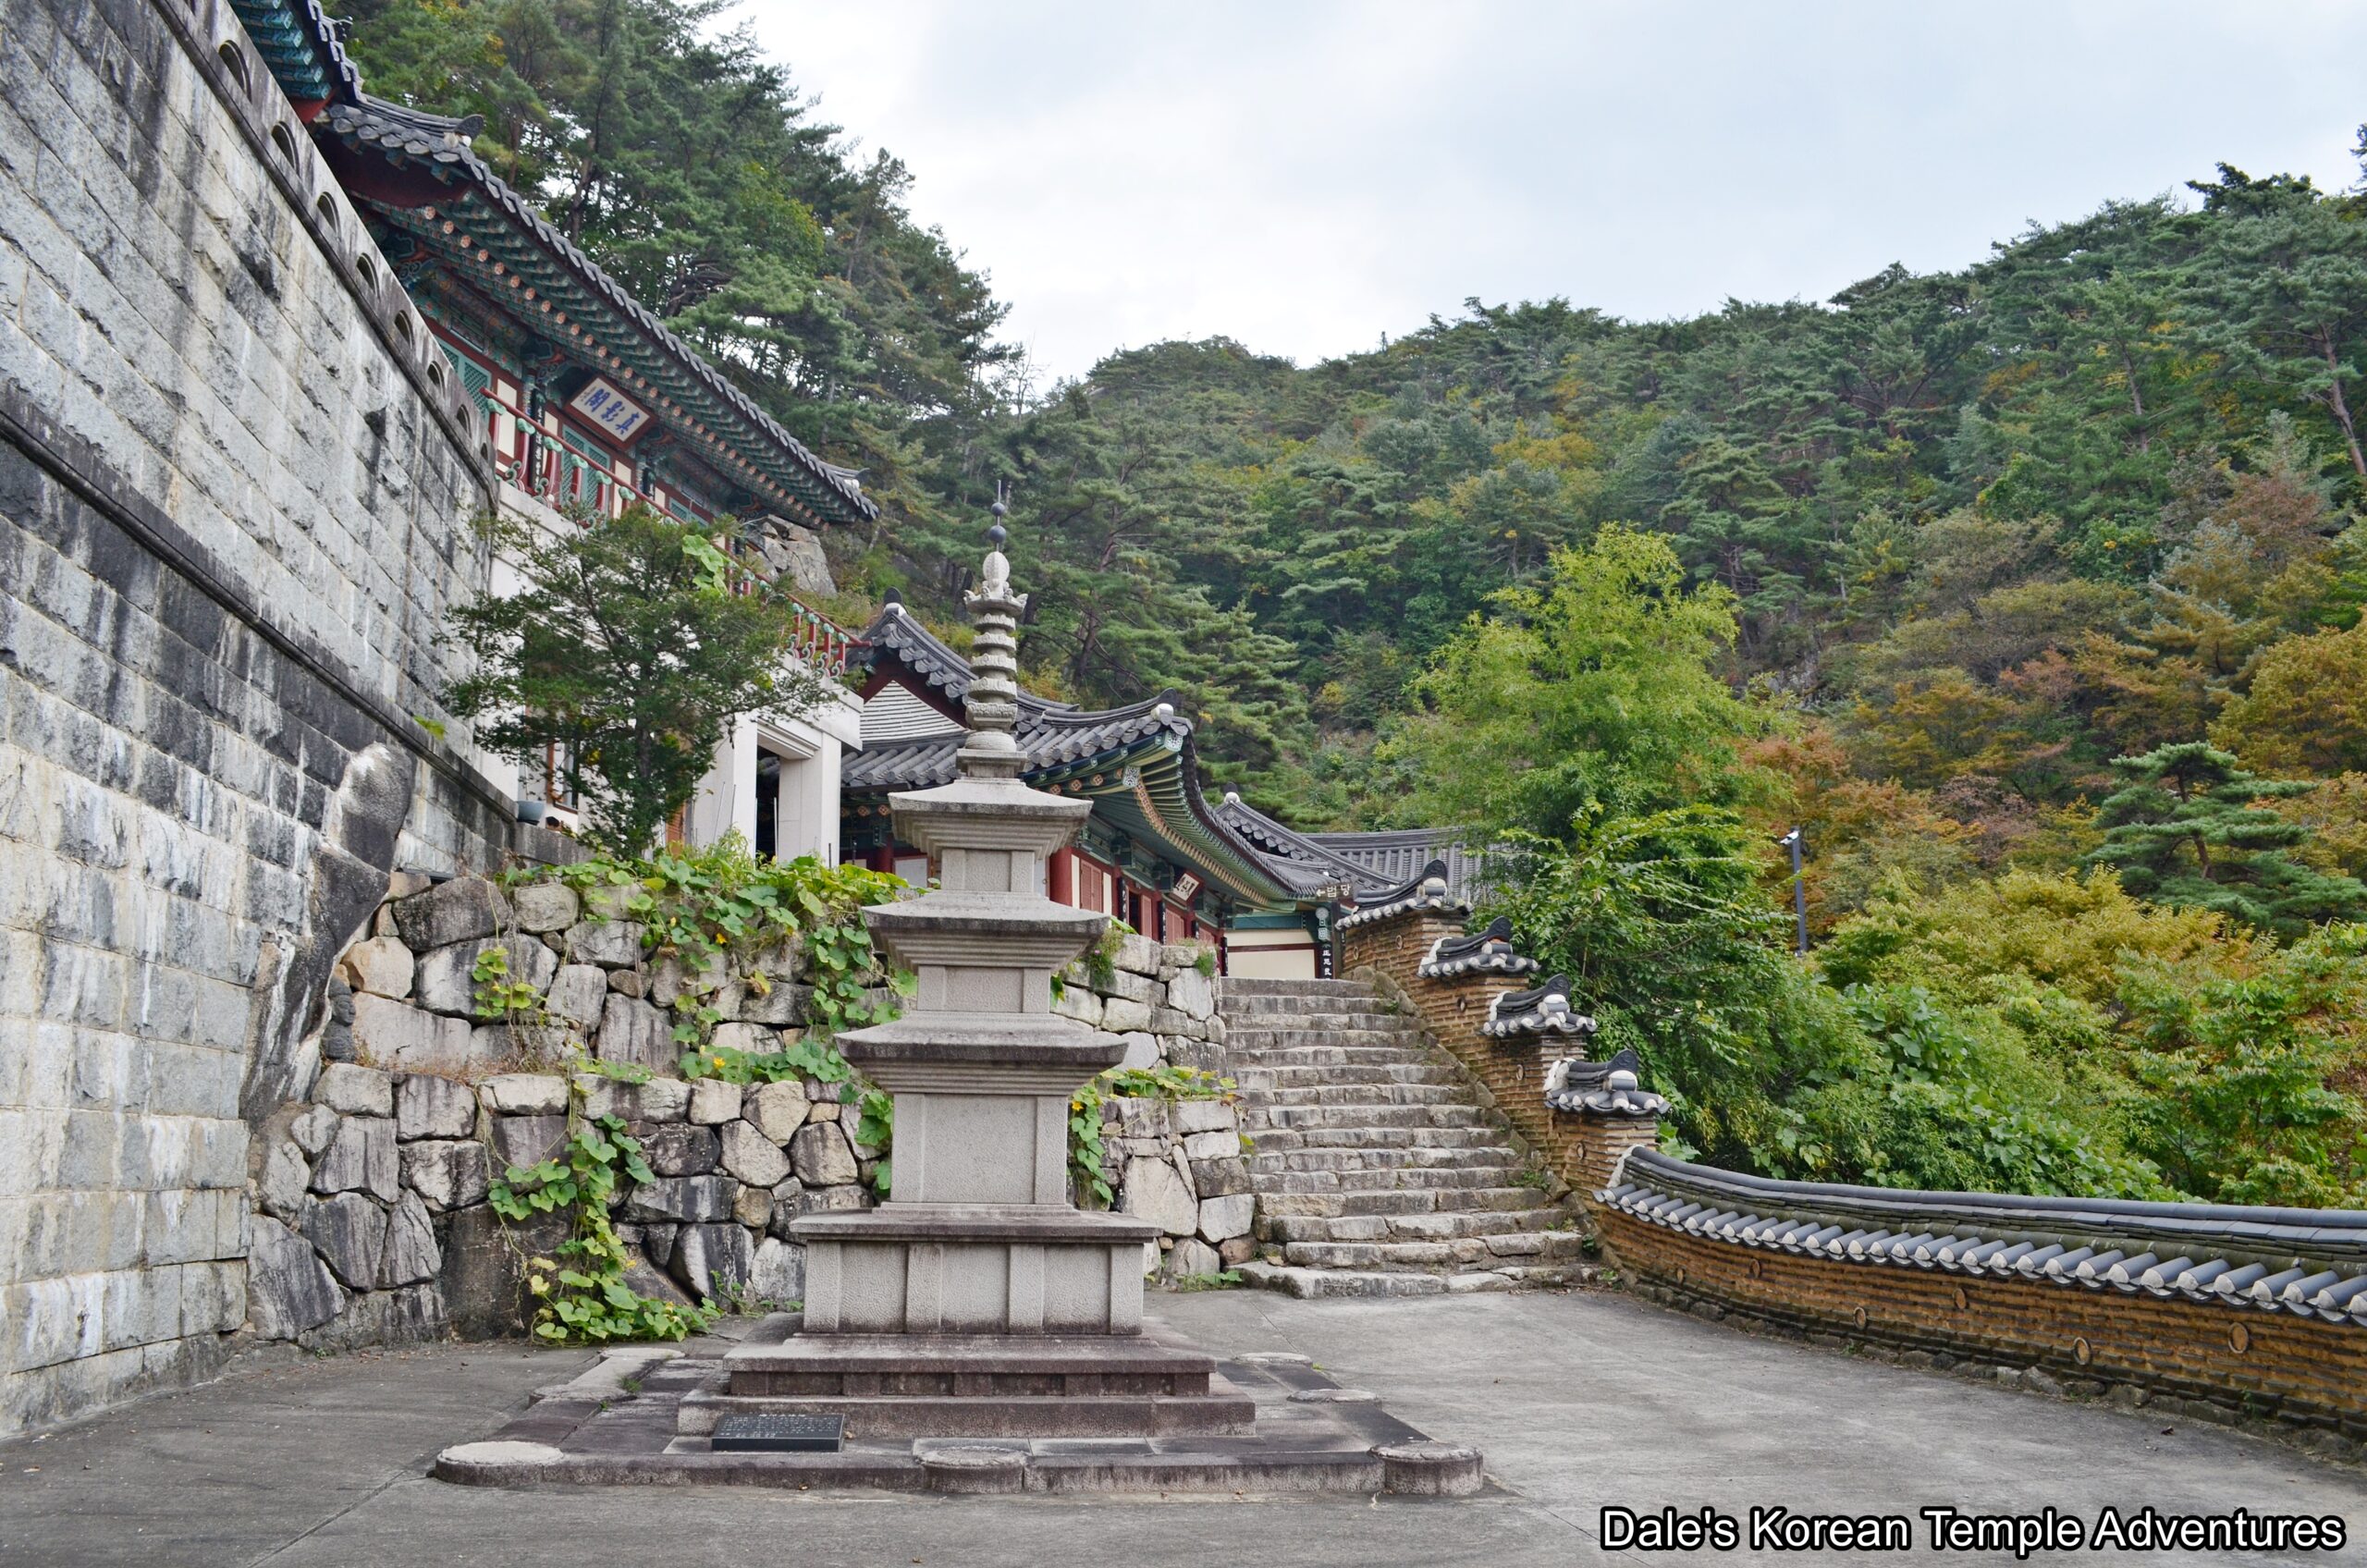
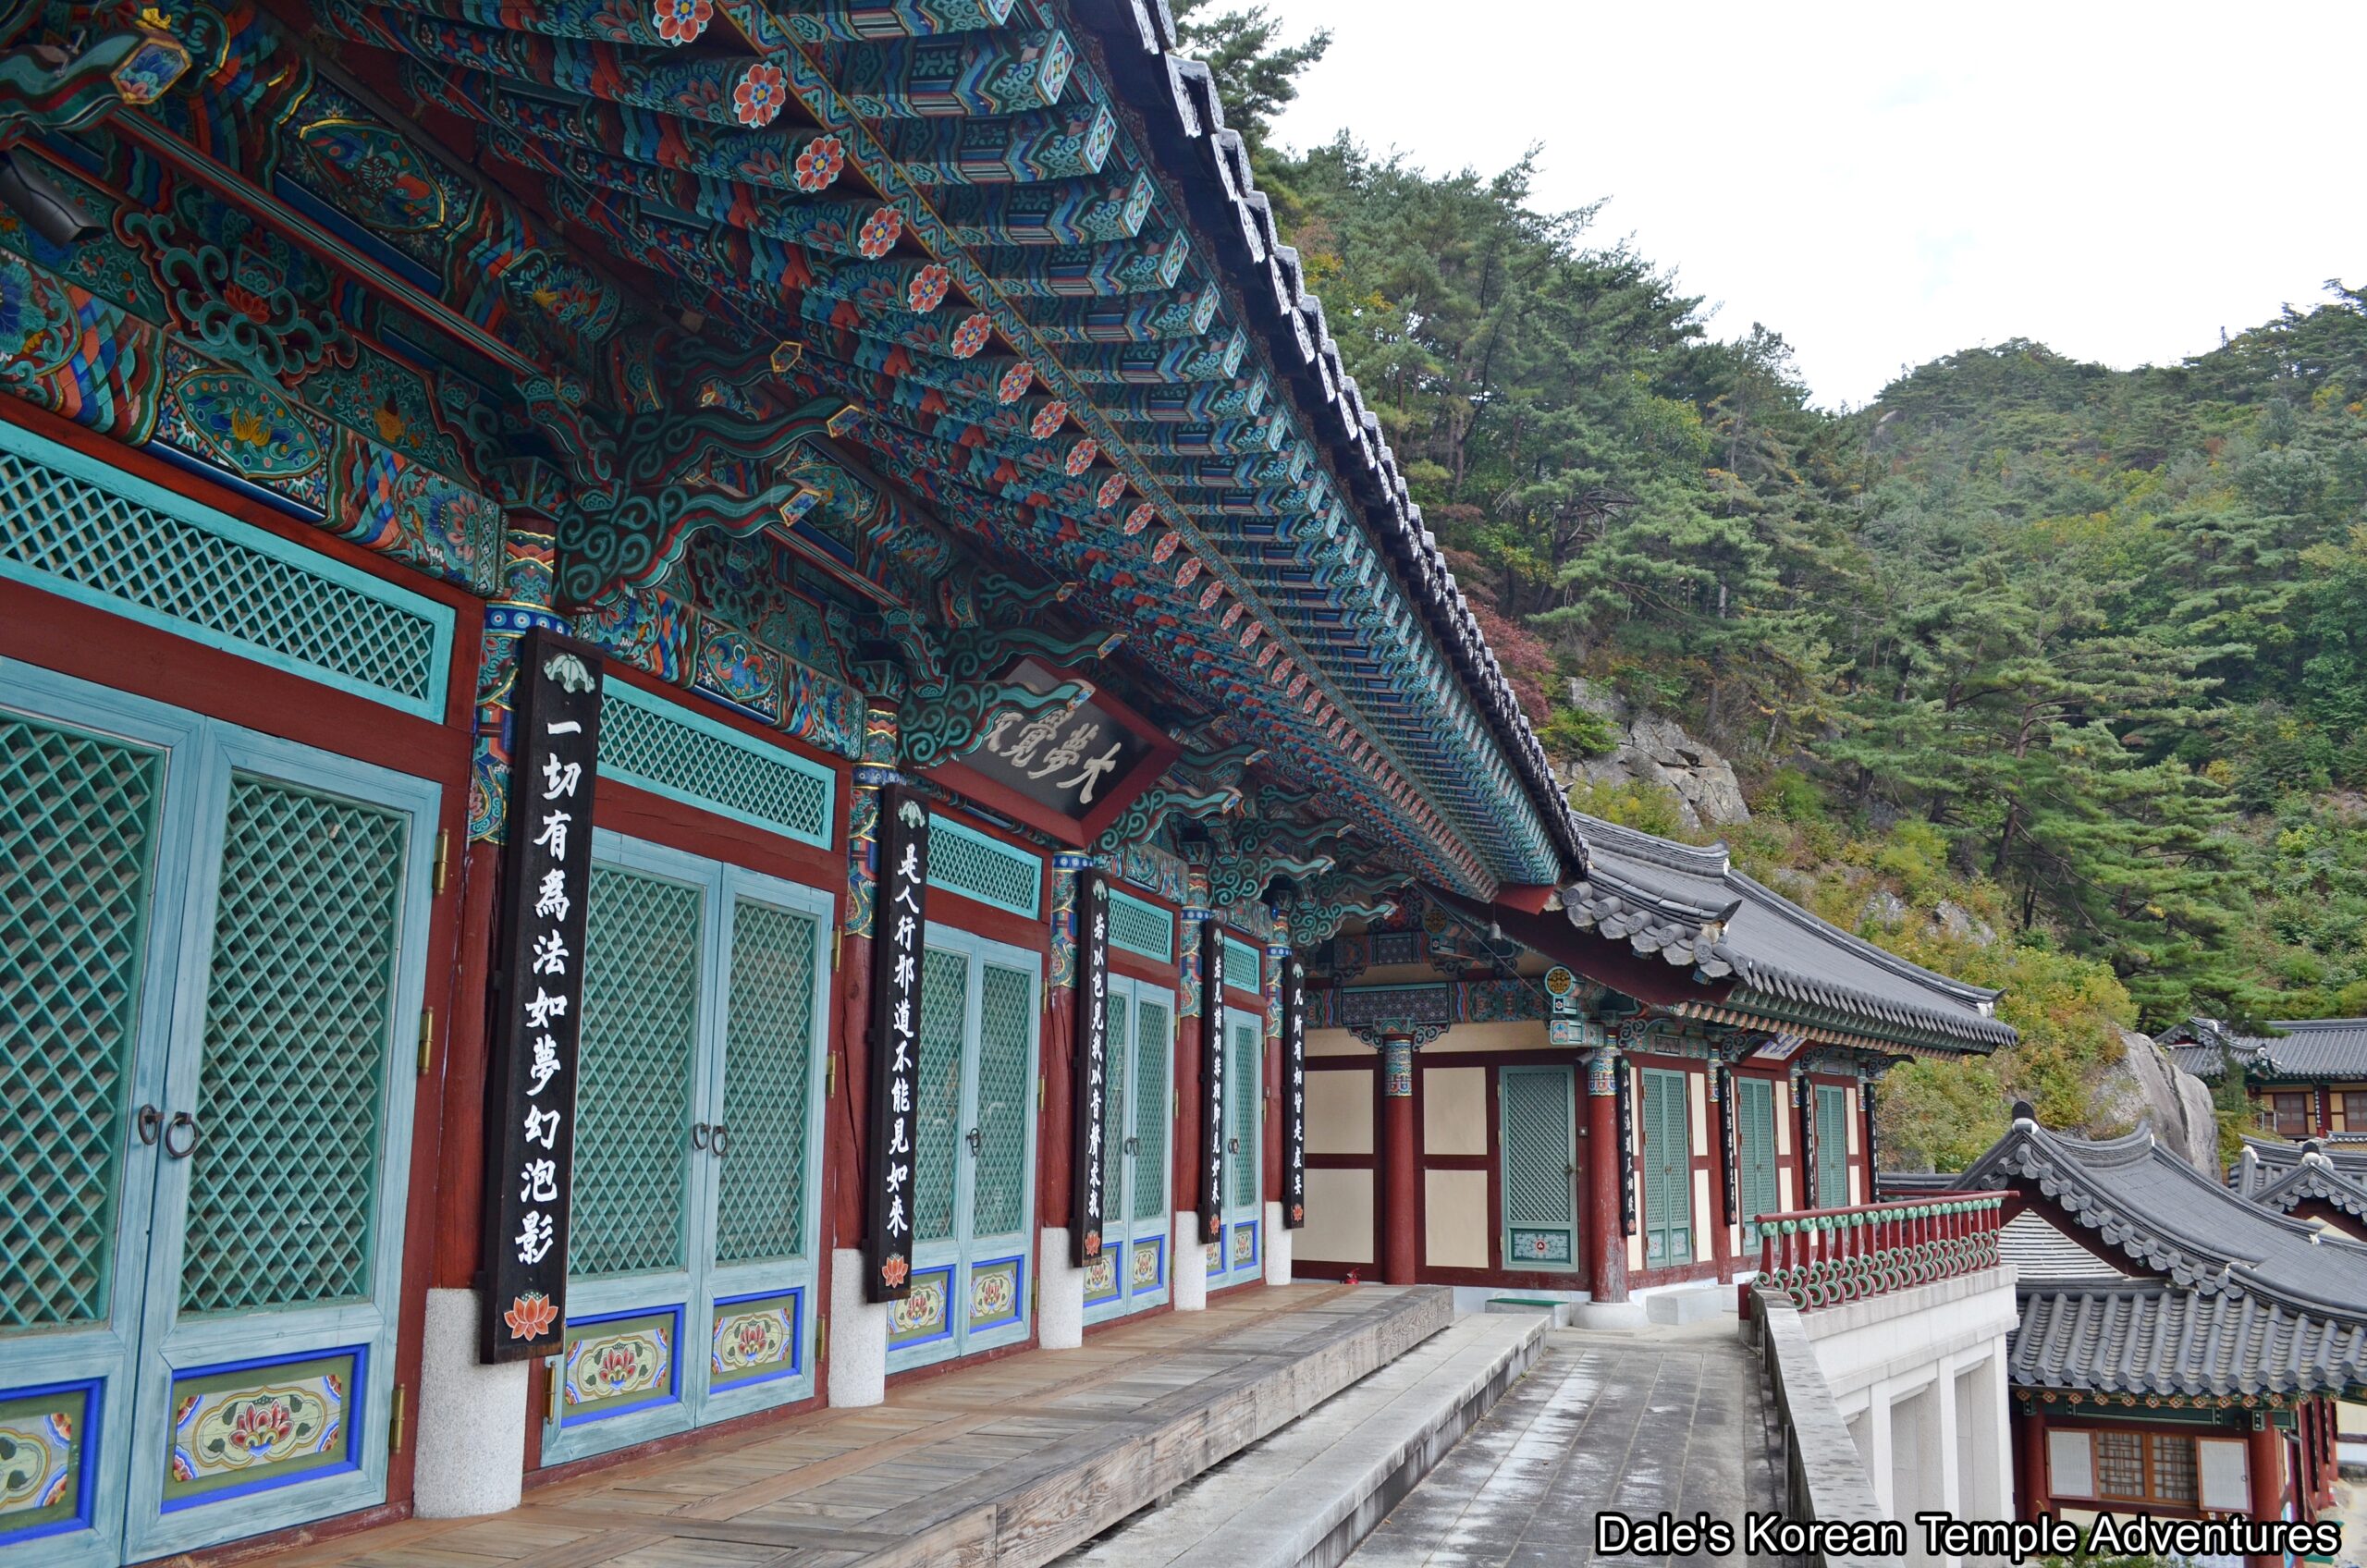
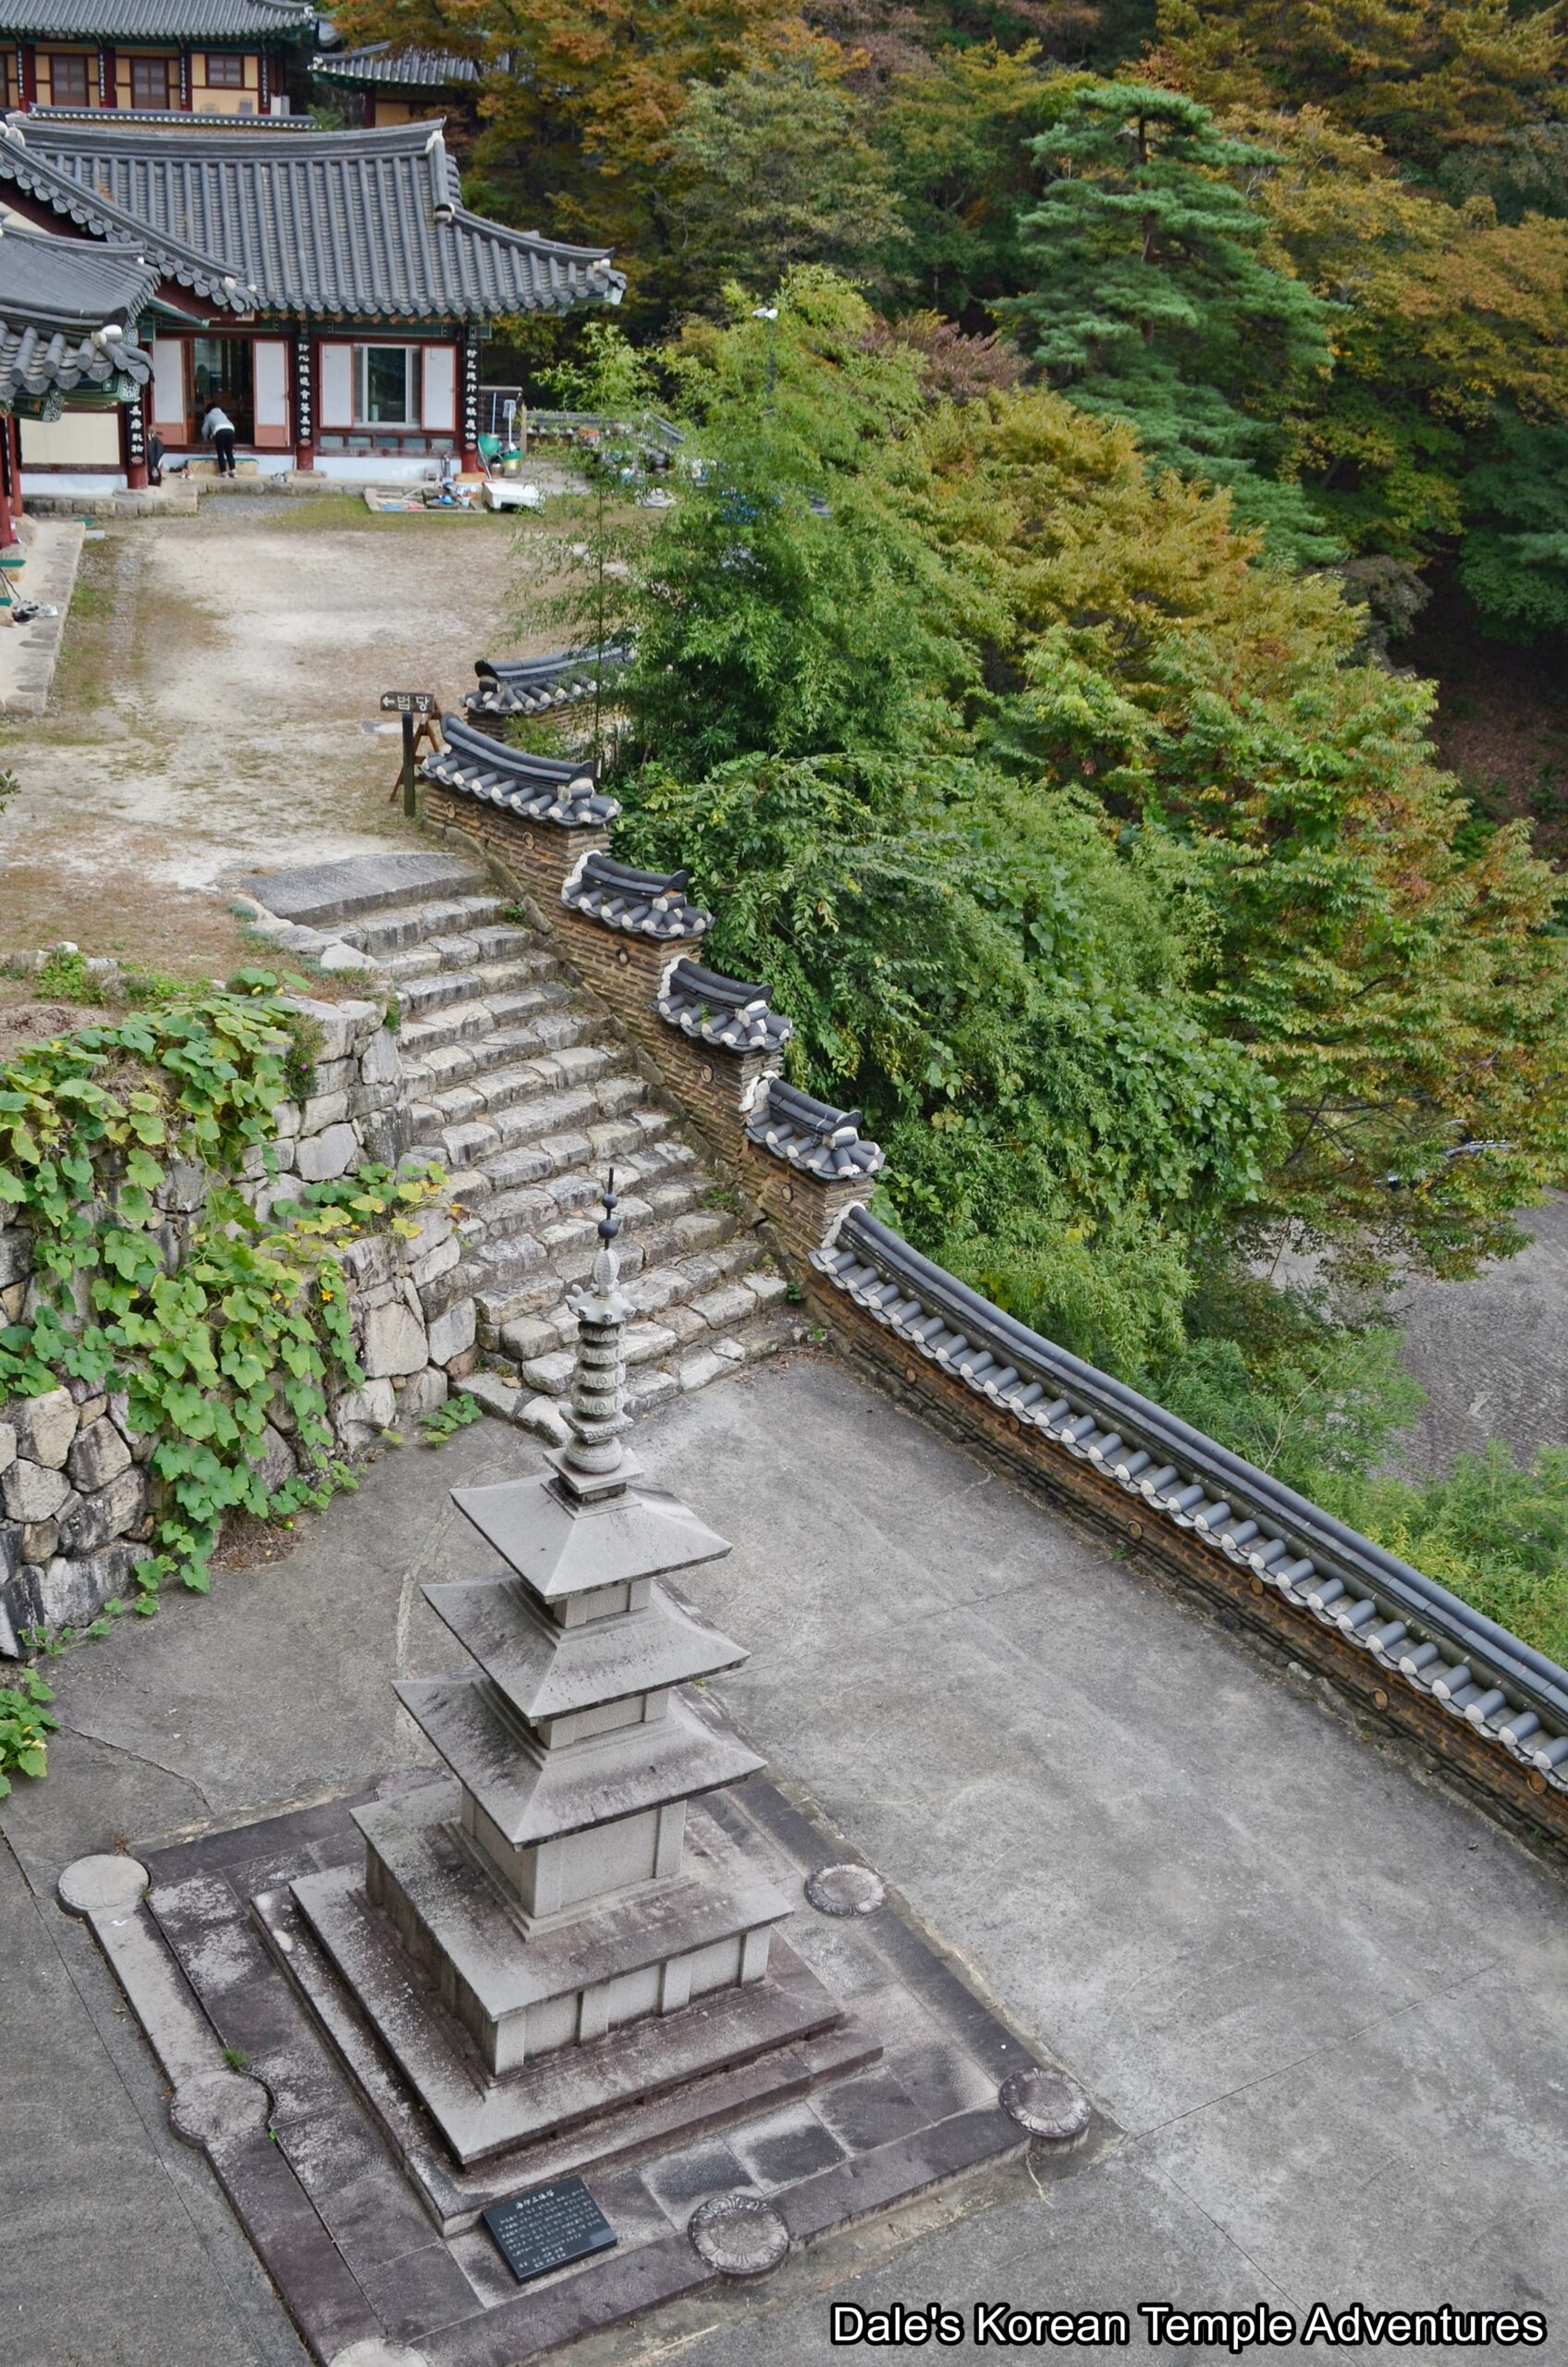
The “Three-Story Stone Pagoda of Geumgoksa Temple,” the Daeung-jeon Hall, and the Cheonbul-jeon Hall at Geumgoksa Temple in Gangjin, Jeollanam-do.

Temple History

Geumgoksa Temple is located in northern Gangjin, Jeollanam-do in the foothills of Mt. Ilbongsan (411.8 m). According to some, Geumgoksa Temple was first founded during the reign of Queen Seondeok of Silla (r. 632 – 647 A.D.) by a Silla monk named Milbon. At this time, it’s believed that the temple was called Seongmunsa Temple. However, this story seems unlikely, as the land that Geumgoksa Temple is situated upon belonged to the Baekje Kingdom (18 B.C. – 660 A.D.). So it doesn’t make a ton of sense that a Silla monk would travel to Baekje Kingdom land to found a Buddhist temple.

Much later, and according to the “Donggukyeojiseungram,” which was compiled in 1481, the temple was finally referred to as Geumgoksa Temple. In 1592, Geumgoksa Temple was used as a training ground for part of the Righteous Army during the Imjin War (1592-98). Geumgoksa Temple was destroyed by fire during the Imjin War by the invading Japanese. The temple wouldn’t be rebuilt until Japanese Colonial Rule (1910-45) upon the former temple site. The temple would further be rebuilt and expanded in 1969. Then in 1984, Geumgoksa Temple became a Taego-jong Order temple.

As for the name of the temple, it’s called Geumgoksa Temple because there was a former gold mine in the area. In fact, there is a cave, whose depths are unknown, next to a stream near the temple grounds. This could be the source of the temple’s name.

Geumgoksa Temple is home to a Korean Treasure, the “Three-Story Stone Pagoda of Geumgoksa Temple,” which is Korean Treasure #829.

Temple Layout

You first make your way up towards Geumgoksa Temple through a couple of large boulders on either side of the road leading up to the temple. To the right of the temple parking lot is a serene stream. Up a large set of stairs, you’ll find the five metre tall “Three-Story Stone Pagoda of Geumgoksa Temple.” The large pagoda consists of a single-story stylobate at the base. Above the stout base is the body, which stands three-stories in height. Unfortunately, the finial which once adorned the top of the pagoda has been lost through the passage of time, and the pagoda has been damaged in part throughout. More specfically, the stylobate consists of four pillars at the edge with a flat stone between these pillars. This style of construction with corner pillars without a pattern engraved on it is similar to the “Five-Story Stone Pagoda at Jeongnimsa Temple Site” in Buyeo, Chungcheongnam-do. The first story of this pagoda, the “Three-Story Stone Pagoda of Geumgoksa Temple,” has a niche on all four sides. Typically in a wooden pagoda, the niche would function as a place to house an image of a Buddha. However, in a stone structure, it appears to be more decorative than anything. Overall, the pagoda has beautiful proportions. The “Three-Story Stone Pagoda of Geumgoksa Temple” was built during the Goryeo Dynasty (918-1392); however, it still retains some stylistic aspects from the Baekje Kingdom (18 B.C. – 660 A.D.).

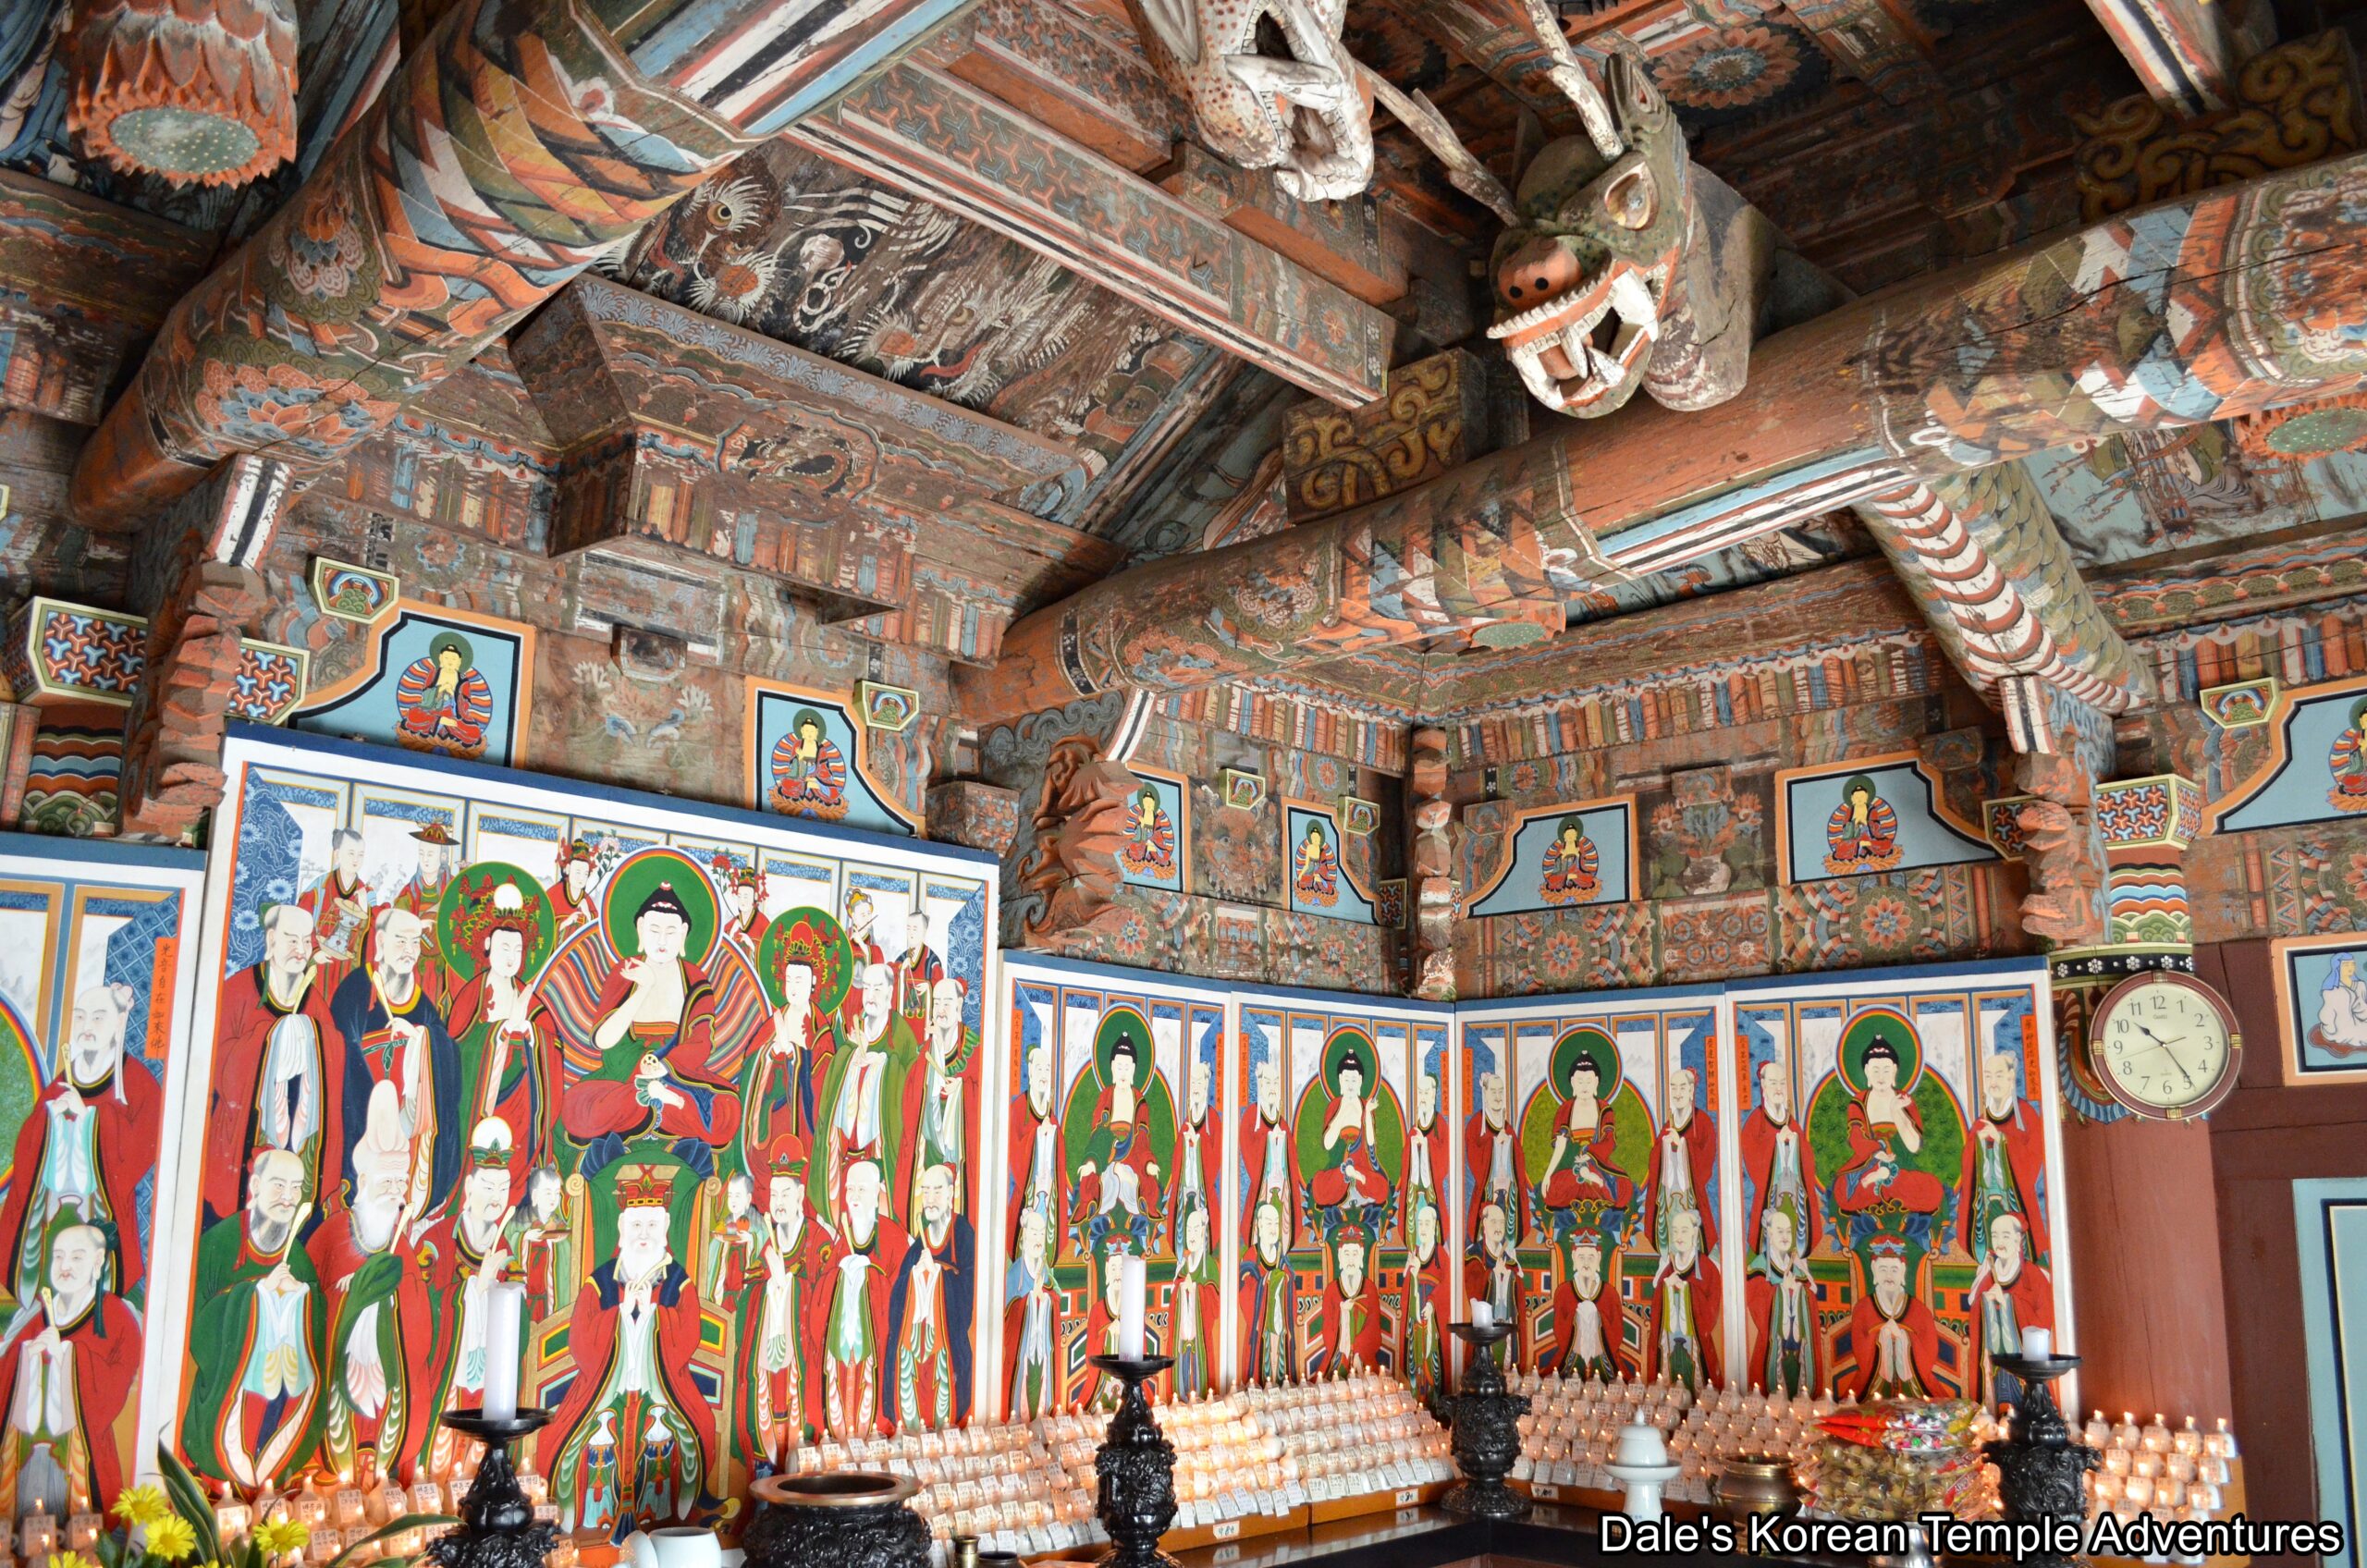
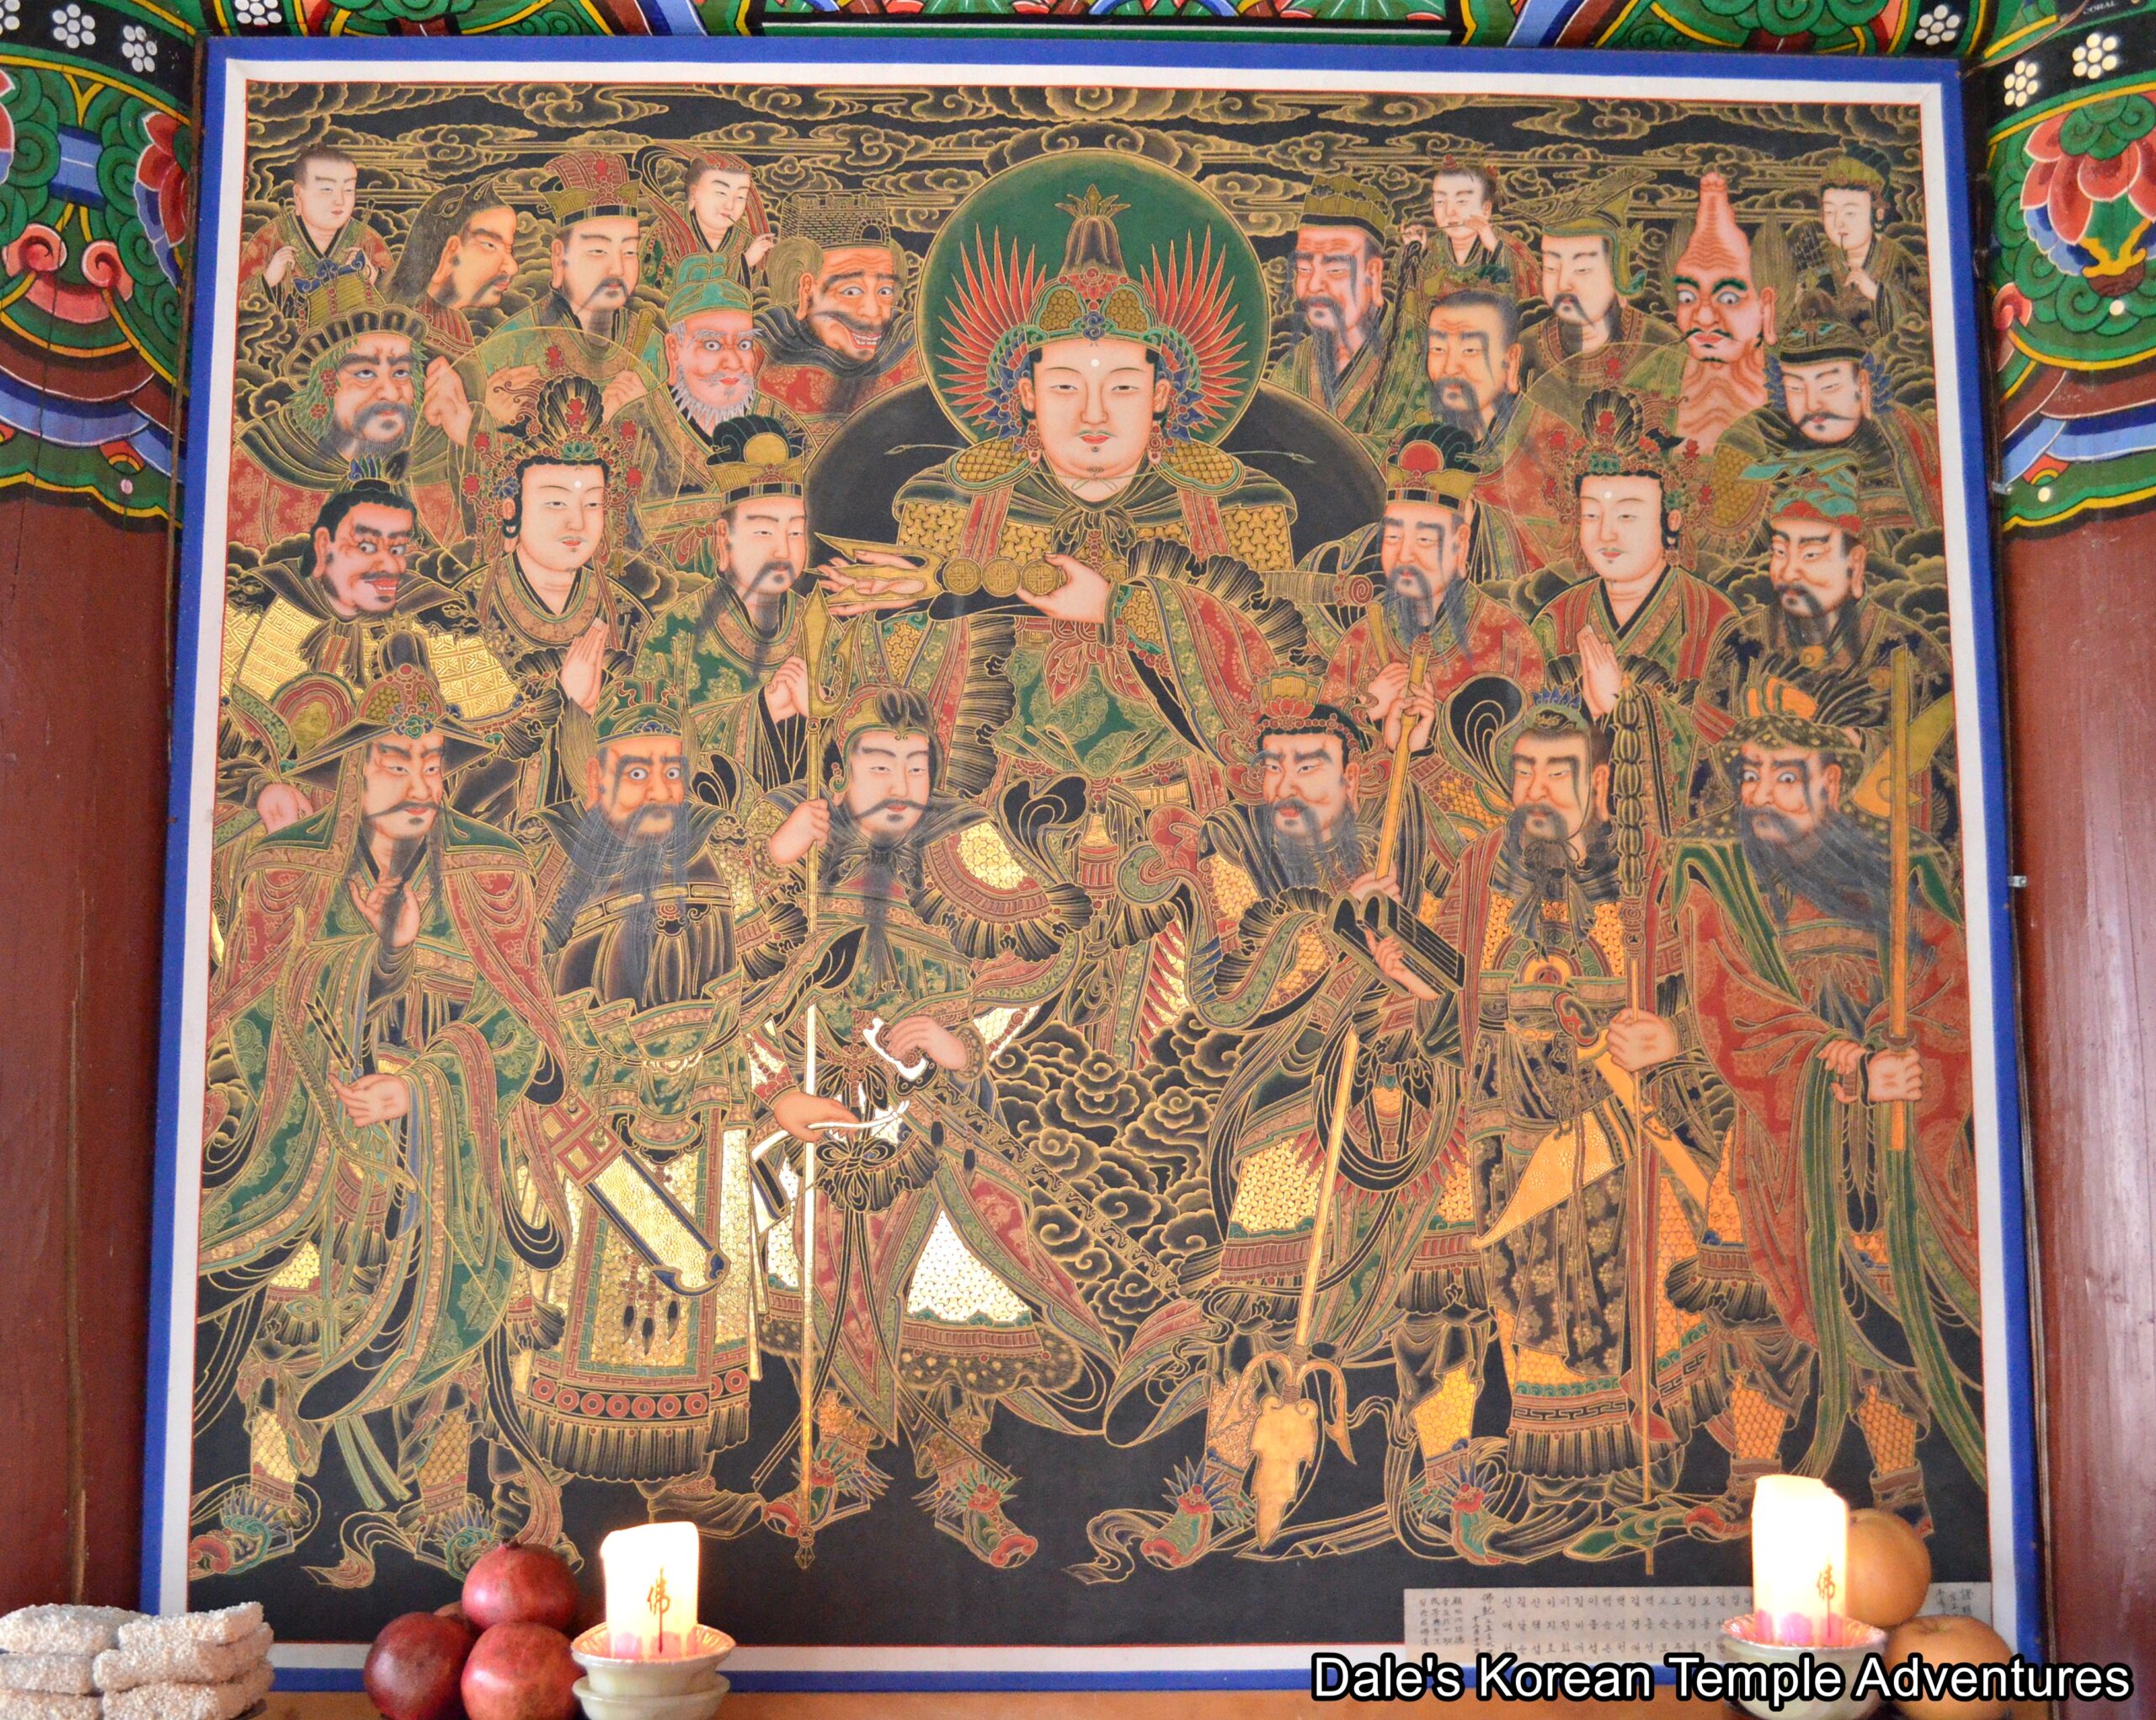
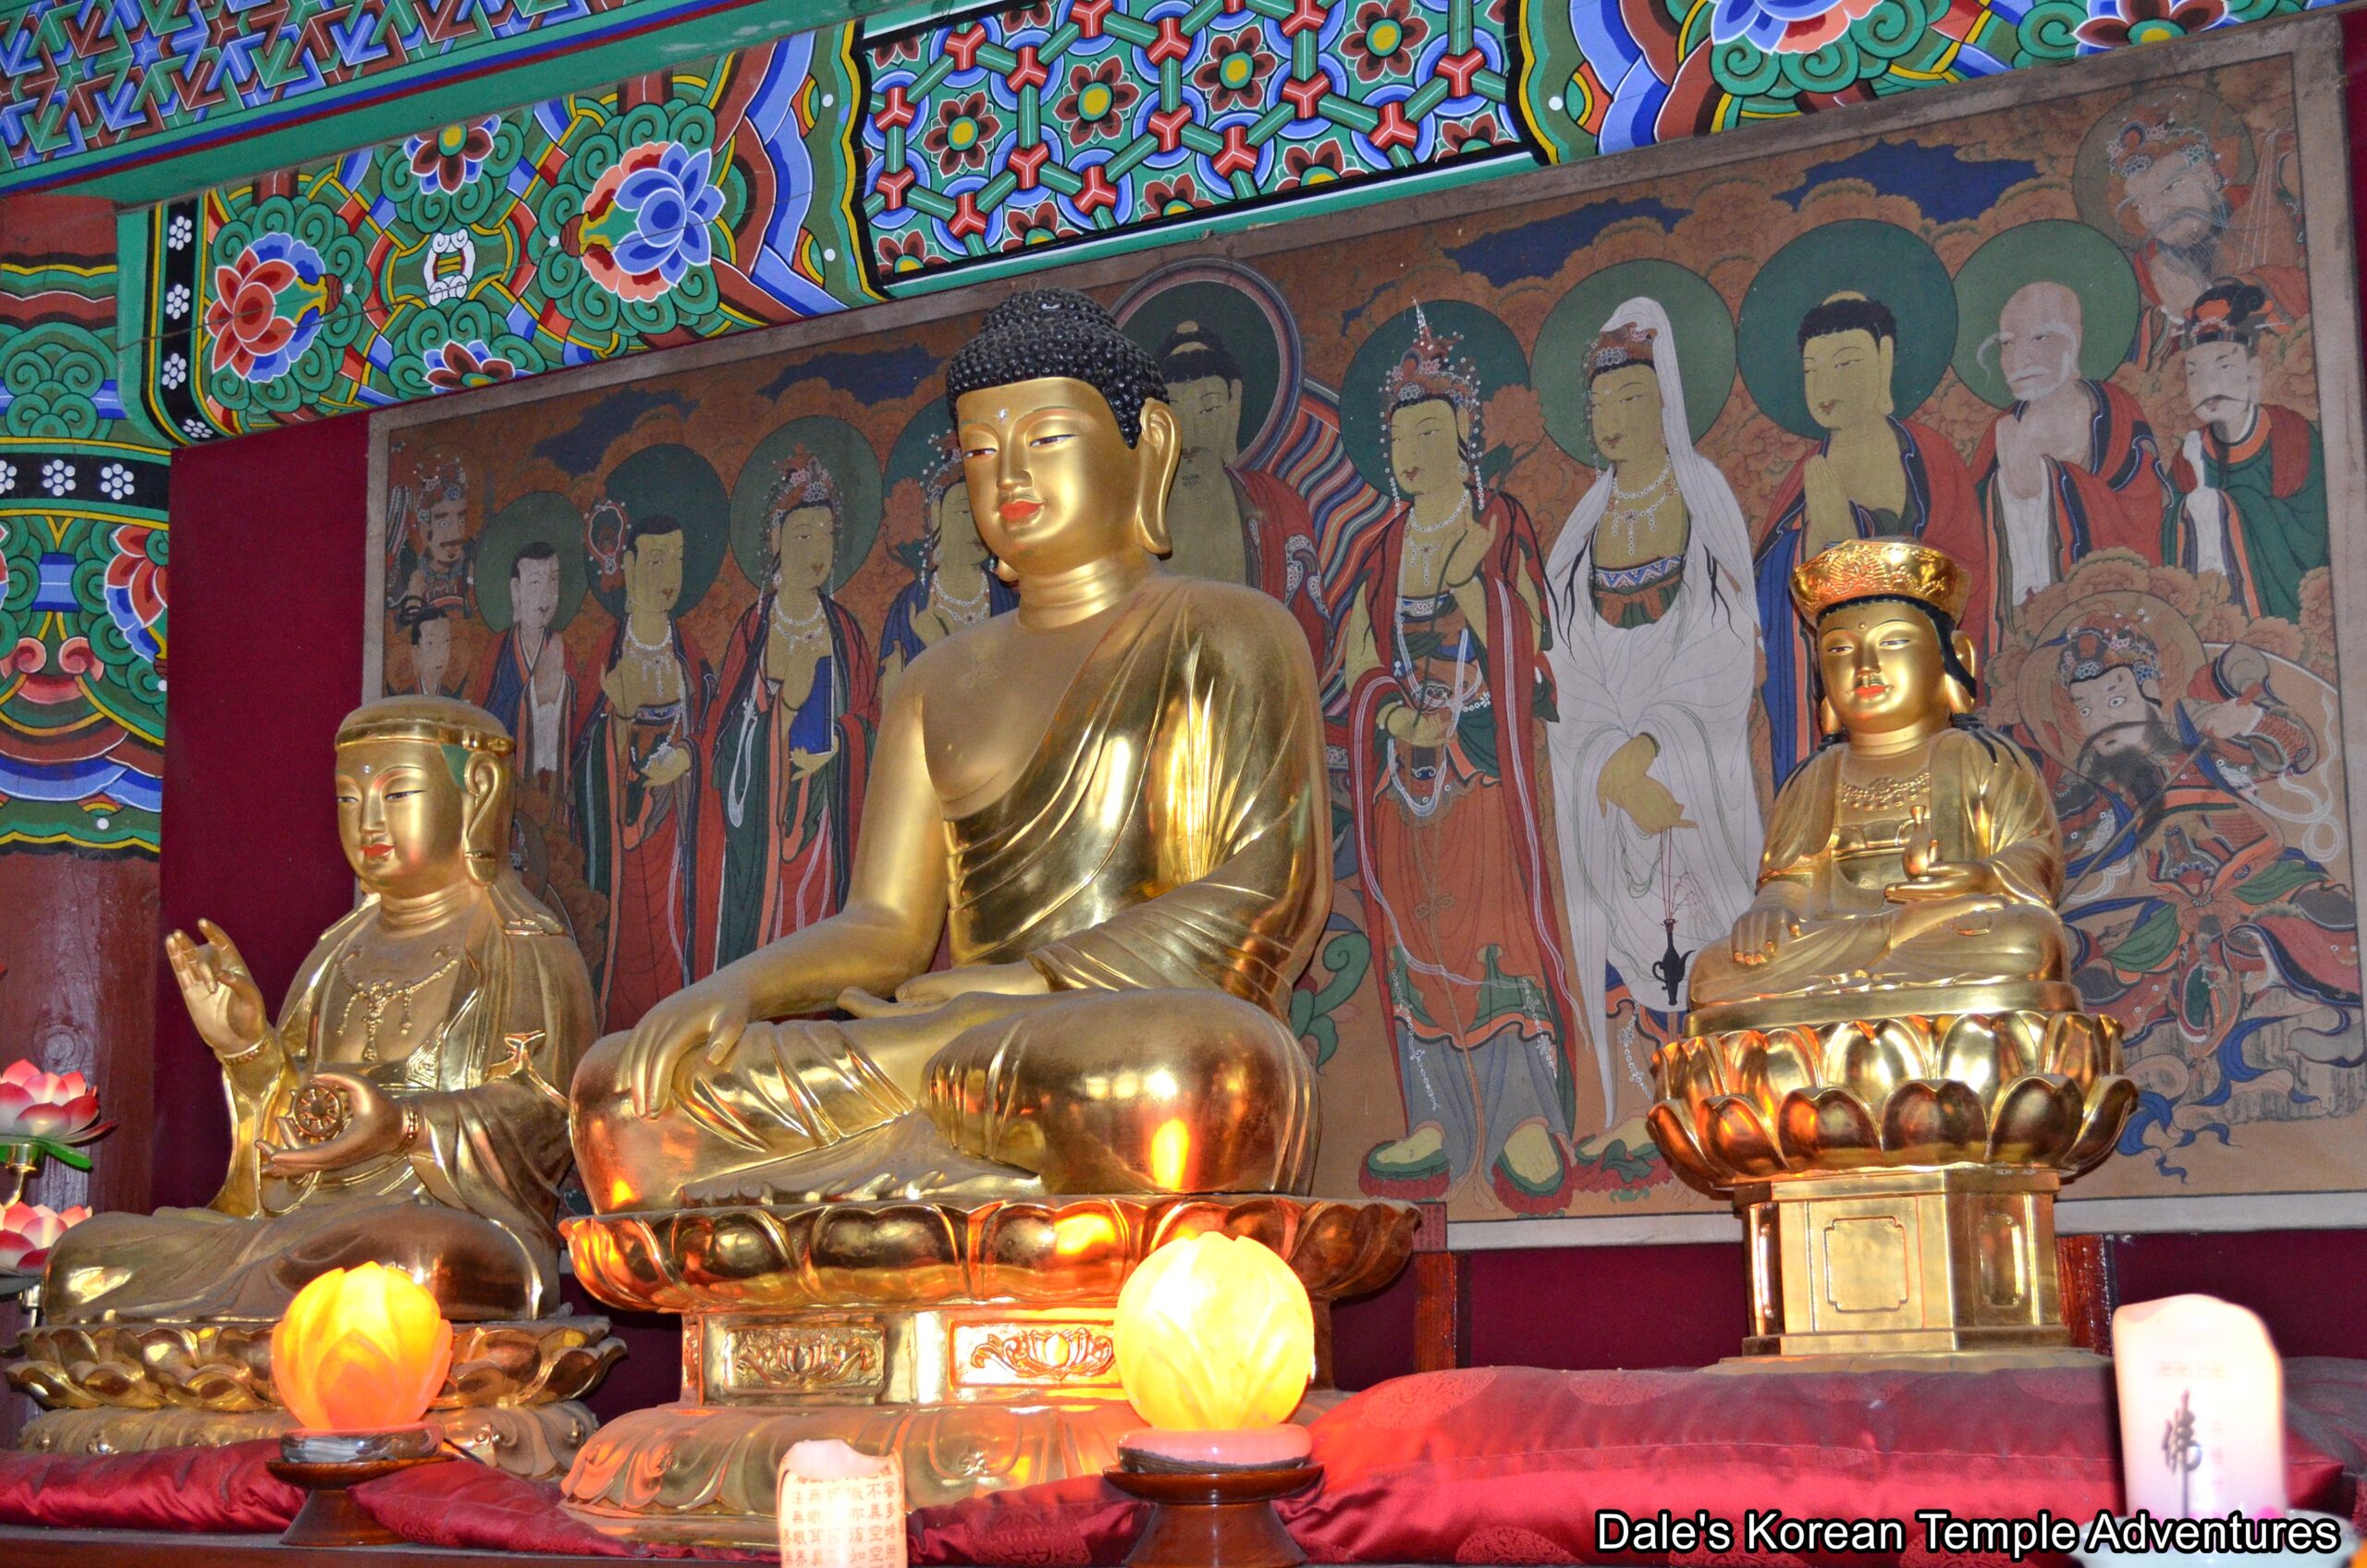
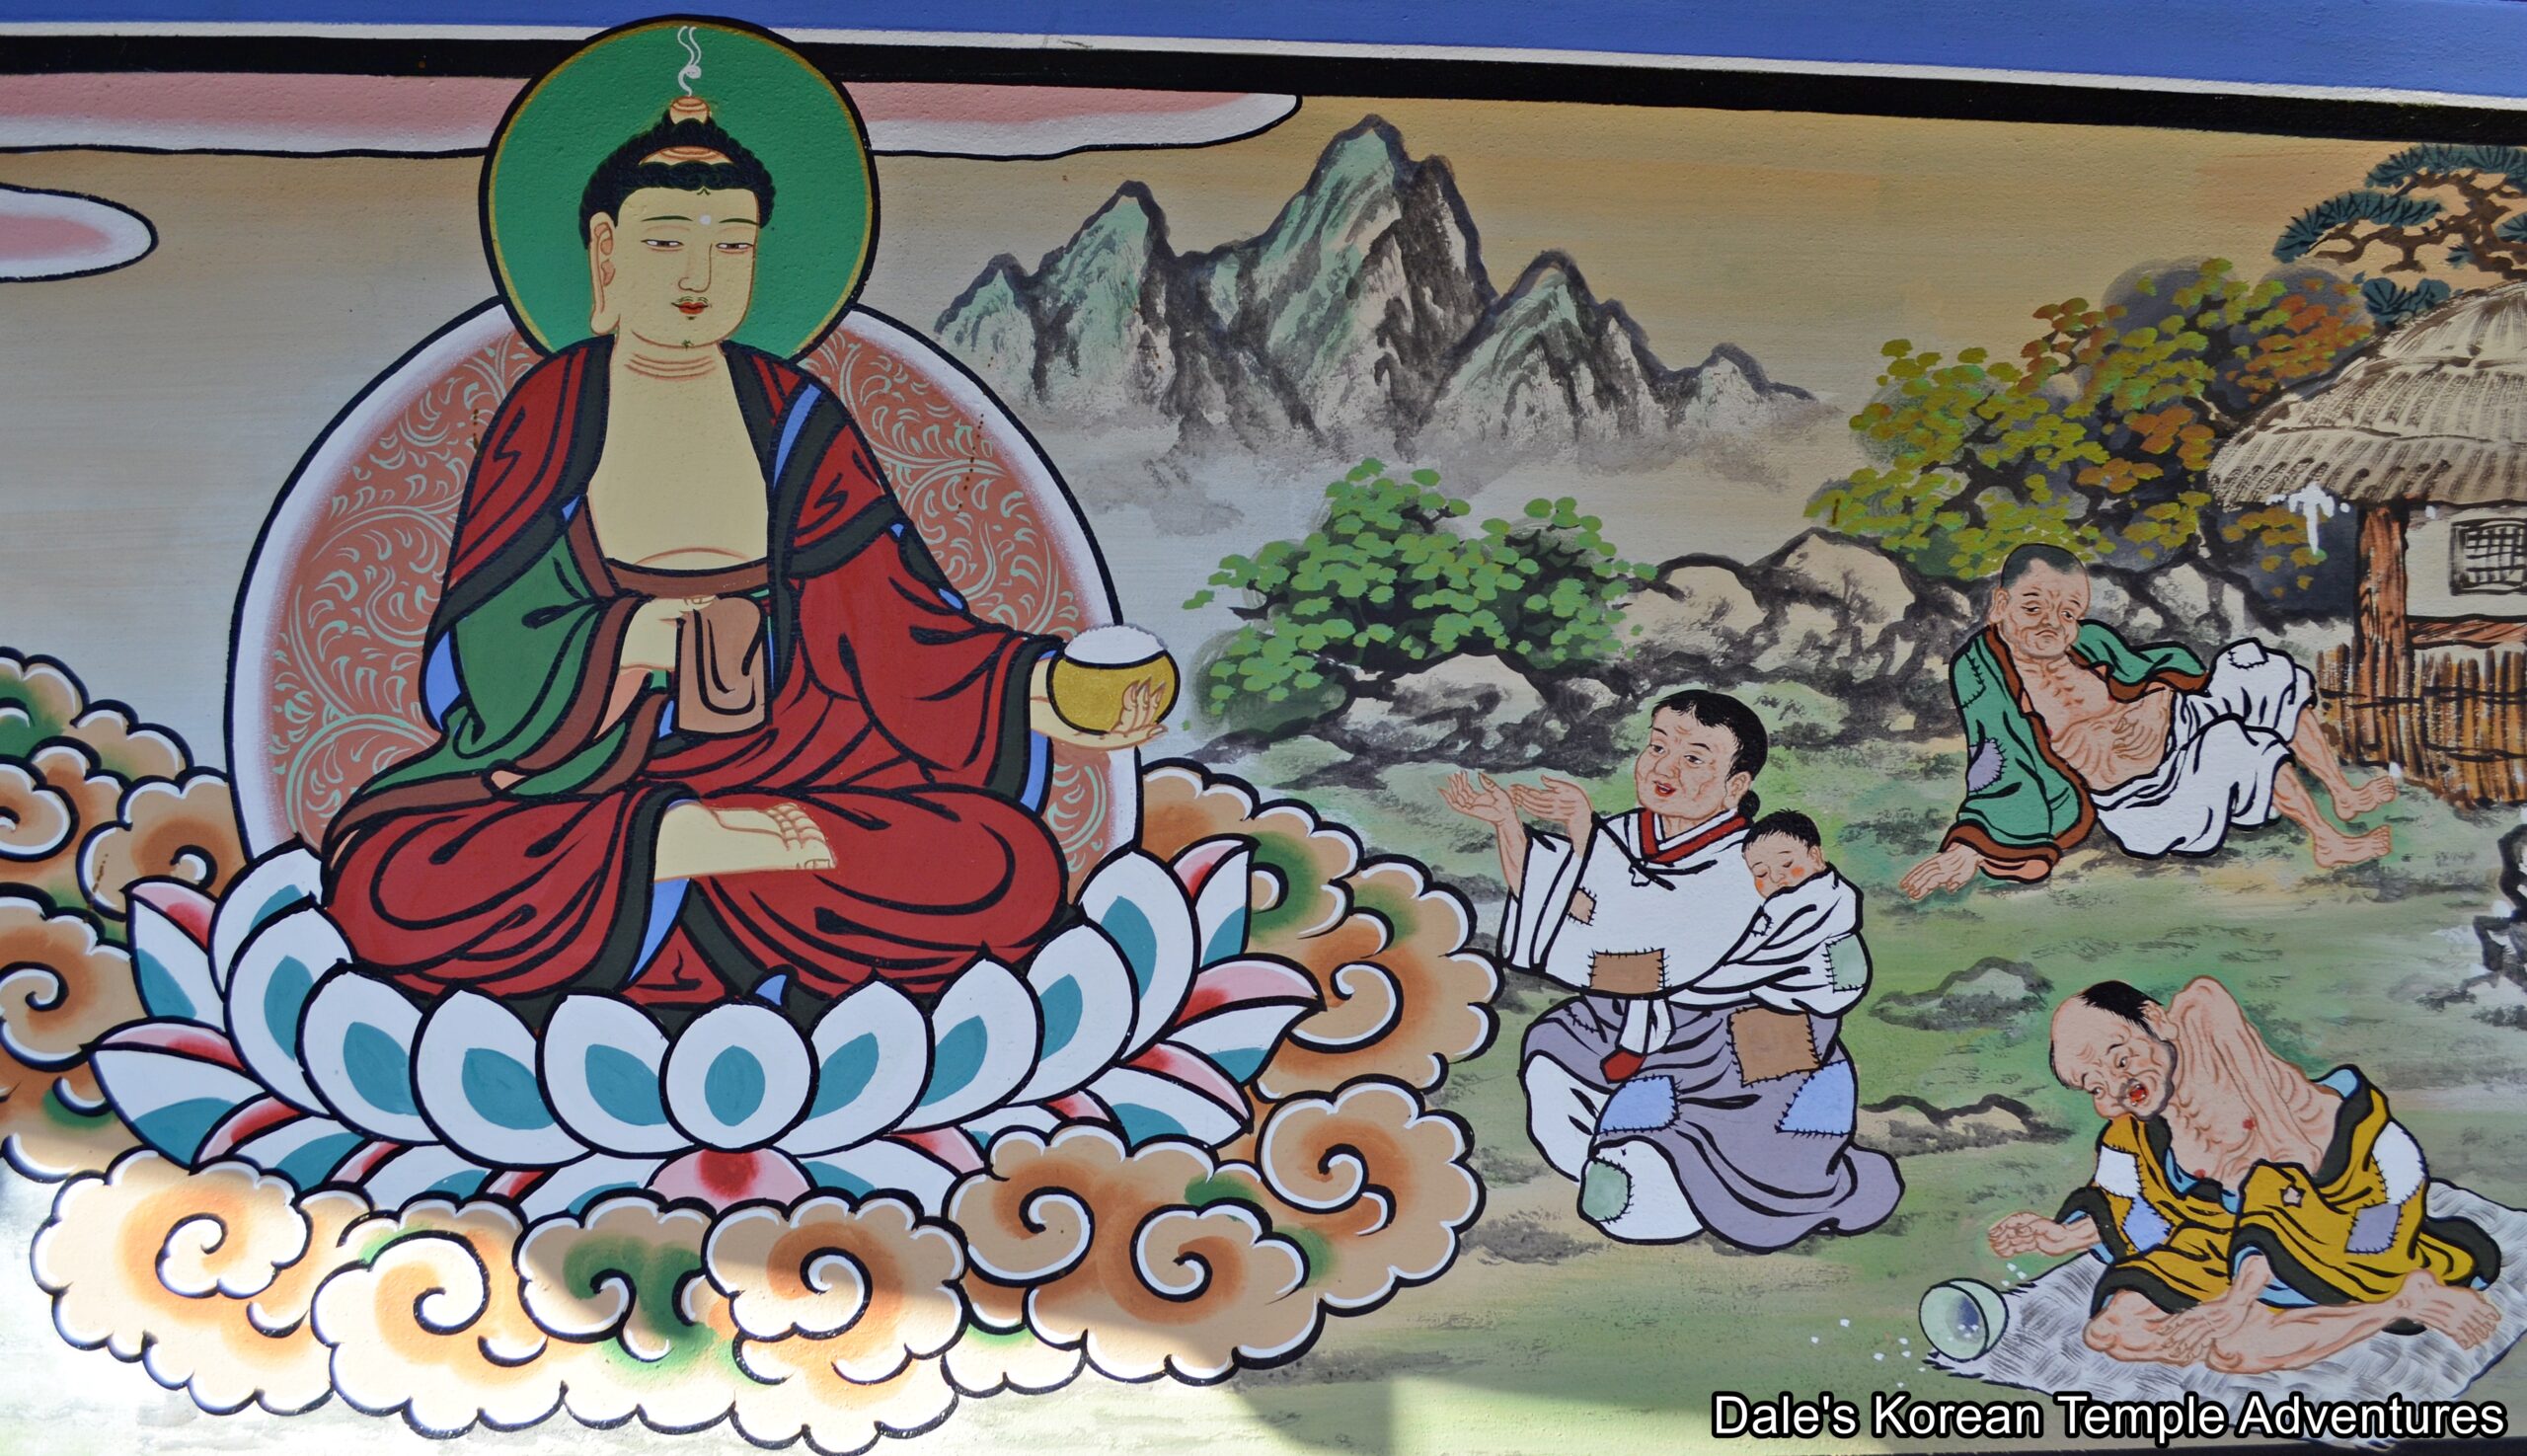
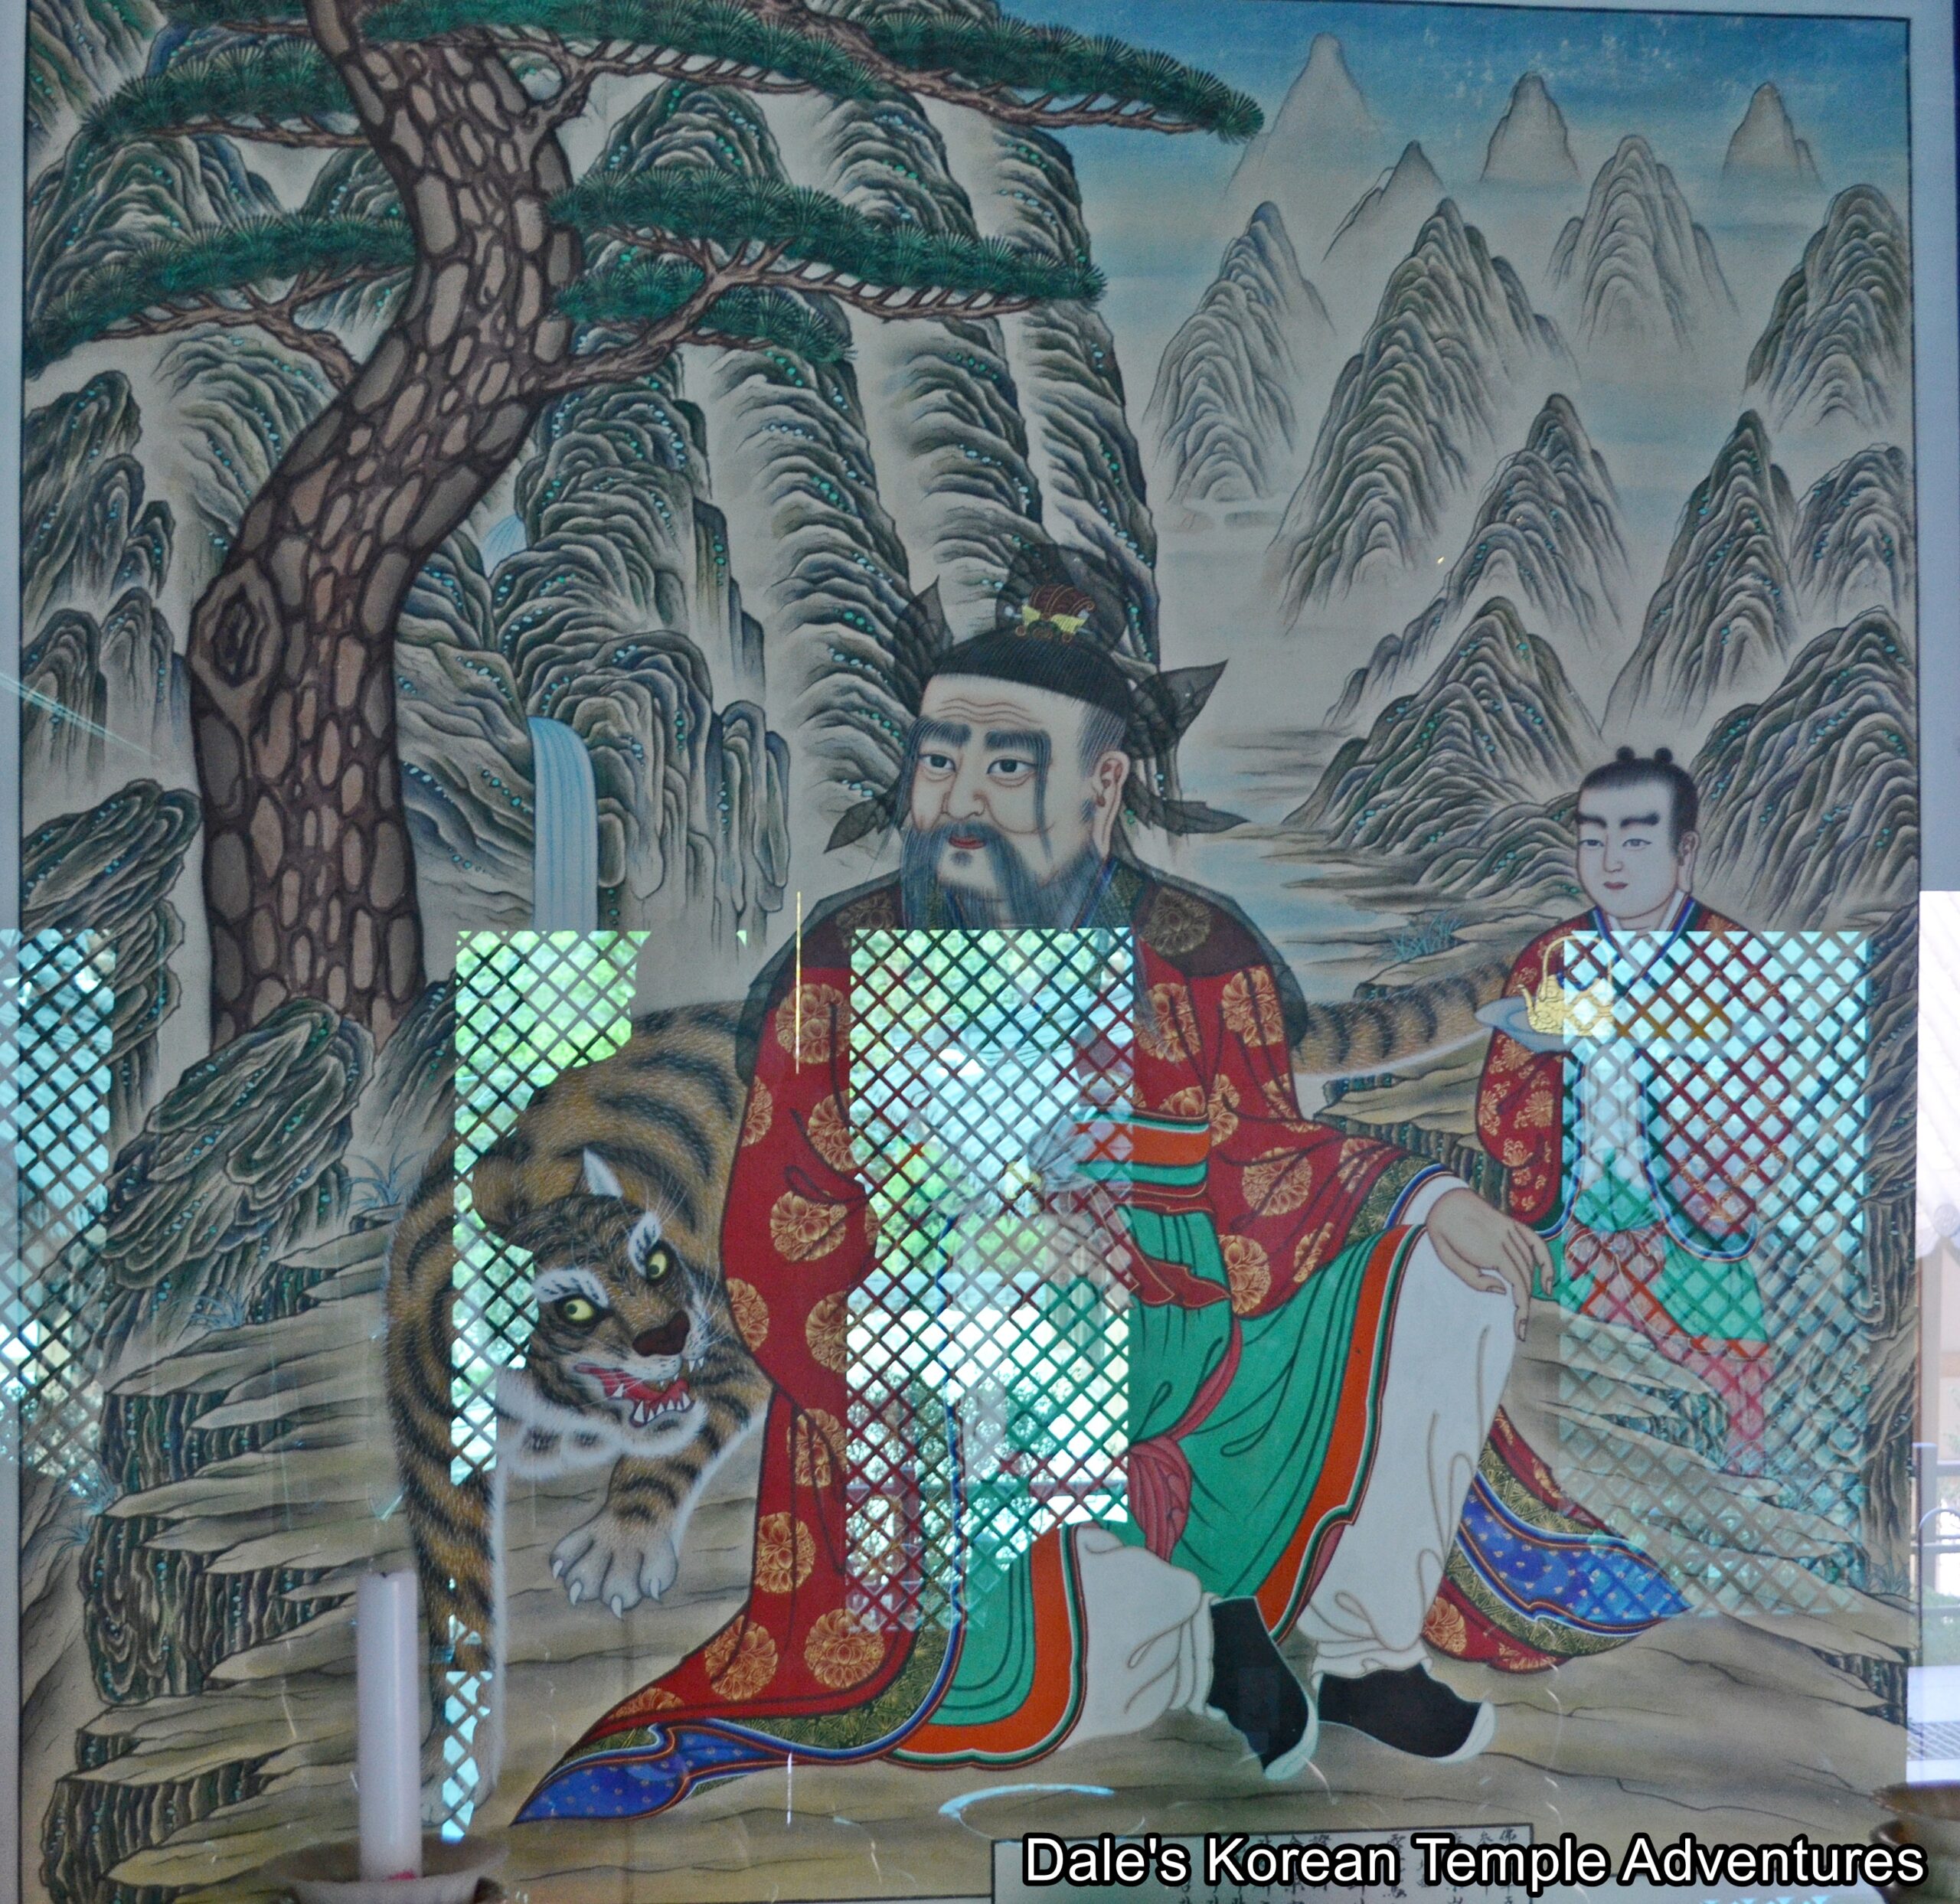
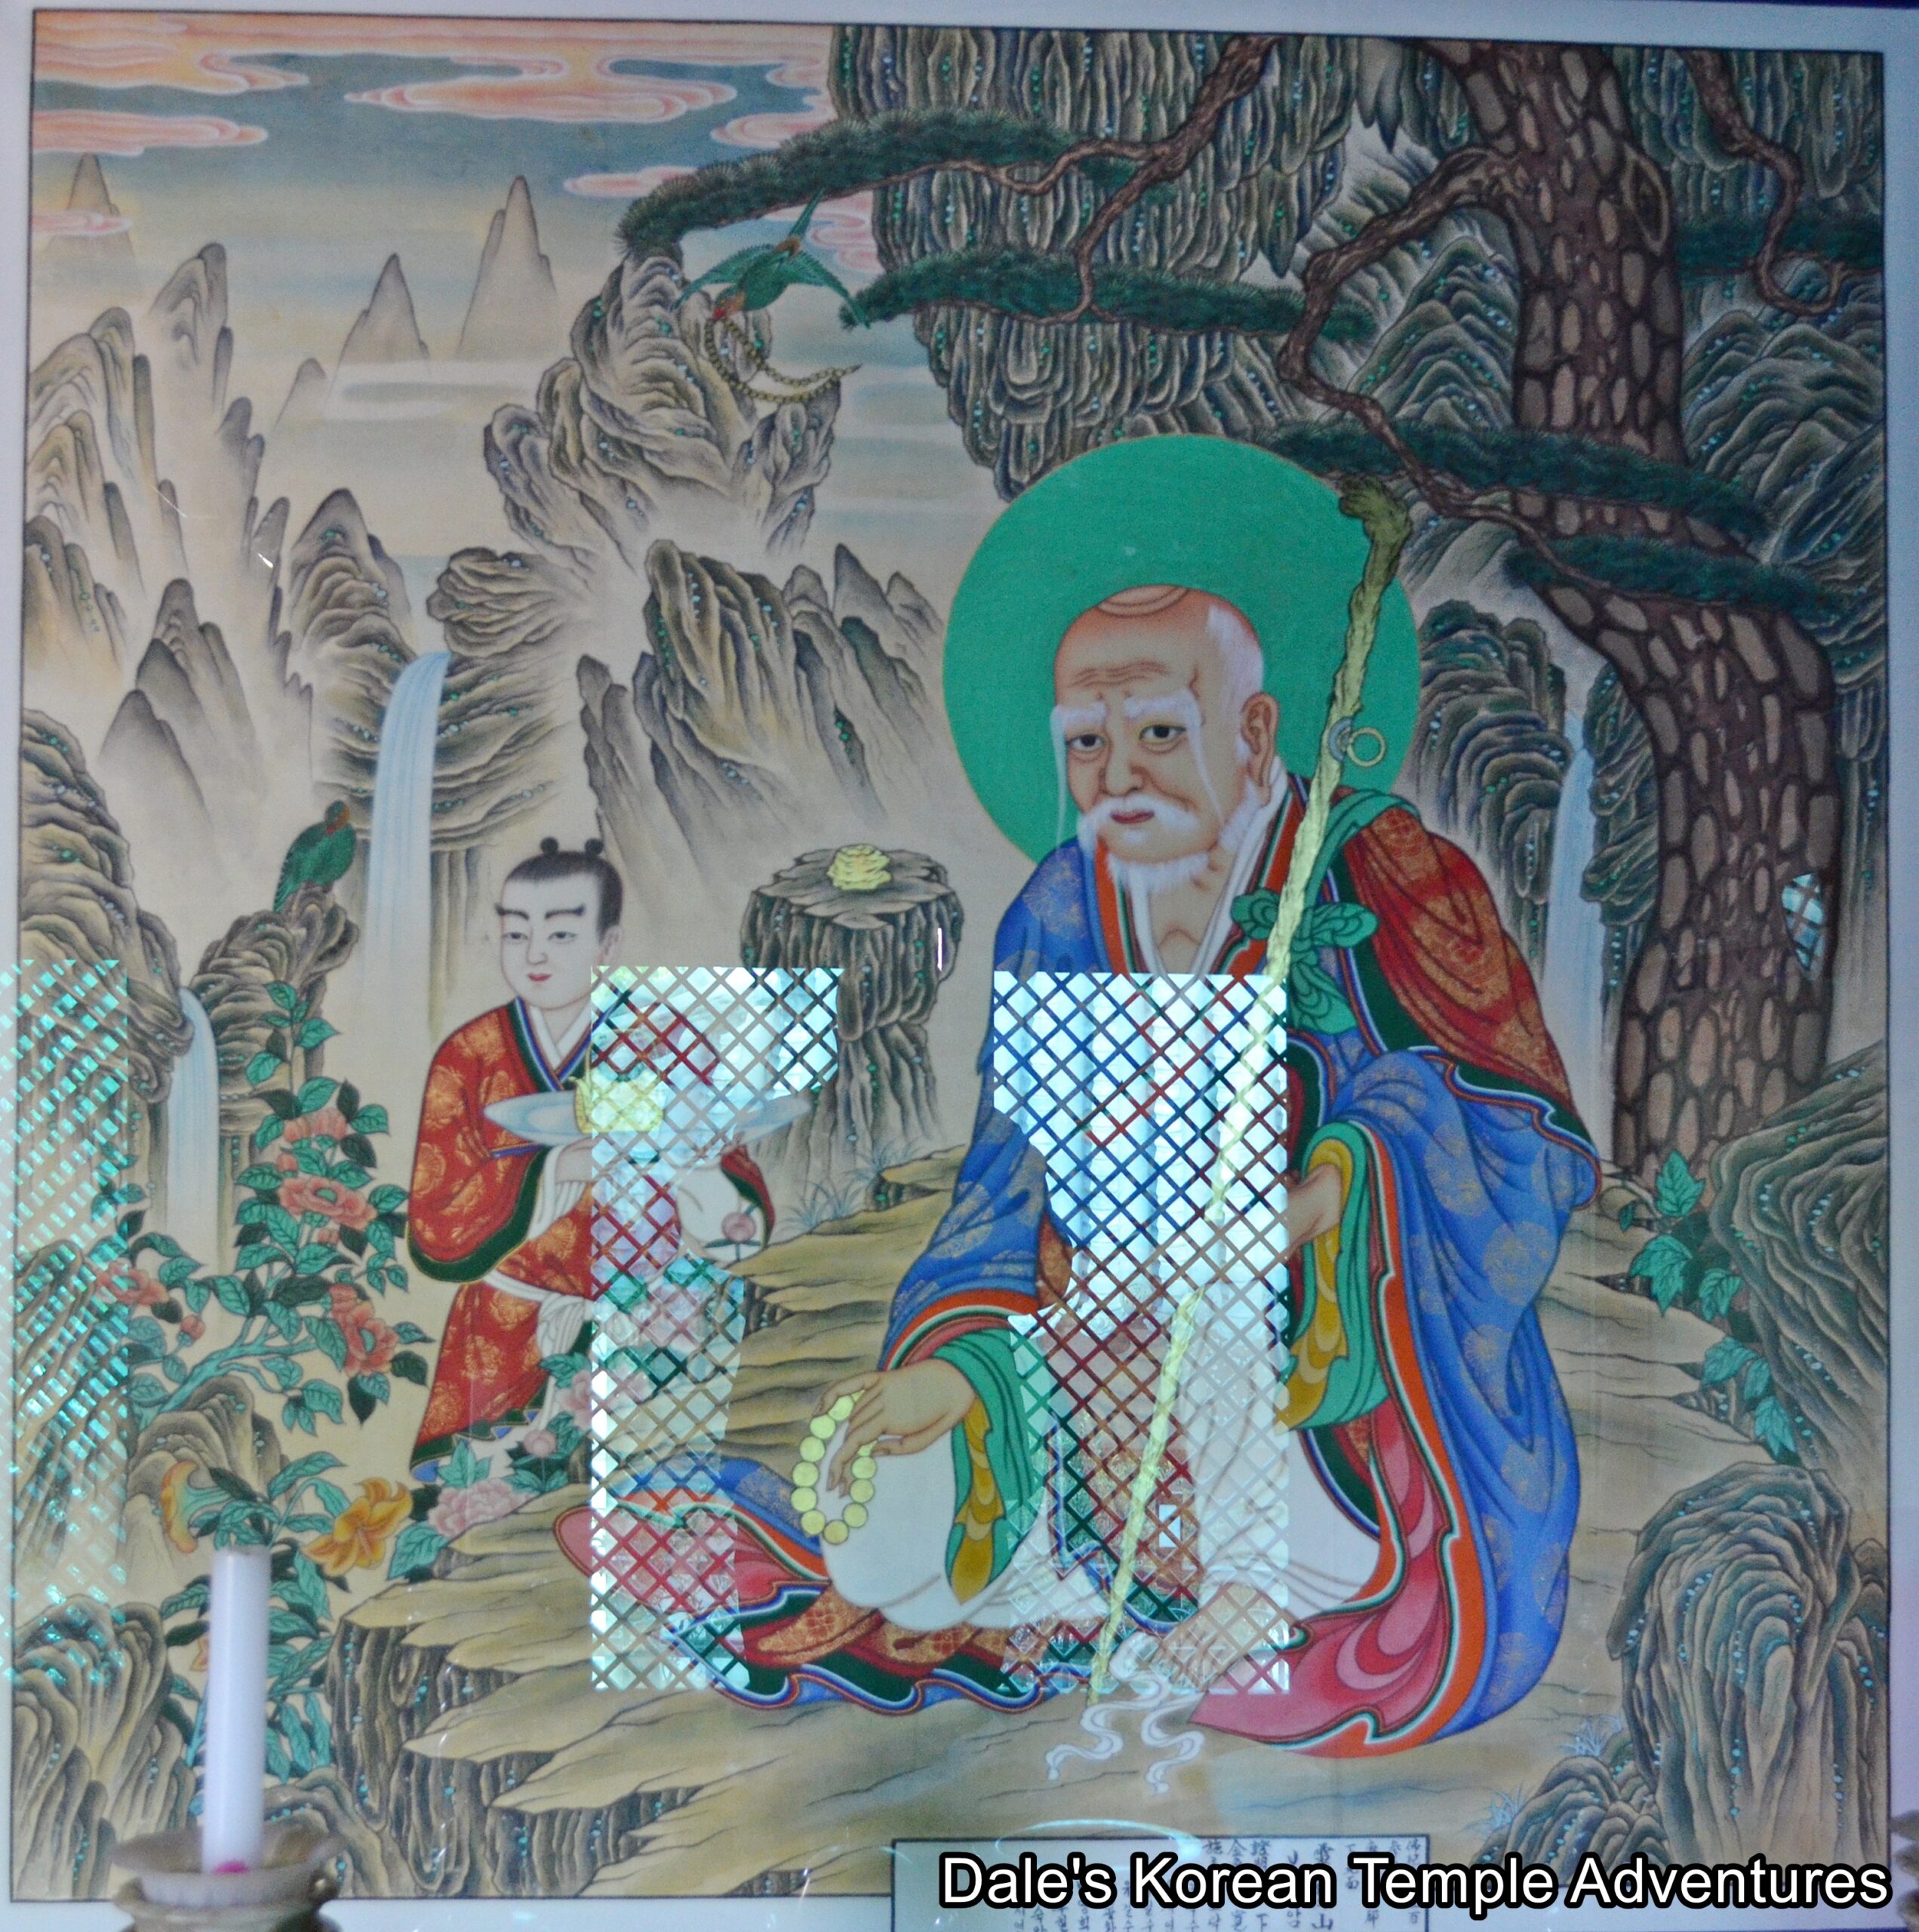
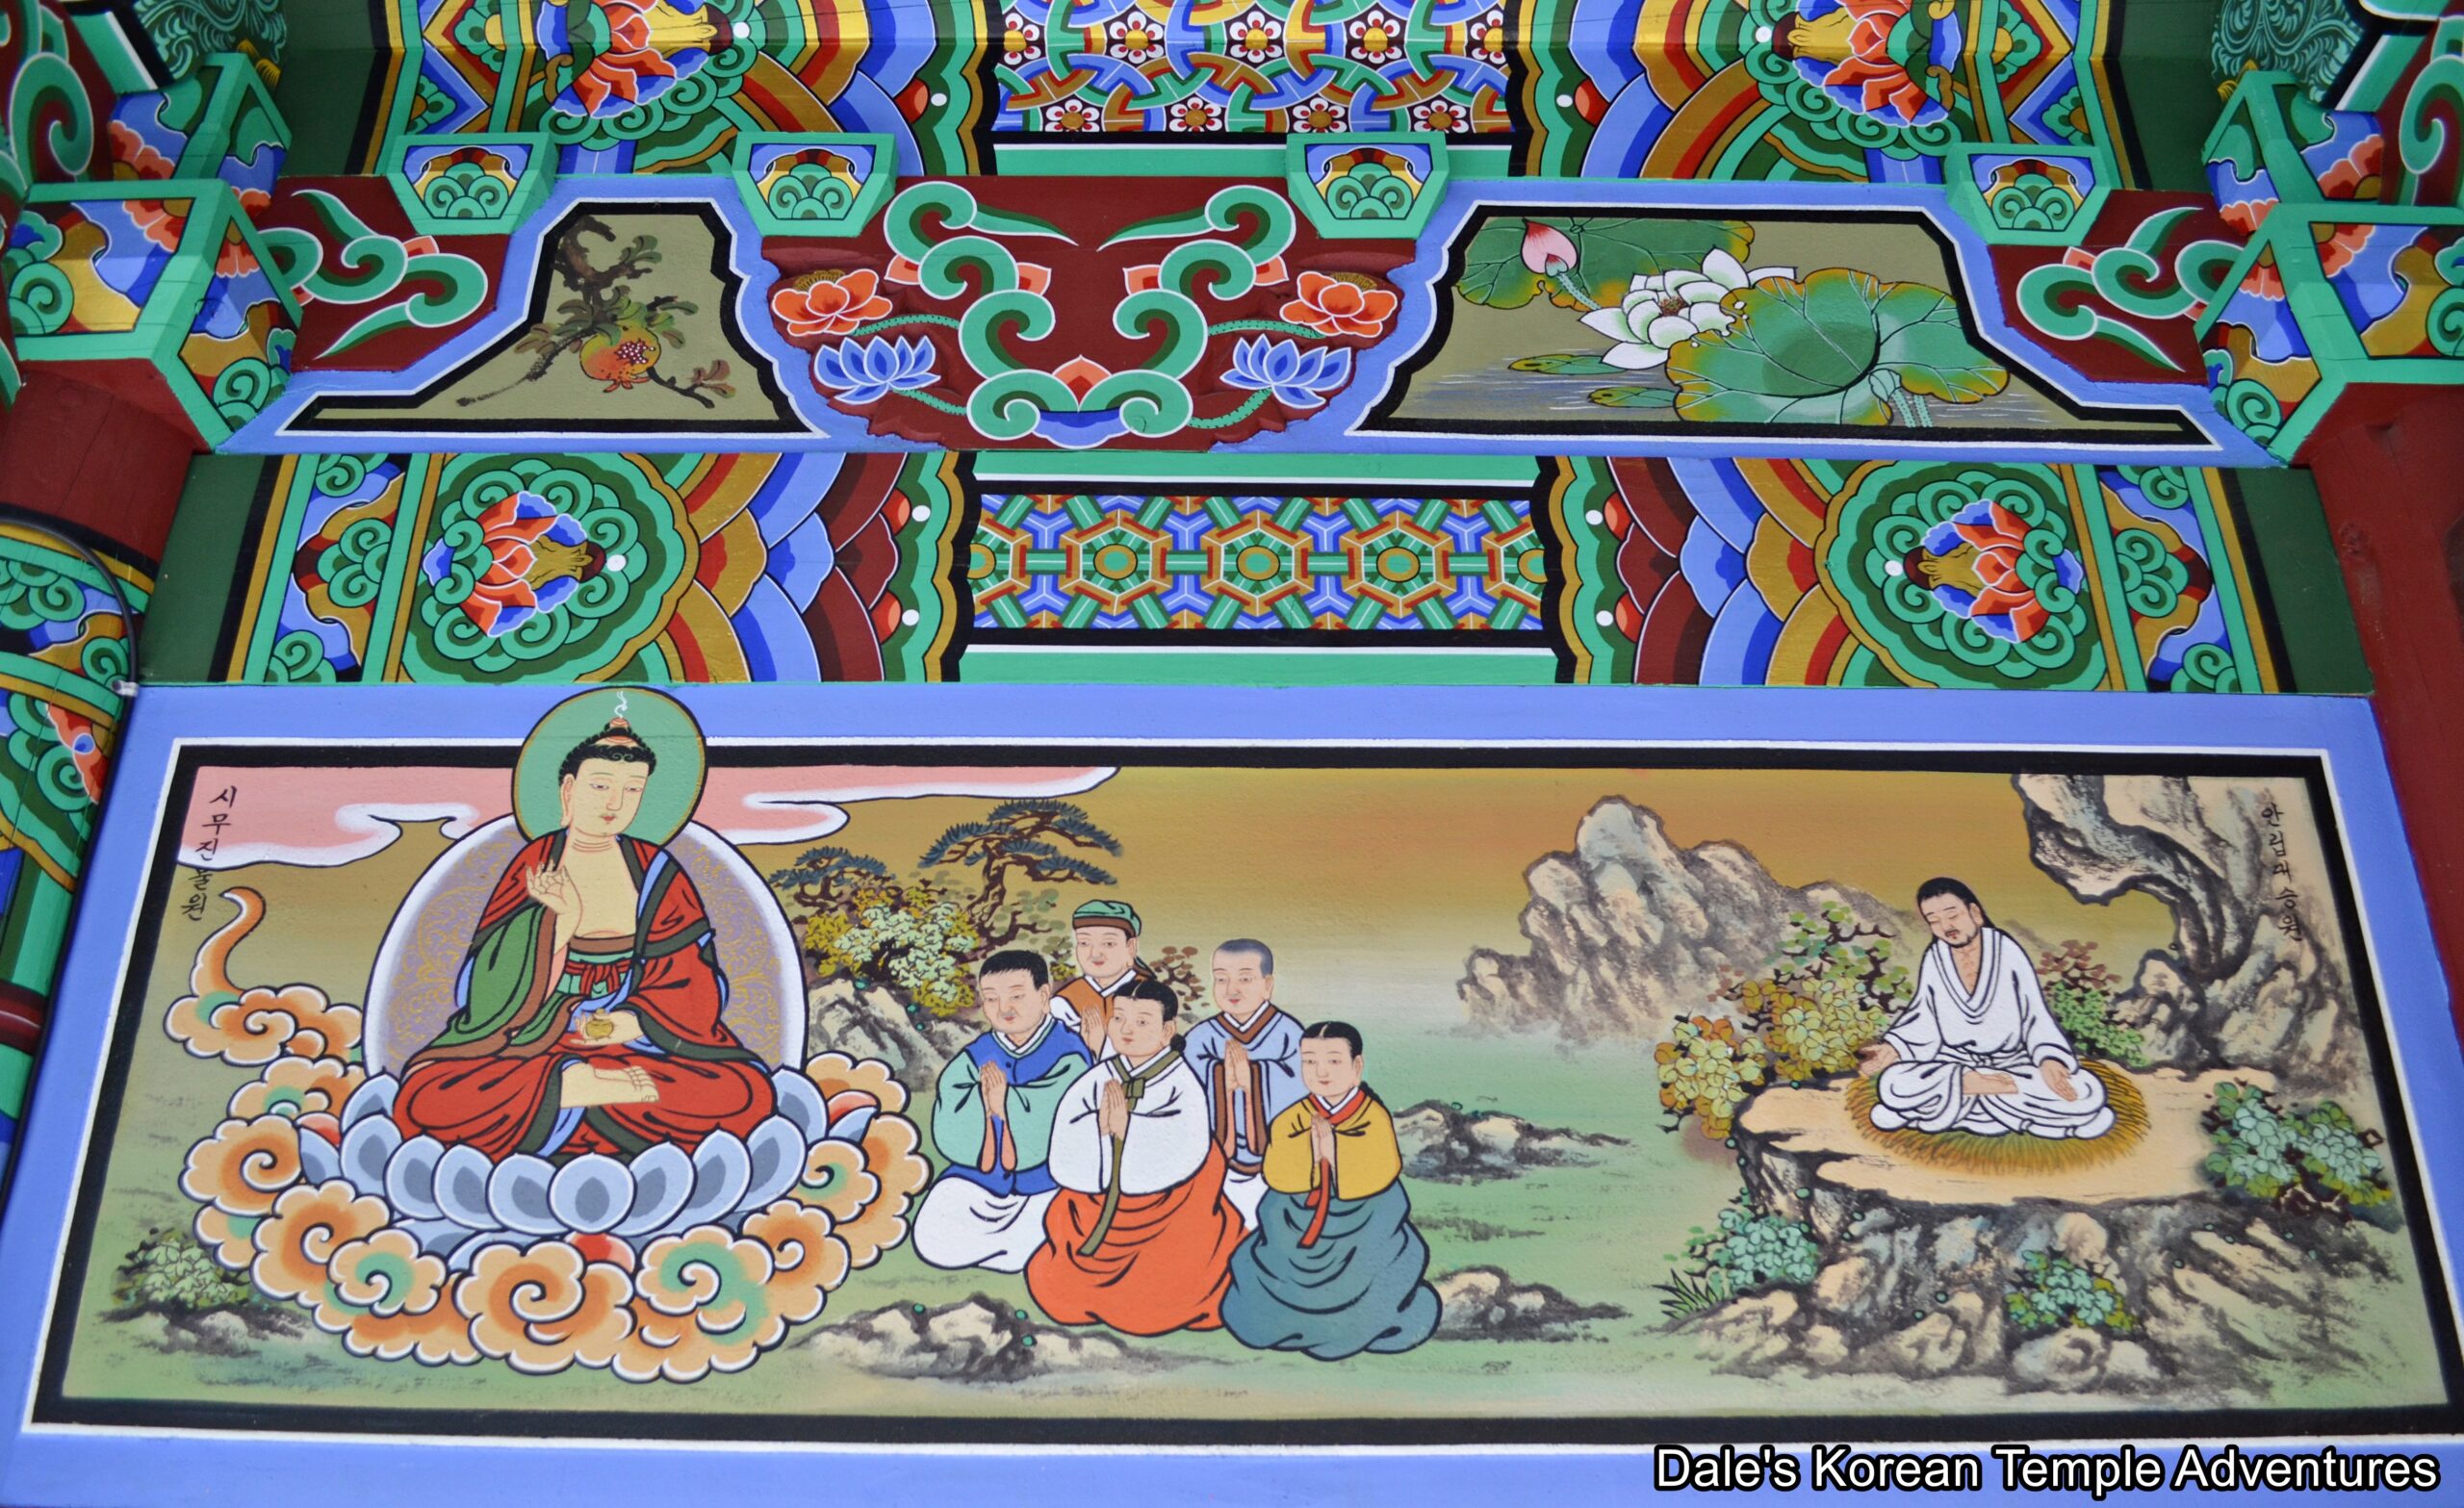
Framing the “Three-Story Stone Pagoda of Geumgoksa Temple” is the Daeung-jeon Hall. The exterior walls to the Daeung-jeon Hall are adorned with fading Shimu-do (Ox-Herding Murals) and Palsang-do (The Eight Scenes from the Buddha’s Life). Of the two, the Shim-do are placed below those of the Palsang-do. At the front of the main hall, you’ll find two decorative dragons on either side of the signboard with long, white whiskers. There is also some beautiful floral latticework adorning the front of the Daeung-jeon Hall, as well. Stepping inside the main hall, you’ll find a triad of statues under a large, red canopy. Resting in the centre of this triad is an image of Seokgamoni-bul (The Historical Buddha). This central statue is joined on either side by Munsu-bosal (The Bodhisattva of Wisdom) and Bohyeon-bosal (The Bodhisattva of Power). On either side of the main altar are a pair of paintings. To the right is an image dedicated to Dokseong (The Lonely Saint); and to the left, you’ll find an image dedicated to Chilseong (The Seven Stars). To the left of the mural dedicated to Chilseong is a mural dedicated to Sanshin (The Mountain Spirit), who rests on the back of a rather large tiger. And to the right of the mural dedicated to Dokseong is a Jijang-bosal (The Bodhisattva of the Afterlife) mural. The final mural in the Daeung-jeon Hall is a Shinjung Taenghwa (Guardian Mural) hanging on the far left wall.

To the immediate right of the Daeung-jeon Hall is the Jijang-jeon Hall. The exterior walls to this shrine hall; which, rather surprisingly, doesn’t have a signboard above its central entranceway, are adorned with various murals that include an all-white Gwanseeum-bosal (The Bodhisattva of Compassion), as well as a set of murals depicting the life-cycle. Stepping inside this shrine hall, you’ll find an image of Jijang-bosal (The Bodhisattva of the Afterlife) on the main altar. This central image is accompanied by the Siwang (The Ten Kings of the Underworld).

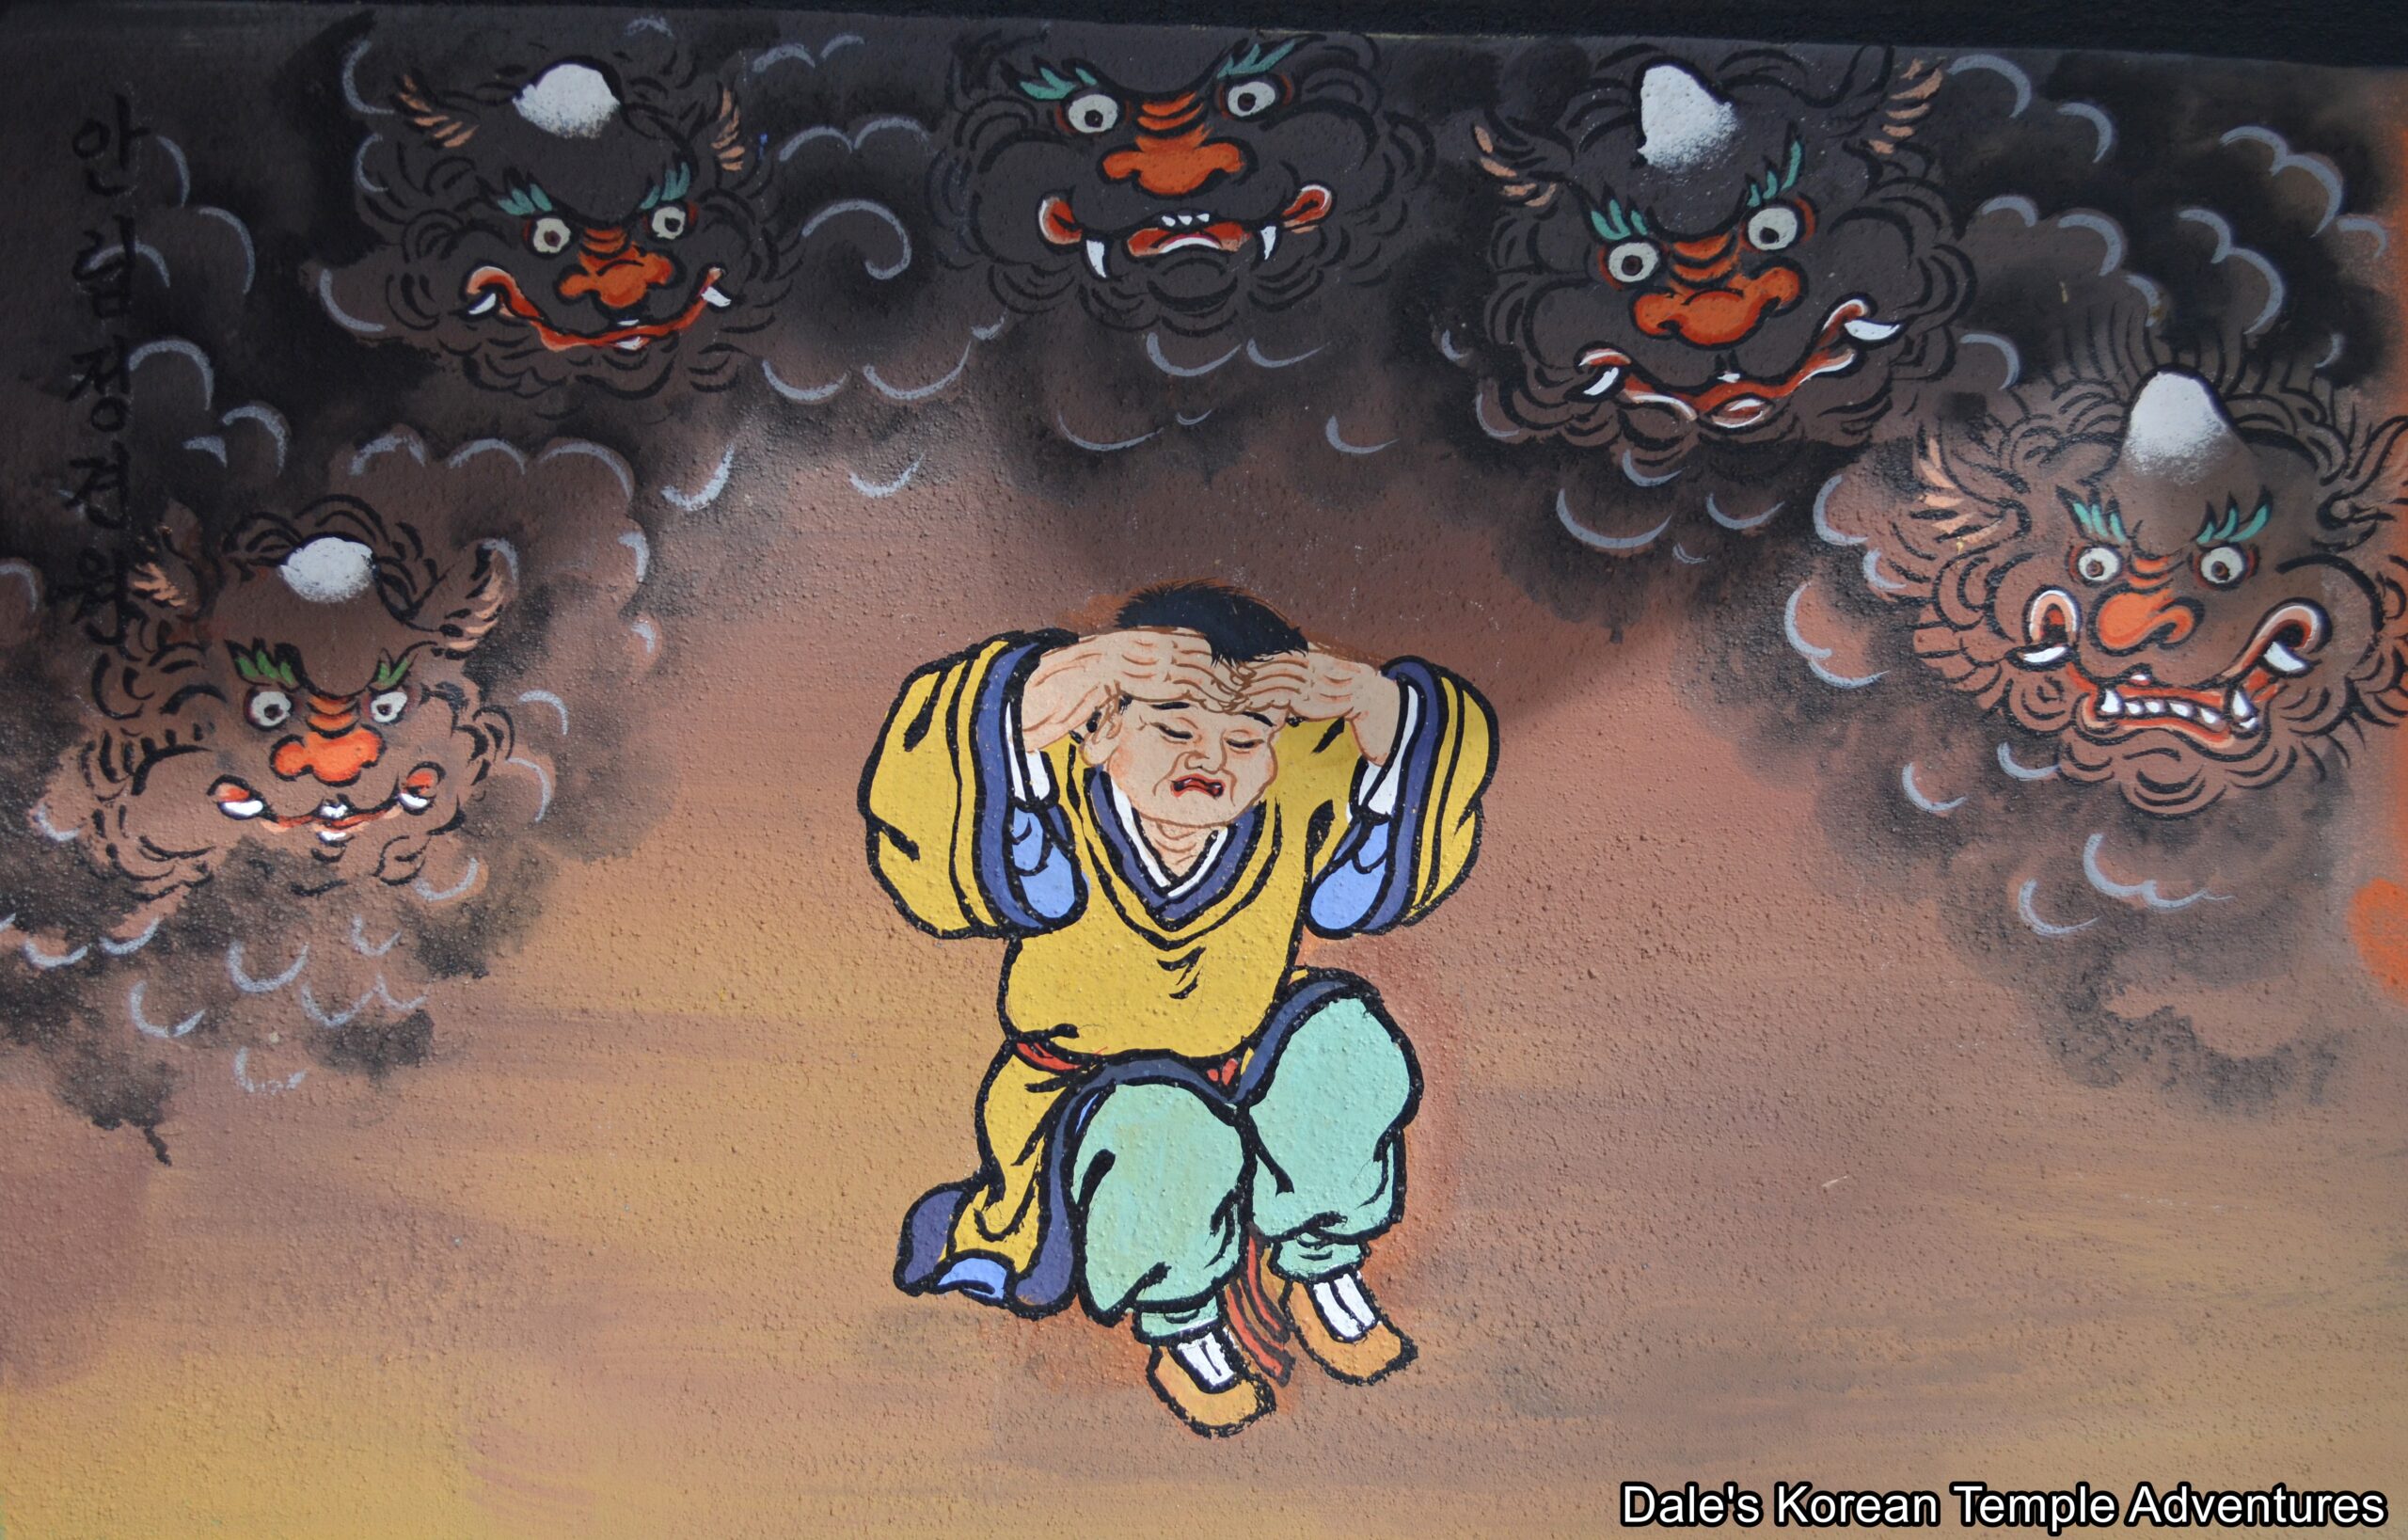
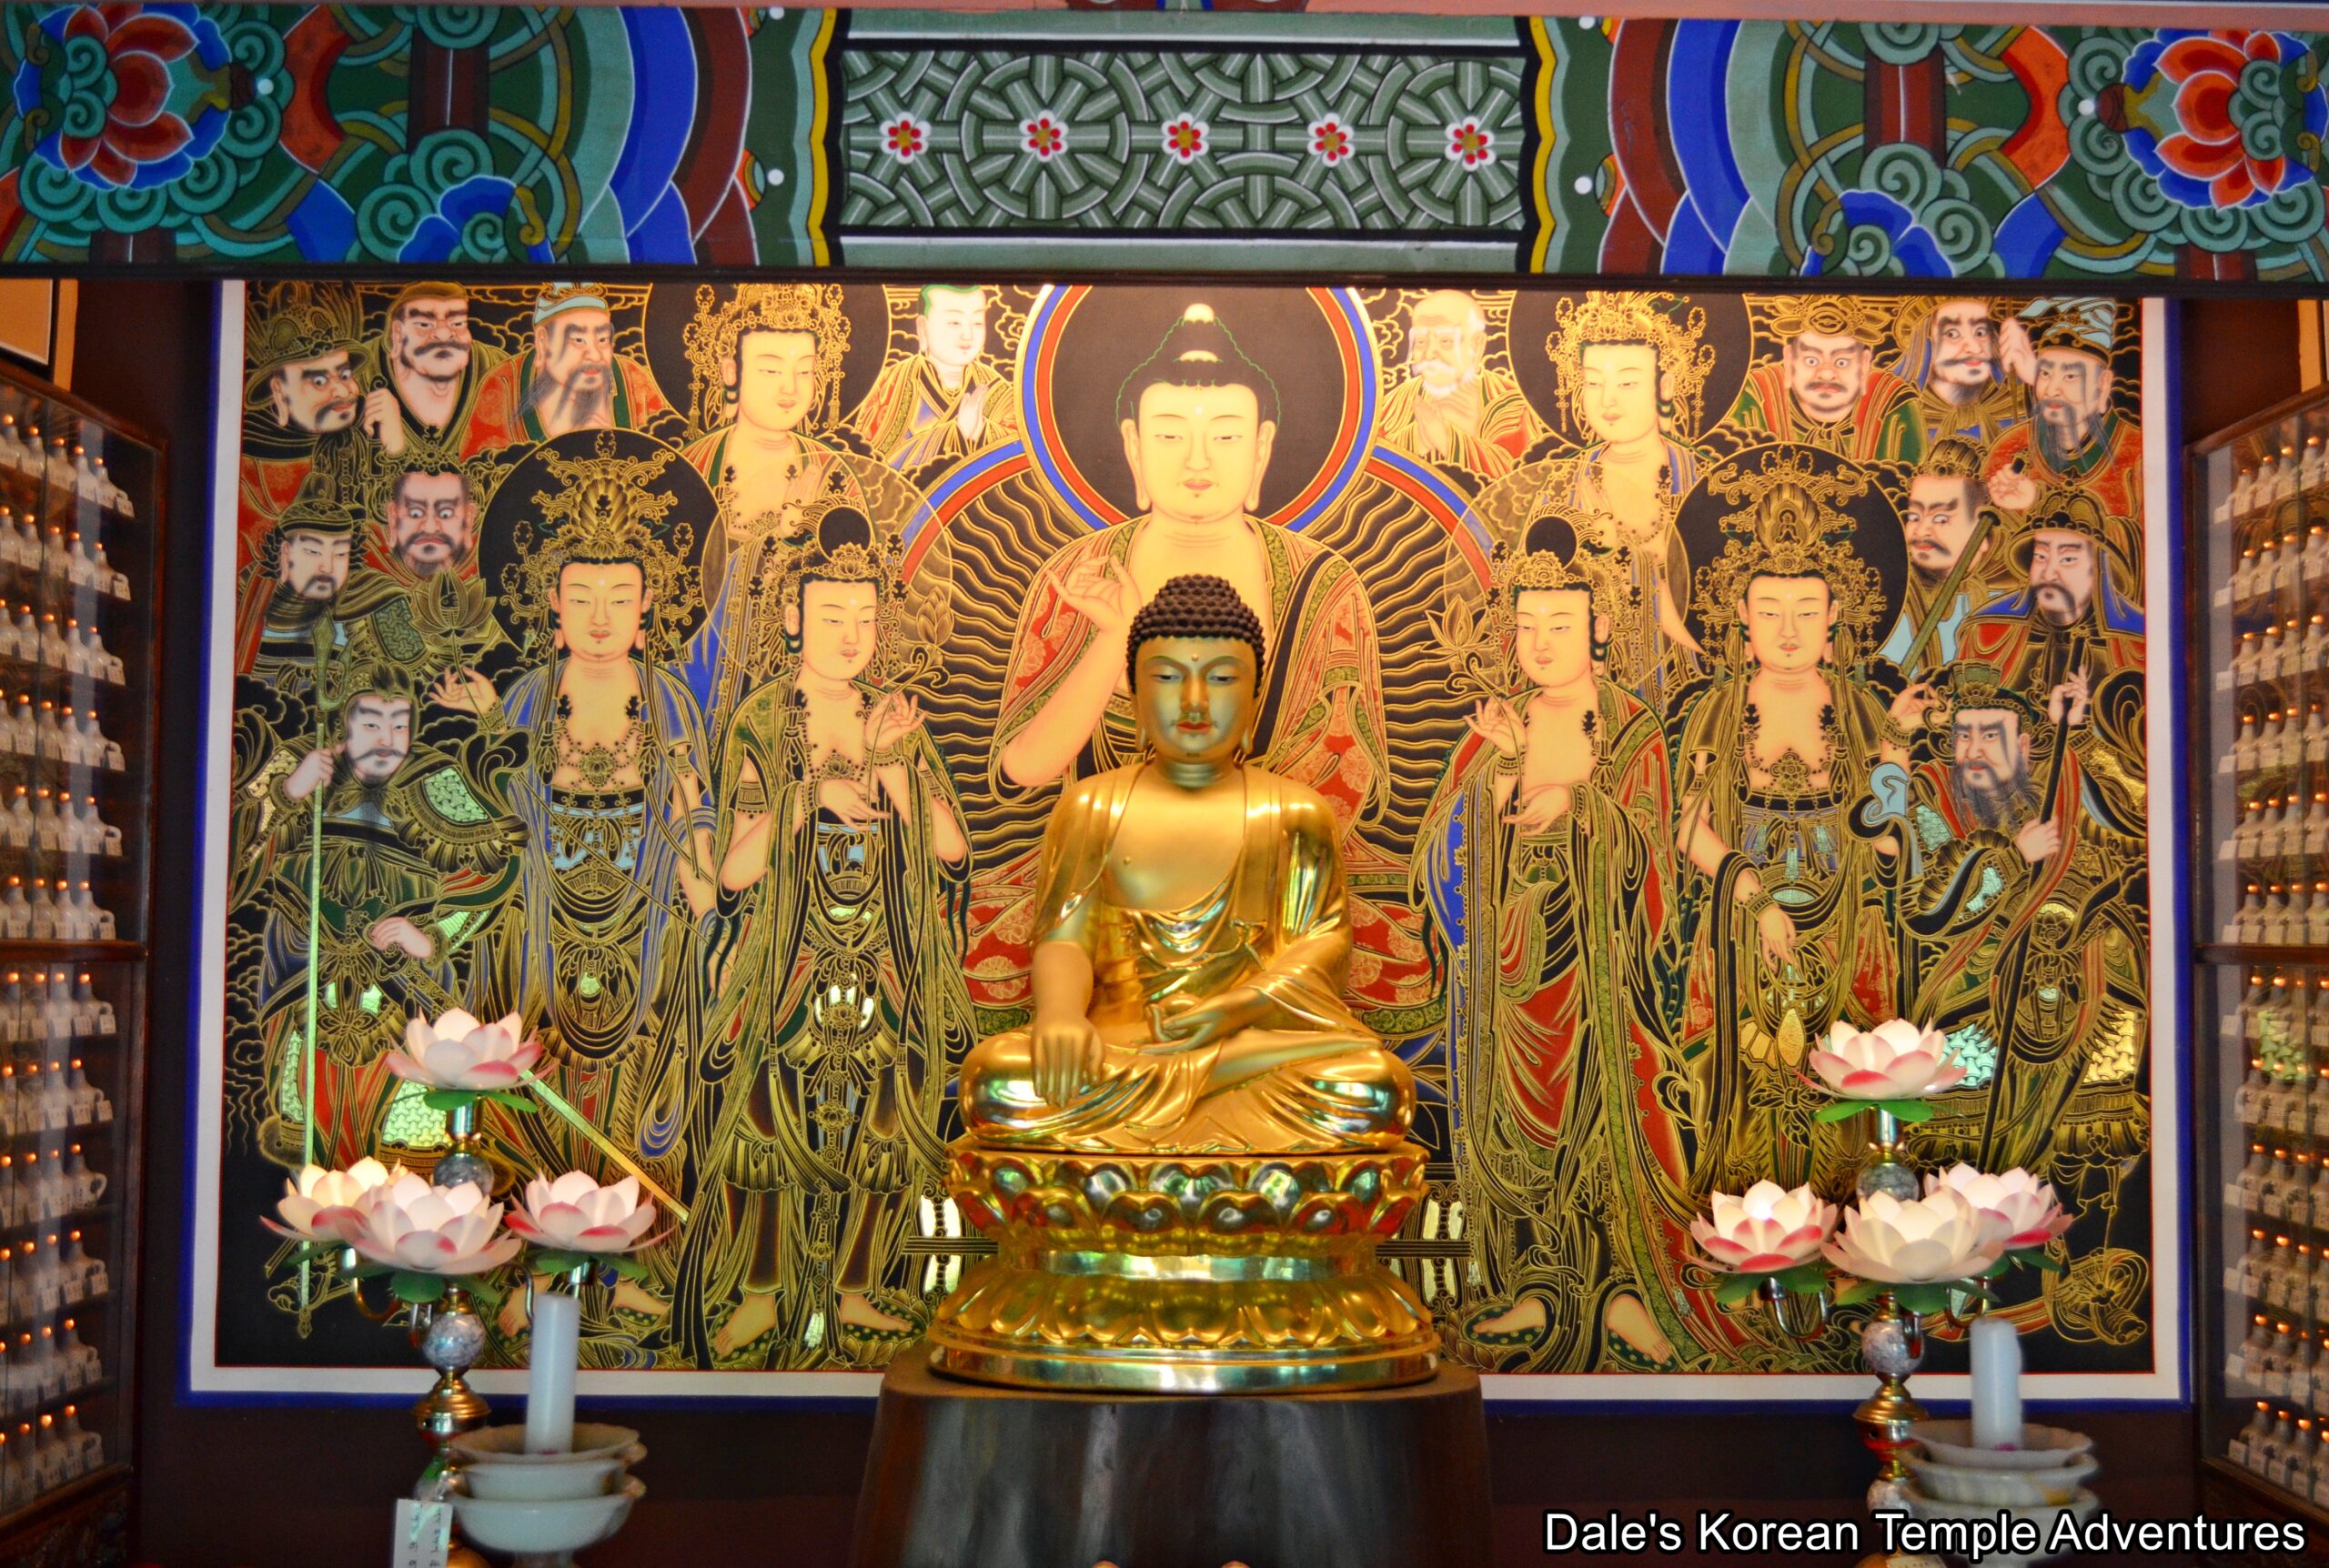
To the left of the Daeung-jeon Hall, on the other hand, is the Cheonbul-jeon Hall. The exterior walls are adorned with murals dedicated to the Nahan (The Historical Disciples of the Buddha). The front doors to this shrine hall are adorned with cartoonish Gwimyeon (Monster Masks). Stepping inside the Cheonbul-jeon Hall, you’ll find a thousand green porcelain images of the Buddha. Resting on the main altar, and fronting these one thousand green Buddhas, is a large solitary image of Seokgamoni-bul (The Historical Buddha).

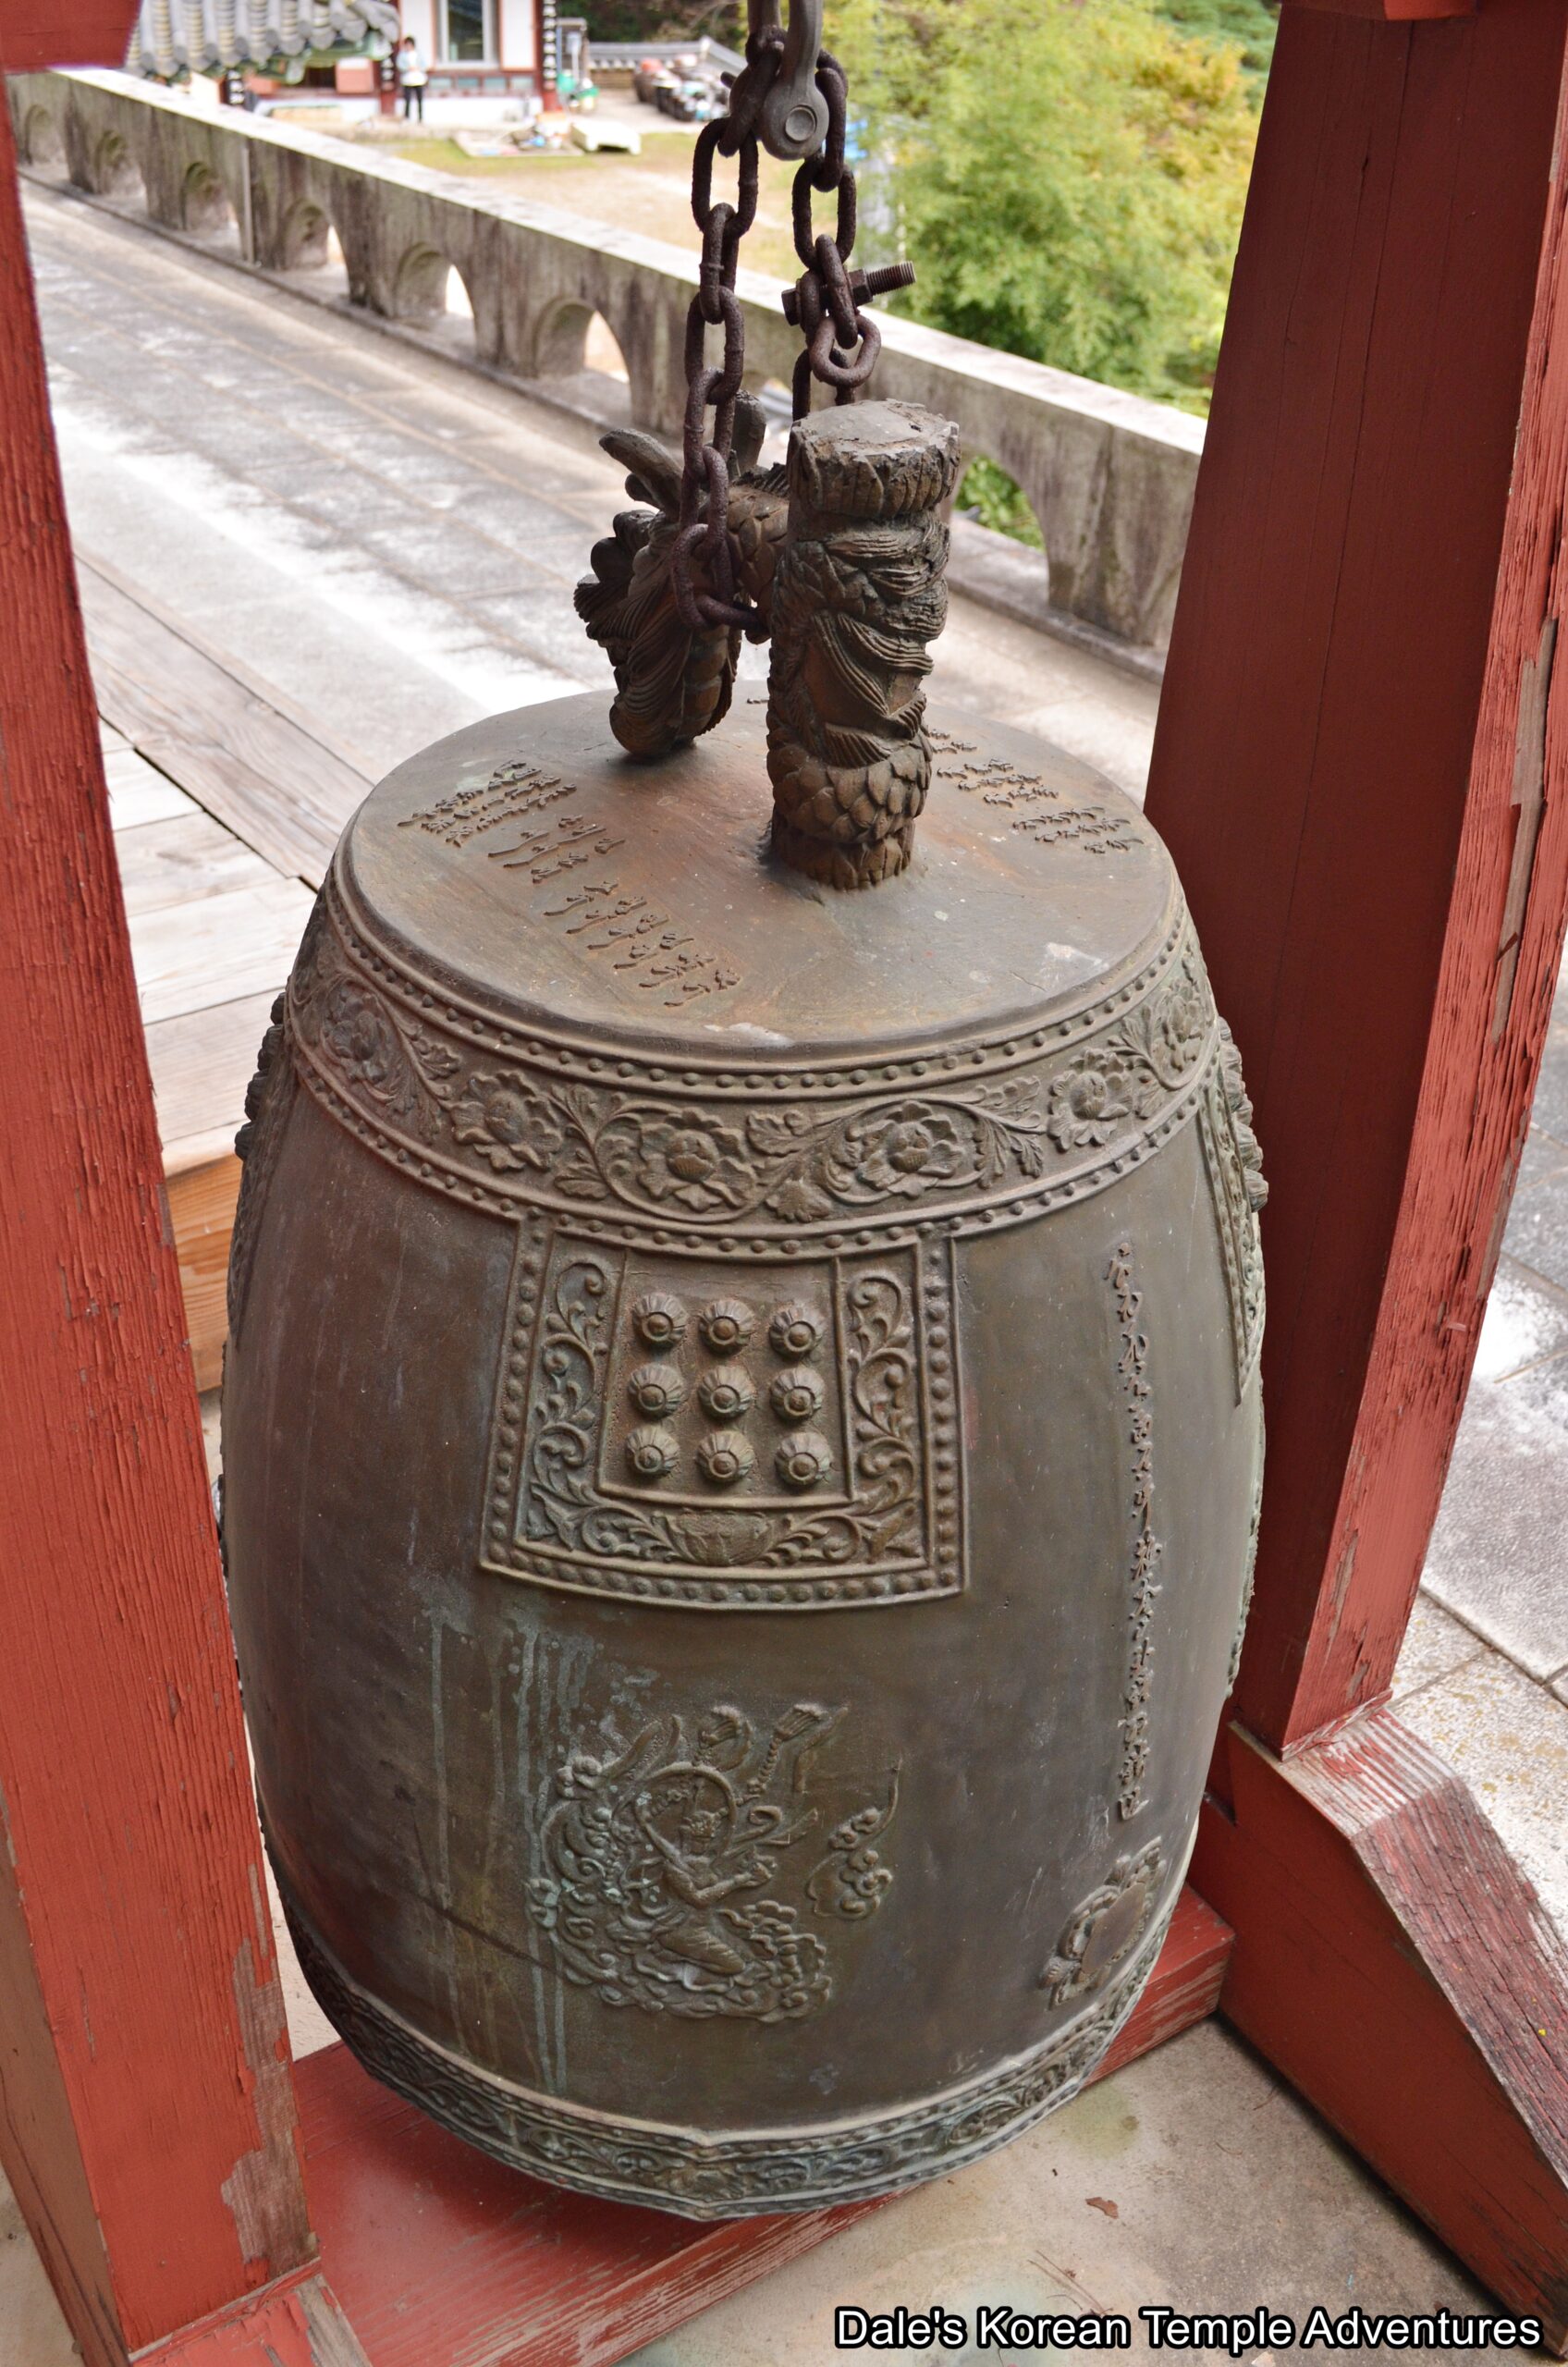
The final structure at Geumgoksa Temple that visitors can explore is the Jong-ru Pavilion out in front of the Cheonbul-jeon Hall. This wooden pavilion houses a large bronze bell. The other three traditional Buddhist percussion instruments are absent from this Jong-ru Pavilion.

How To Get There

From the Gangjin Intercity Bus Teriminal, you’ll need to take the “Nongeo-chon – 농어촌 6” bus or the “Nongeo-chon – 농어촌 12” bus. After 10 stops, or 15 minutes, you’ll need to get off at the “Geumgoksa – 금곡사” bus stop. After that, you’ll be right at the temple.

Overall Rating: 6/10

Geumgoksa Temple is beautifully located in the folds of the base of the mountain with a stream to the east. Besides its beautiful location, the obvious highlight to the temple is the Goryeo-era “Three-Story Stone Pagoda of Geumgoksa Temple.” While partially damaged, the three-story structure still exudes its original beauty. In addition to this welcoming pagoda, the main hall beautiful modern depictions of the three most popular shaman deities. Also have a look up at the signboard of the Daeung-jeon Hall at the large, whiskered decorative dragons.

The walk up to the temple courtyard at Geumgoksa Temple.
The “Three-Story Stone Pagoda of Geumgoksa Temple” with the Daeung-jeon Hall in the background.
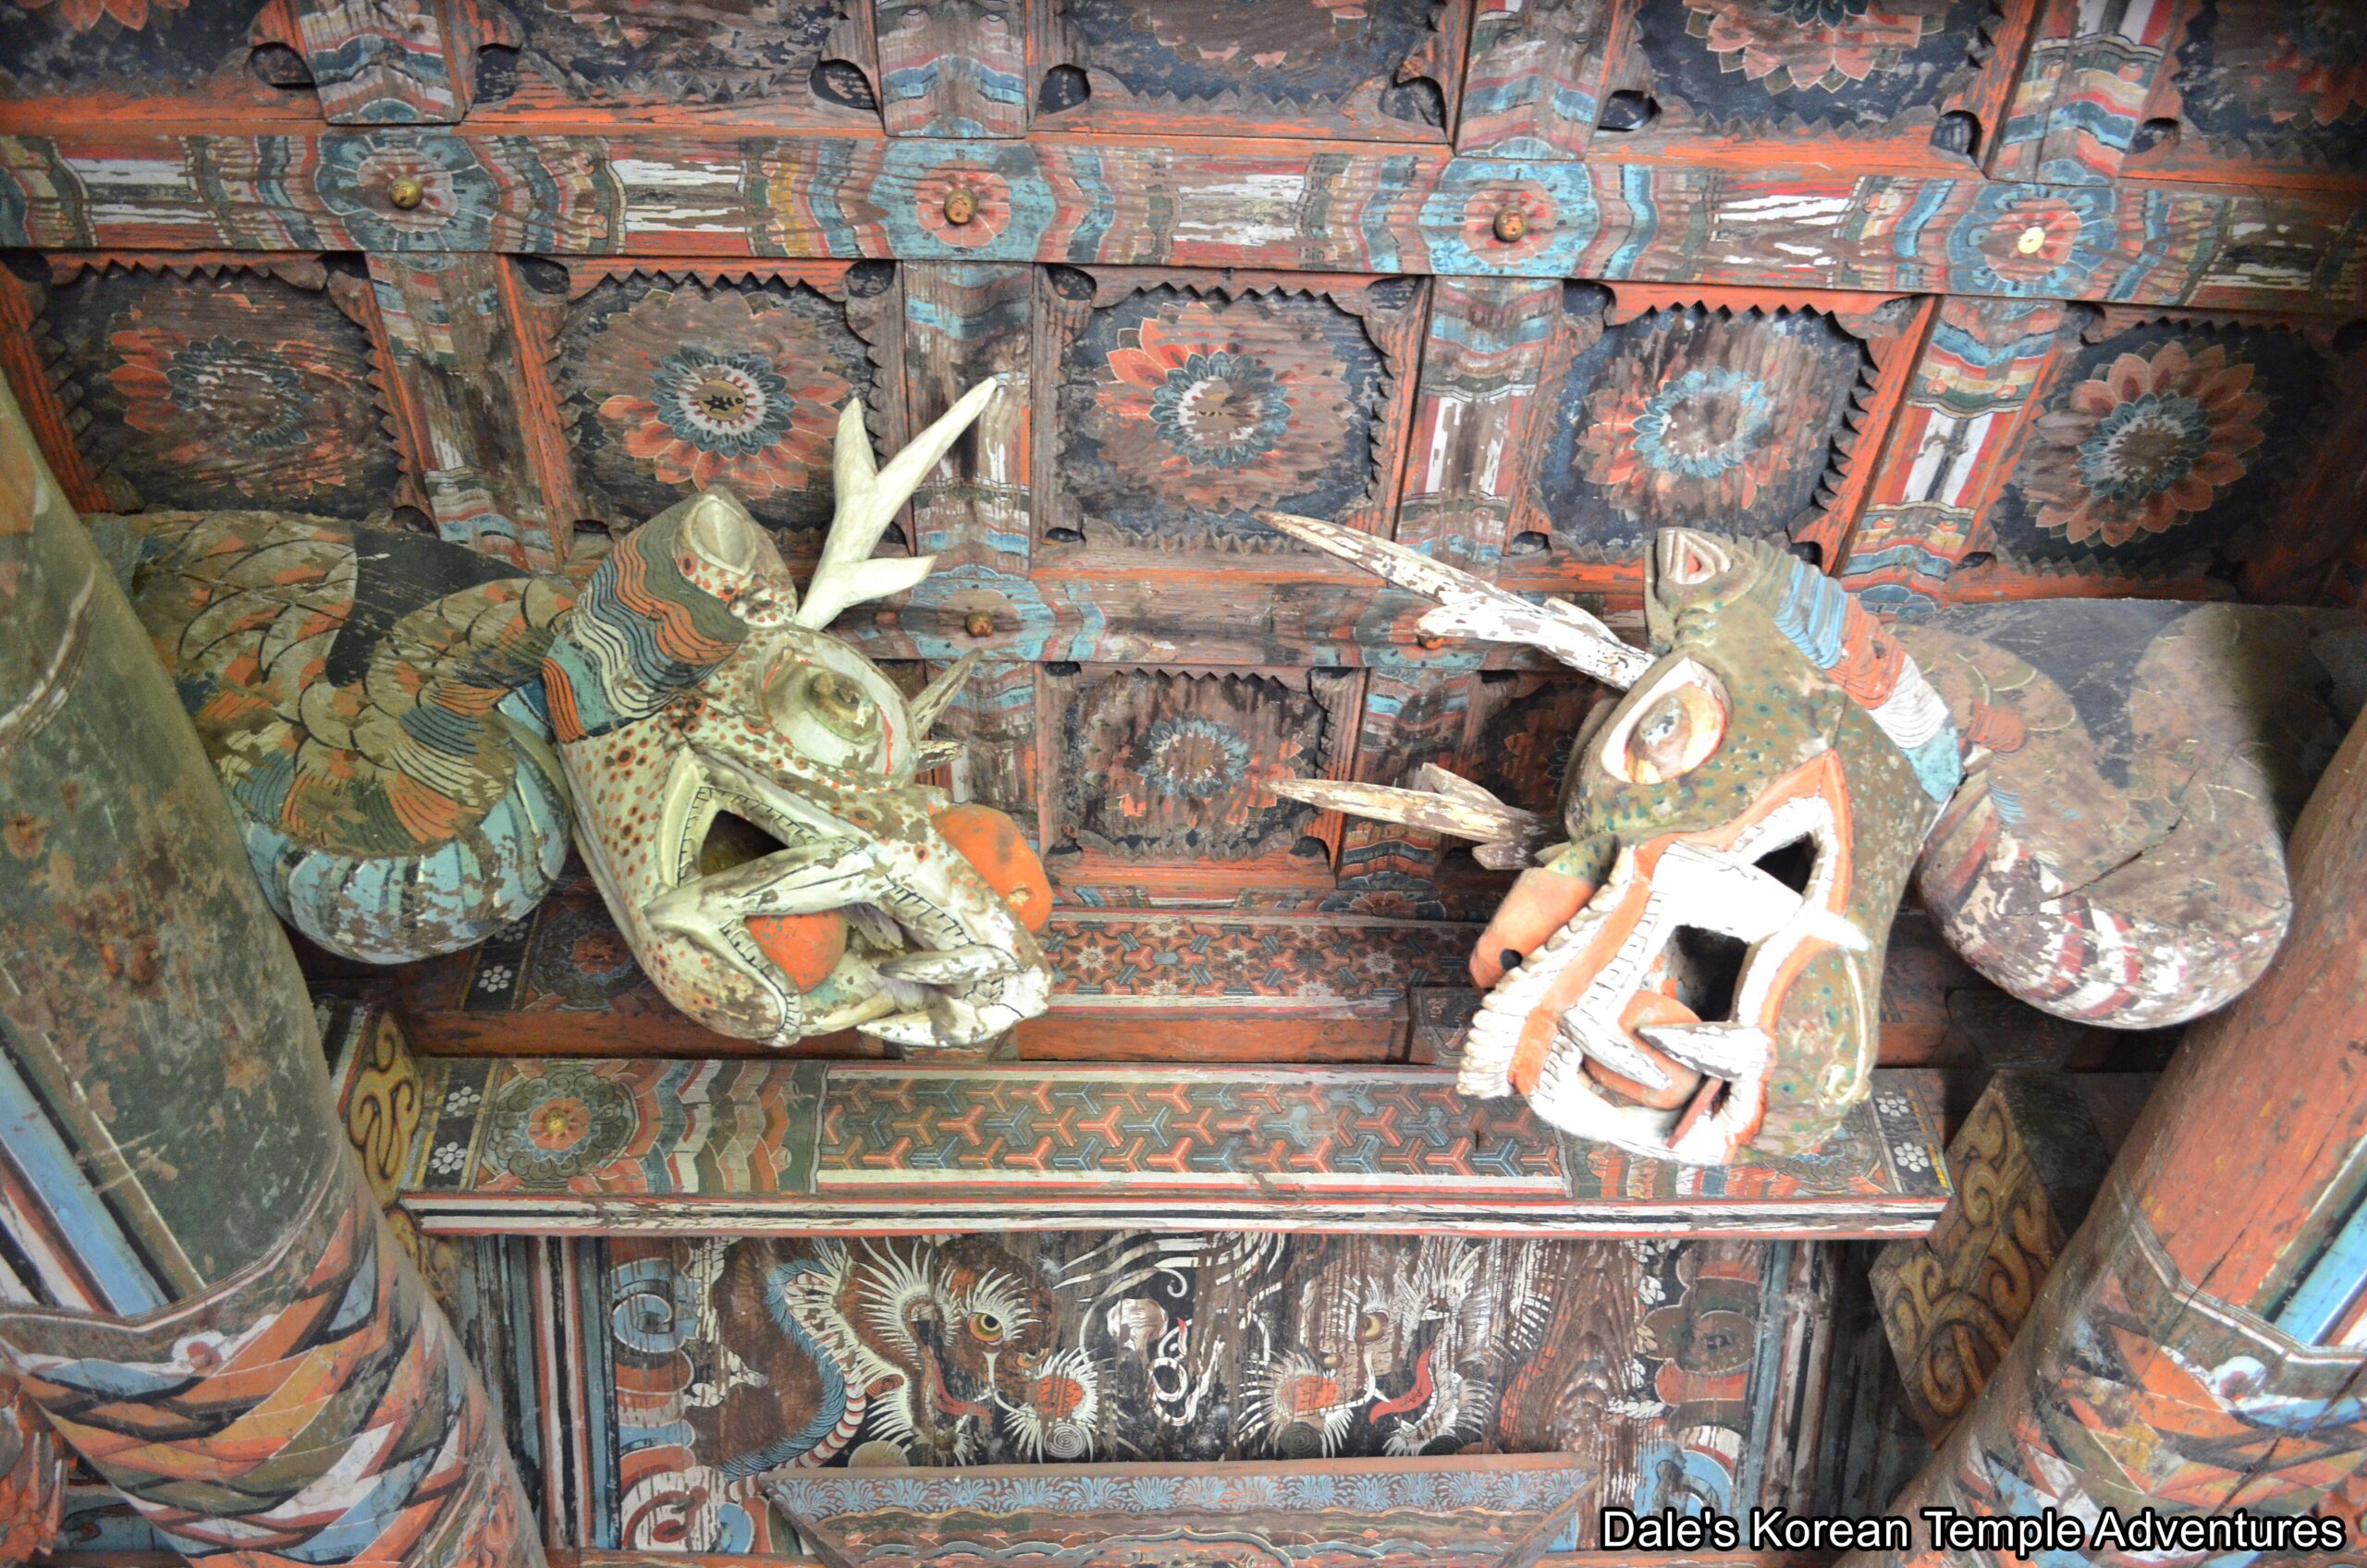
One of the decorative dragons that adorns the front of the Daeung-jeon Hall near its signboard.
The two sets of murals that adorn the Daeung-jeon Hall: the Shimu-do (bottom) and the Palsang-do (top).
The main altar inside the Daeung-jeon Hall with a mural dedicated to Dokseong (The Lonely Saint) to the right and Chilseong (The Seven Stars) to the left.
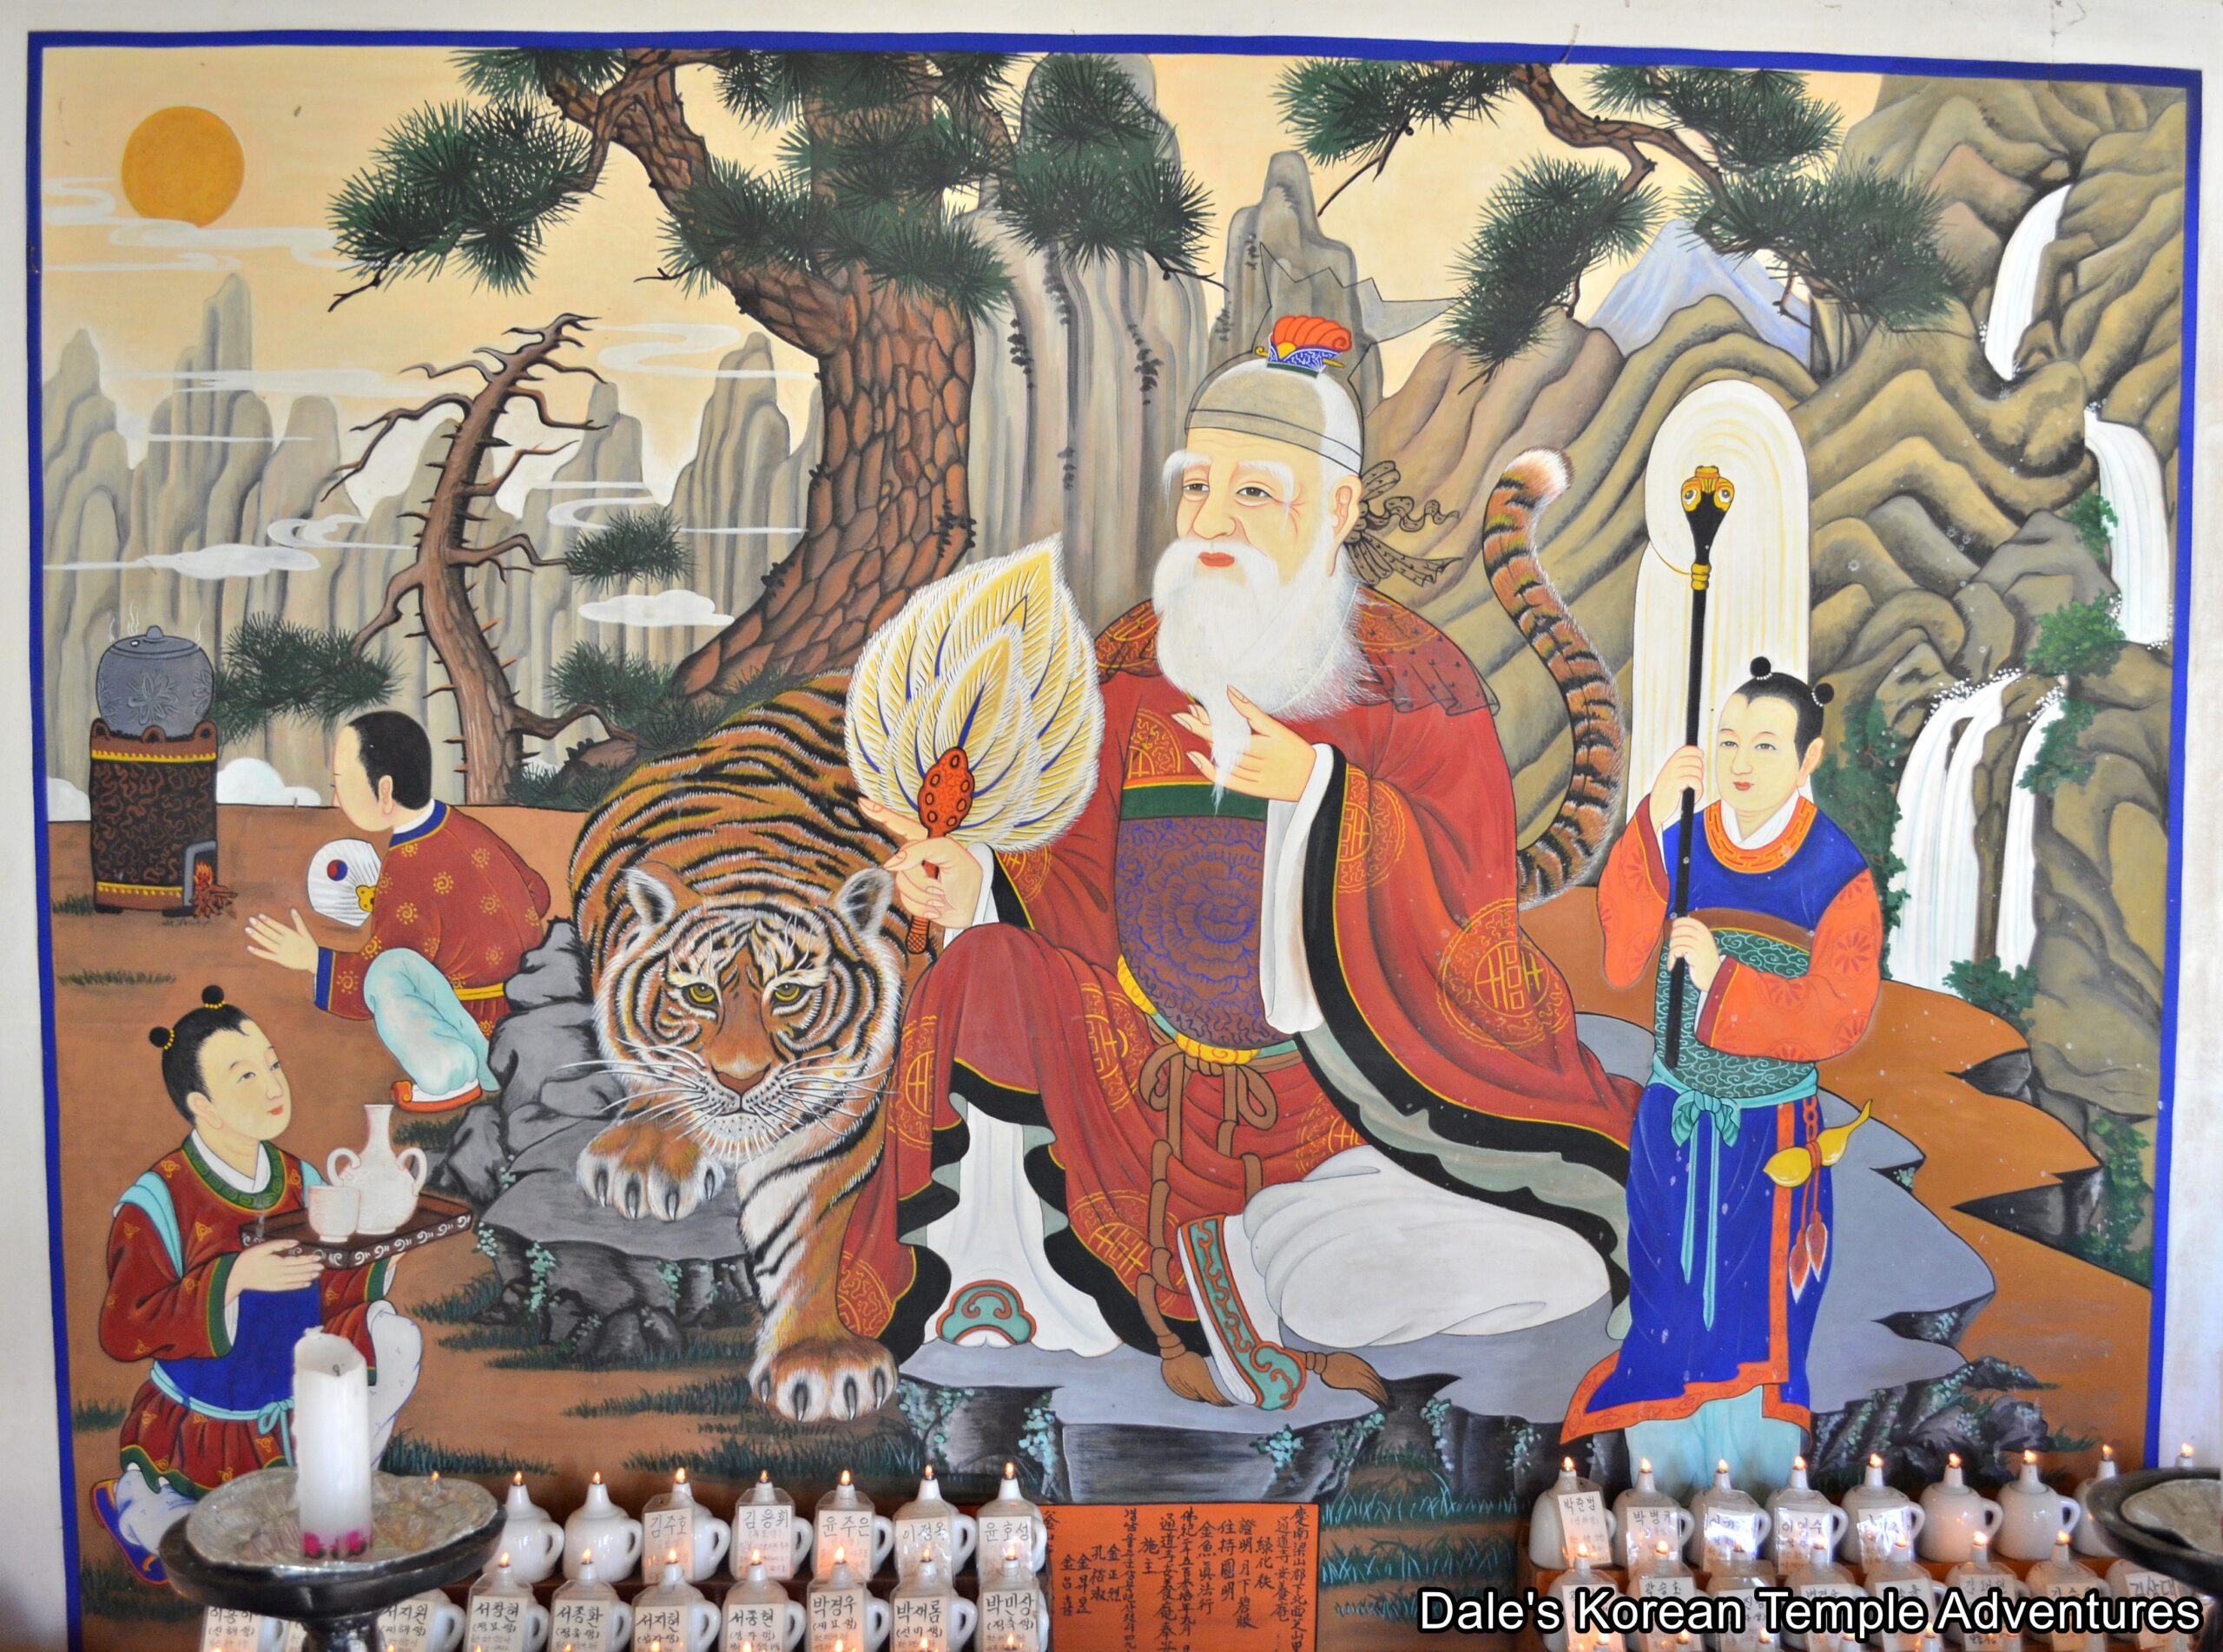
The mural dedicated to Sanshin (The Mountain Spirit) inside the main hall, as well.
The Jijang-jeon Hall at Geumgoksa Temple.
To the left of the Jijang-jeon Hall.
The Cheonbul-jeon Hall at Geumgoksa Temple.
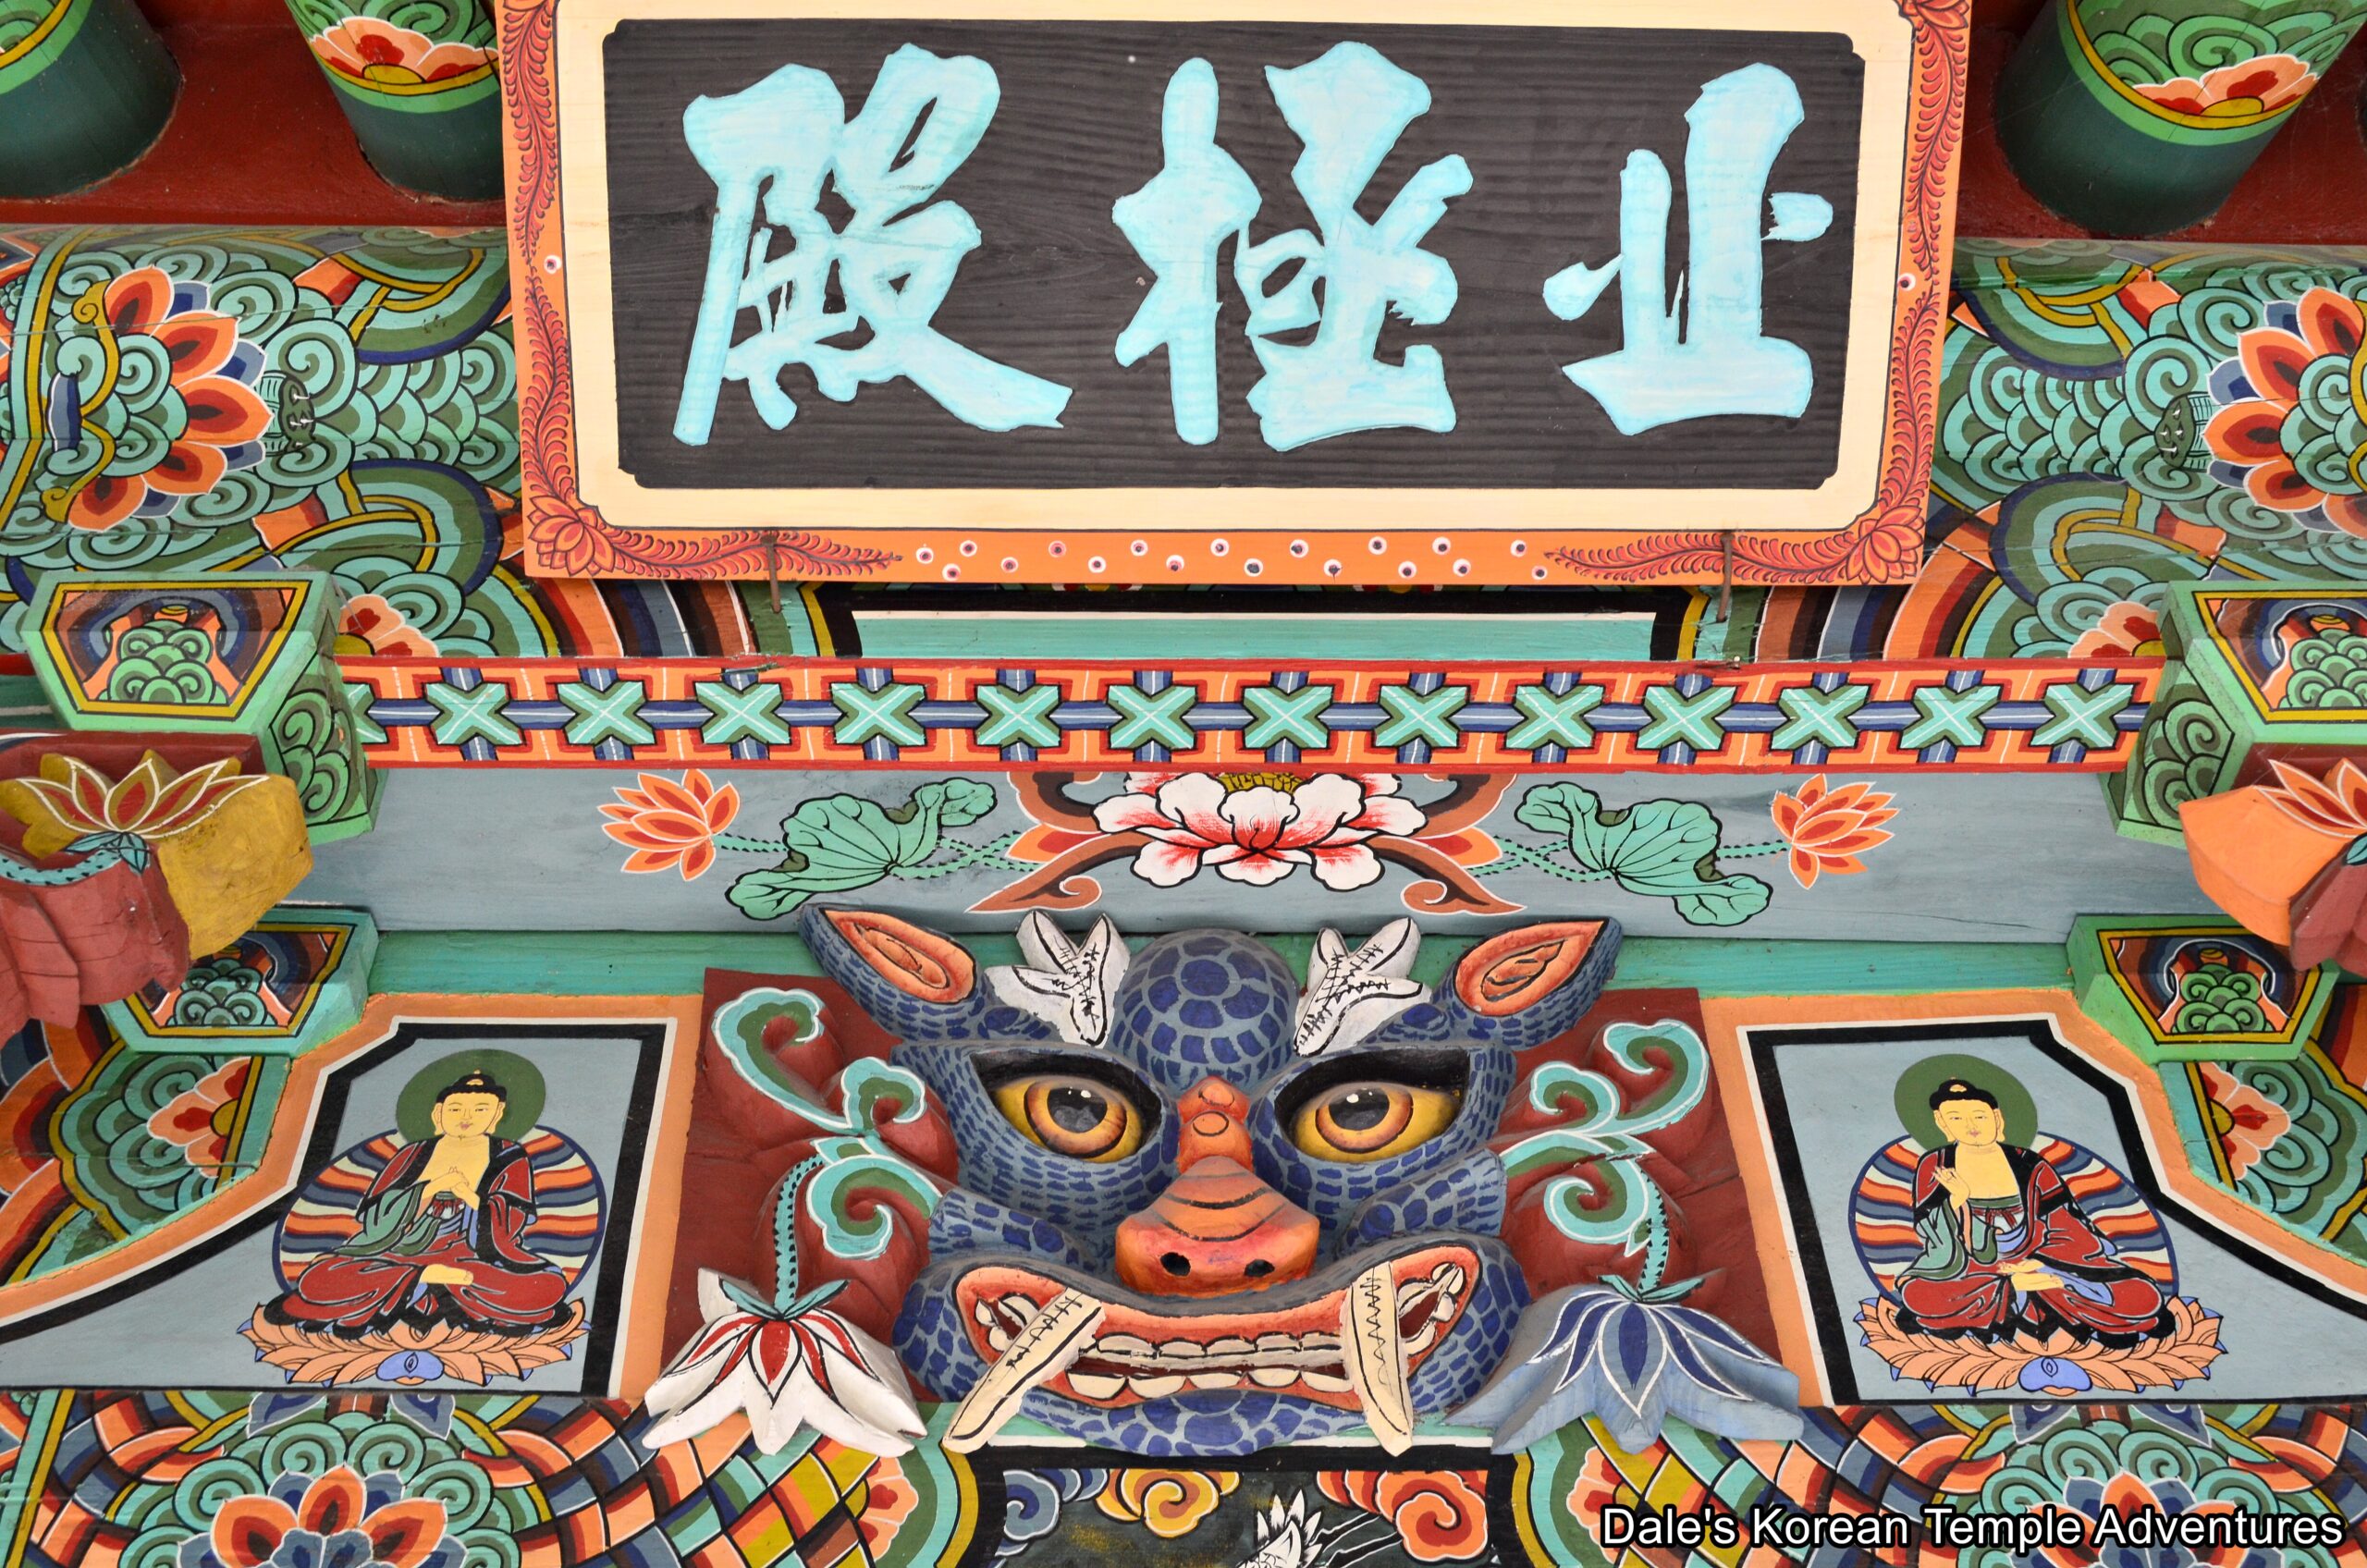
One of the Gwimyeon (Monster Masks) that adorns the Cheonbul-jeon Hall.
One of the Nahan (The Historical Disciples of the Buddha) that adorns one of the exterior walls of the Cheonbul-jeon Hall.
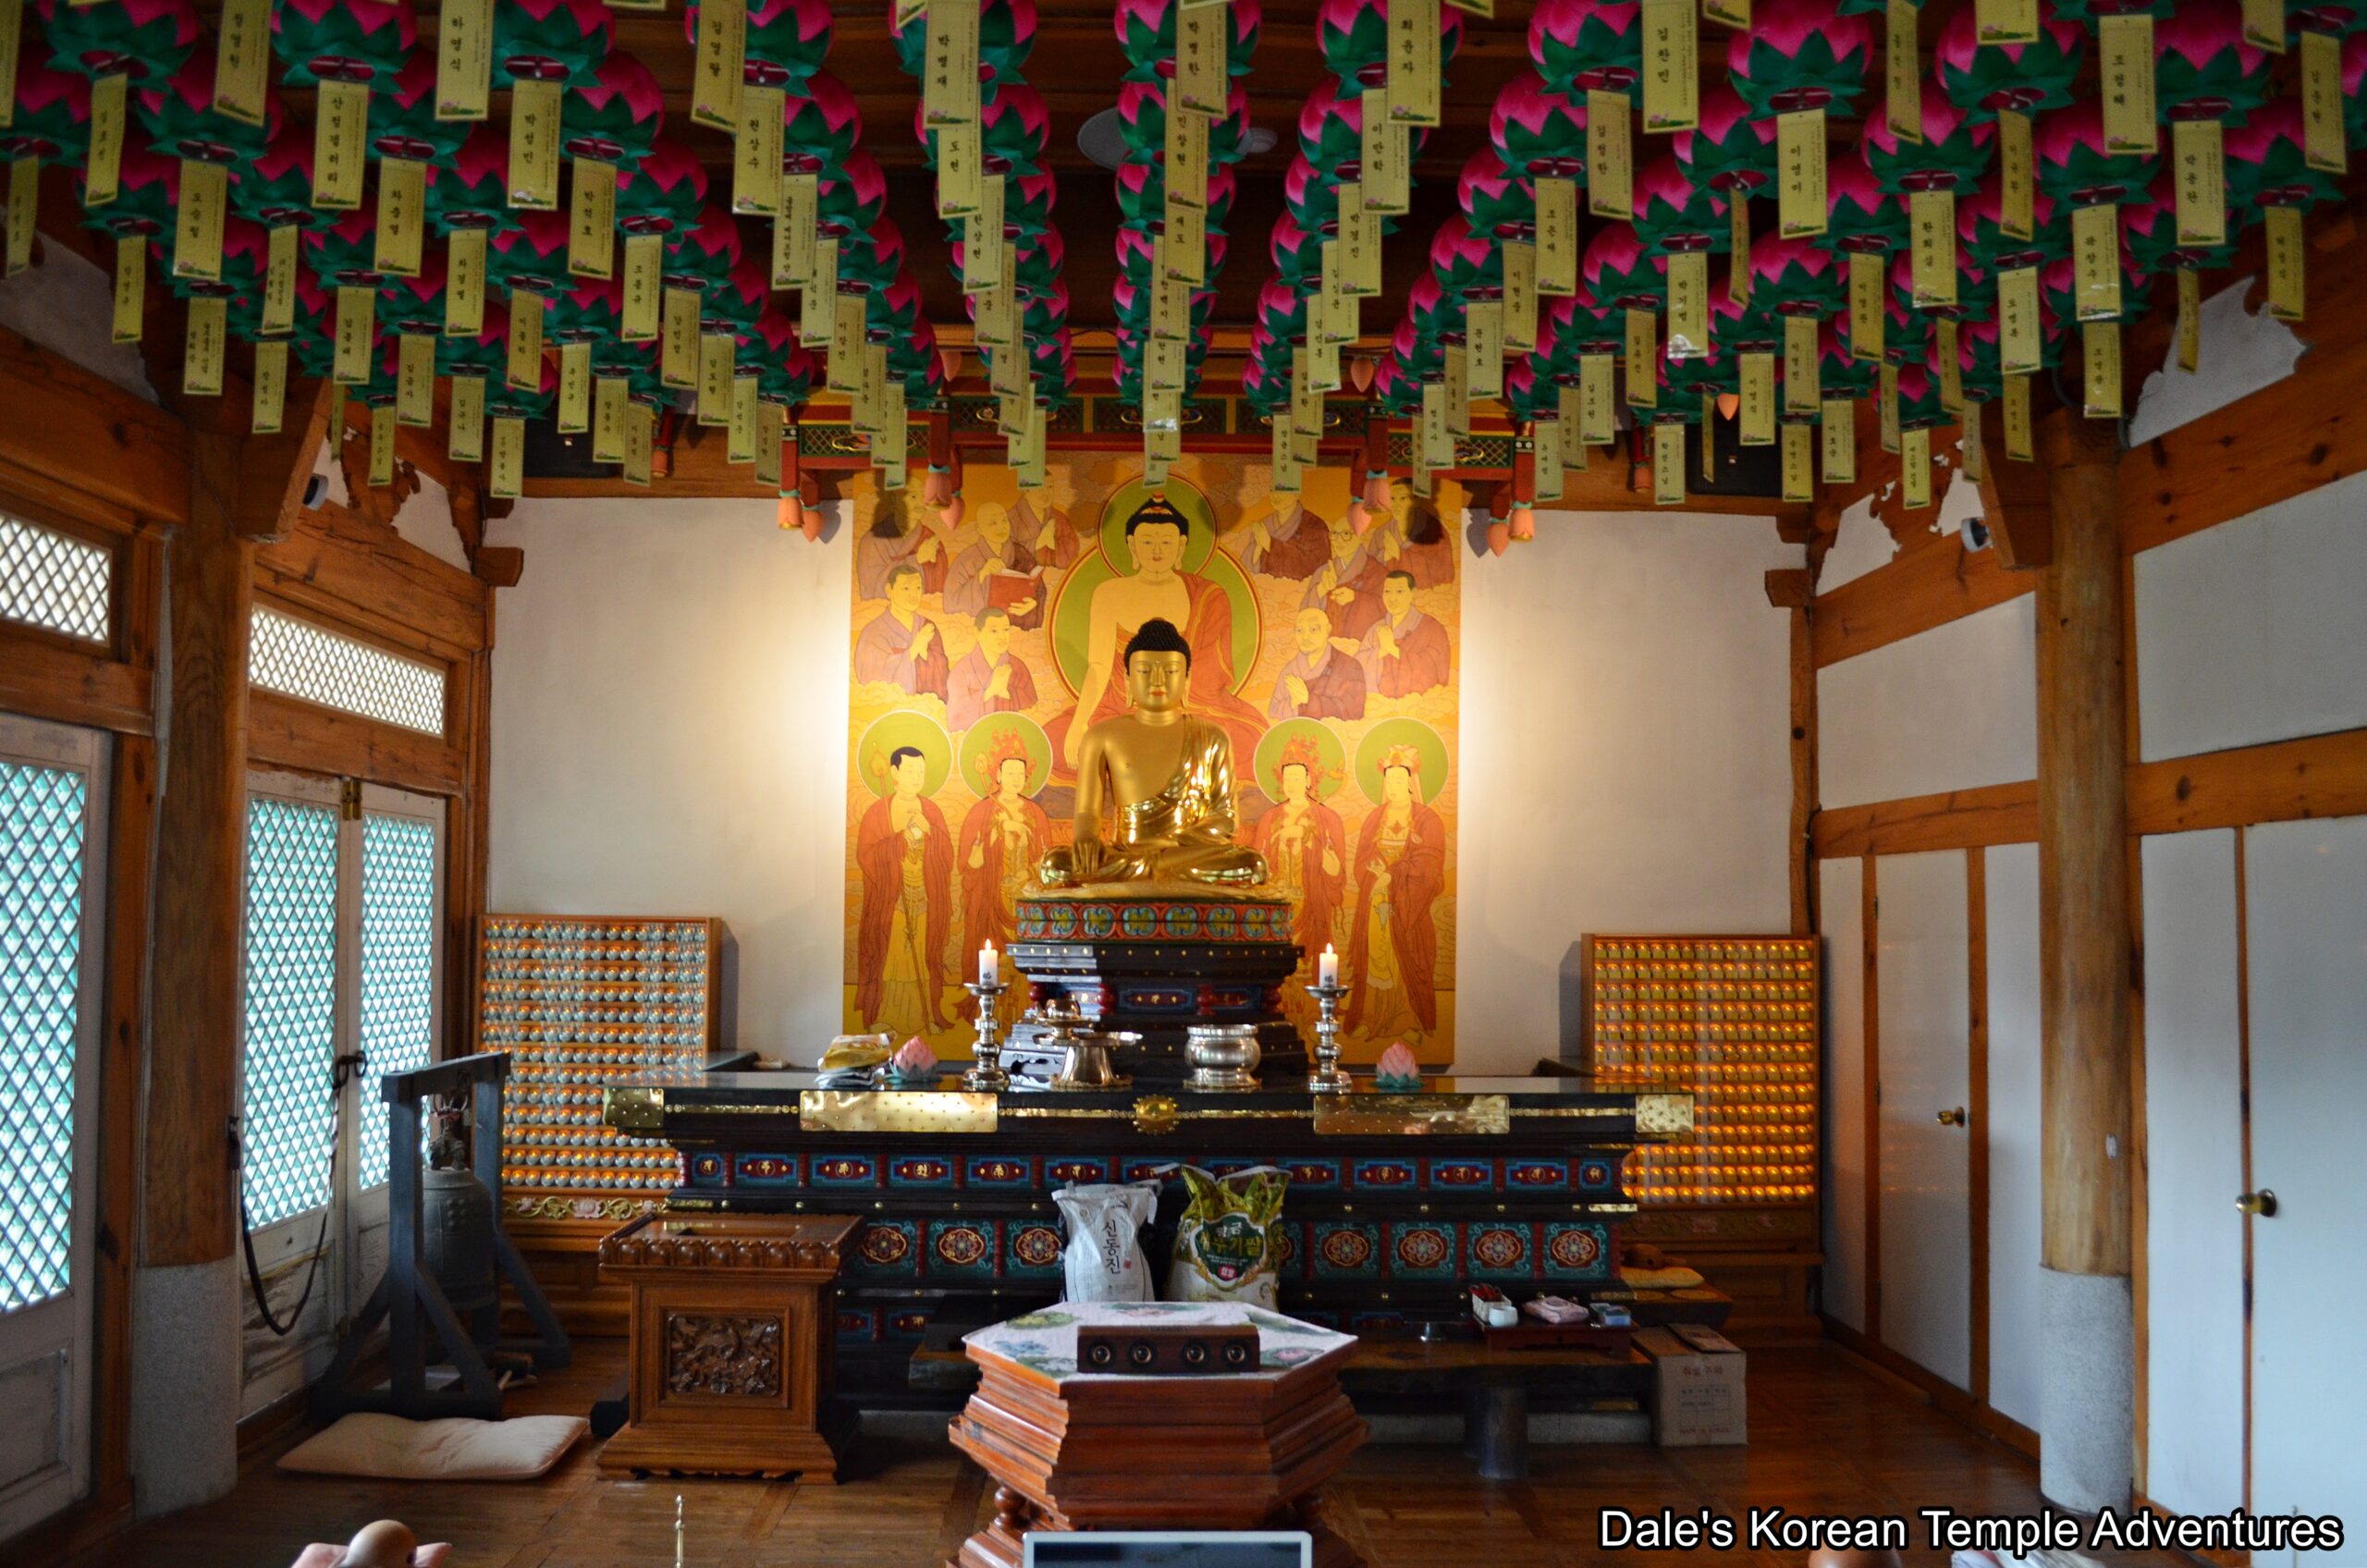
A look inside the Cheonbul-jeon Hall.
The view from the Cheonbul-jeon Hall towards the Daeung-jeon Hall and the “Three-Story Stone Pagoda of Geumgoksa Temple.”
The bronze bell inside the Jong-ru Pavilion in front of the Cheonbul-jeon Hall.

Yeongamsa-ji Temple Site – 영암사지 (Hapcheon, Gyeongsangnam-do)

The Yeongamsa-ji Temple Site in Hapcheon, Gyeongsangnam-do.

Temple Site History

The Yeongamsa-ji Temple Site is located on the southern slopes of Mt. Hwangmaesan (1,113 m) in southwestern Hapcheon, Gyeongsangnam-do. The temple is believed to date back to the Silla Dynasty (57 B.C. – 935 A.D); however, the exact date as to when the temple was first established is unknown. According to historical records, the monk Jeogyeon-daesa (932-1014) stayed at the temple until his death at the age of 83. Another indicator of the temple’s origins can be discerned from the style of the temple. The style of the temple indicates that it was grounded in esoteric Buddhism, which was popular in the late Silla Dynasty (57 B.C. – 935 A.D.).

In 1984, an archaeological team excavated part of the Yeongamsa-ji Temple Site. During that time, the main hall was discovered. In addition to the main hall, an attached building was also discovered. The archaeologists also discovered that the three-story pagoda, the stone lantern, and the main hall were all placed in a straight line. Also, in a neighbouring clearing, a pair of stele were located on either side of another shrine hall. In total, it was discovered through these archaeological efforts that the main hall had been rebuilt three separate times. Besides these discoveries, numerous other things were located on the temple site, as well. These included foot stones and roof tiles that dated back to the end of Unified Silla (668-935 A.D.) and up to the Goryeo Dynasty (918-1392). Also, a Gilt-bronze Standing Buddha that was created in the 8th century was also excavated at the site, which helps us to better understand when the temple was first founded.

Another interesting feature of the temple, which gives archaeologists a better understanding of the temple, are the artifacts that still remain at the Yeongamsa-ji Temple Site like the stone stairs on either side of the central main hall platform. The stone retaining walls for the foundation of the main hall feature stone reliefs with human and animal faces on them. Not only is it rare to have the stone stairs remain at such a historic temple site, but designs on the stairs like the pair of Gareungbinga (Kalavinka) on the northern stairs are unique, as well.

In total, the Yeongamsa-ji Temple Site is home to three Korean Treasures. They are the “Twin Lion Stone Lantern at Yeongamsa Temple Site,” which is Korean Treasure #353; the “Three-Story Stone Pagoda at Yeongamsa Temple Site,” which is Korean Treasure #480; and the “Tortoise-Shaped Pedestal at Yeongamsa Temple Site,” which is Korean Treasure #489. In addition to these three Korean Treasure, the temple site itself, the “Yeongamsa Temple Site,” is designated as a Historic Site.

Temple Site Layout

When you first approach the temple site grounds from the east, you’ll notice several stone foundations to numerous auxiliary buildings that once stood out in front of the temple. Making your way up to the next plateau, you’ll find even more elevated pieces of earth and foundation stones. These were corridors that probably acted as a stairway that led up to the final plateau that housed the main shrine halls at Yeongnamsa Temple. These large retaining walls that separate the three plateaus at the Yeongamsa-ji Temple Site are a beautiful blend of old and new stones to help reconstruct the basic outline of the former temple.

Now standing on the third, and final plateau, with the beautiful Mt. Hwangmaesan as a backdrop, you’ll notice a three-story pagoda in the centre. This is the “Three-Story Stone Pagoda at Yeongamsa Temple Site,” which is Korean Treasure #480. The pagoda is presumed to date back to the 9th century, when the temple was first built. It’s located in front of the main shrine hall. In 1969, the pagoda was discovered, but it had collapsed. Subsequently, the pagoda was reassembled, and it now stands 3.8 metres in height. It has a two-tier base and a three-story body. It’s missing its decorative finial top. The pagoda resembles the traditional Silla-era design. Additionally, the second and third story of the pagoda are significantly smaller than the first story body stone. But overall, the body seems both balanced and well-preserved.

To the right and left of the “Three-Story Stone Pagoda at Yeongamsa Temple Site” are foundations for corridors and auxiliary buildings. It’s to the rear of the pagoda that you find two sets of narrow stones on either side of a final stone retaining wall. Be careful when climbing these stairs because the stones are quite narrow.

Standing on the final raised section of the temple site grounds, you’ll first find the “Twin Lion Stone Lantern at Yeongamsa Temple Site.” This stone lantern is believed to have first been erected on the temple site sometime during Unified Silla (668-935 A.D.) during the 9th century. In 1933, the Japanese, during Japanese Colonial Rule (1910-1945), tried to take this stone lantern, but the local villagers resisted these attempts. Fortunately, it was kept, and ultimately preserved, at the local township (myeon) office. The “Twin Lion Stone Lantern at Yeongamsa Temple Site” was eventually relocated back to the temple site in 1959, after a former hermitage was built at the Yeongamsa-ji Temple Site. As for the design of the stone lantern, the light chamber is set in the middle of the lantern with a three-tiered base and a crowning capstone. The light chamber is octagonal in shape and built in the traditional Unified Silla design. However, what sets it apart is the twin lion stone statues support the light chamber. The twin lions stand atop a base stone that has a lotus design engraved on it. The lions’ back claws are stepping on top of the base stone, while the front claws hold up the upper stone lion chamber with their heads facing upwards. Overall, the design of the lions is quite realistic. As for the light chamber, the exterior is adorned with the four images of the Four Heavenly Kings.

To the rear of the “Twin Lion Stone Lantern at Yeongamsa Temple Site” is the Geumdang-ji, which is the main hall site at the Yeongamsa-ji Temple Site. There are fragmentary stone artifacts remaining on the surface of the Geumdang-ji. This includes the stone base for the main altar. Rather interestingly, and unlike most other temple sites, the Geumdang-ji retains some of its unique features like the stairs on either side of the middle portion of the embankments. While the southern set of stairs and their railings seem a little worse for wear, the northern set seem pretty well preserved all things considered. And if you look close enough, you’ll notice that both railings are adorned with what appear to be Gareungbinga (Kalavinka). Also, the stone retaining wall that is keeping the Geumdang-ji embankment in place is adorned with various stone reliefs that include human faces, animals, and even what looks to be either a tiger or lion. This engravings are quite remarkable and surprising at first glance.

To the far right of the Geumdang-ji, you’ll notice the temple site’s stone basin. It’s also in this area that there are the remains of a former auxiliary building, as well. But it’s to the left rear of the Geumdang-ji, and unmarked, that you’ll find another clearing. This clearing houses the “Tortoise-Shaped Pedestal at Yeongamsa Temple Site.” This clearing is known as the West Geumdang-ji area of the temple site grounds. Out in front of the embankment for the former shrine hall, you’ll find a stone pillar with a base. This stone pillar with base was probably the base for a stone lantern. And on either side of the embankment, you’ll find the two “Tortoise-Shaped Pedestal at Yeongamsa Temple Site.” These two stele remain without their body stones and their capstones. The eastern stele has its back engraved with hexagonal patterns, while the rectangular supporting stone for the main body is carved with a cloud-like design. And while this stele has an overall look of a tortoise, it has the head of a dragon with an outstretched neck. In its mouth, it holds a magic orb. The western stele, on the other hand, is also engraved with hexagonal patterns on its back. The supporting stone for the main body is engraved with panel decorations on its four sides and lotus petals around its edges. This western stele is slightly smaller and thinner than the neighbouring eastern stele. While the identities of who the stele’s were dedicated to are unknown, it’s believed that both were built during the 9th century during Unified Silla (668-935 A.D.).

How To Get There

There is simply no easy way to get to the Yeongamsa-ji Temple Site by public transportation. If you take a bus, it could take you over two hours to get to the temple site. With that being said, the easiest way to get to the Yeongamsa-ji Temple Site is by car. And if you don’t have a car, you can take a taxi from the Hapcheon Intercity Bus Terminal; however, the taxi ride will take about 30 minutes, or 27 km, and it’ll cost you about 35,000 won (one way).

Overall Rating: 6.5/10

The Yeongamsa-ji Temple Site is beautifully situated below the picturesque peaks of Mt. Hwangmaesan. This ideal location is beautifully blended with an assortment of Korean Treasures that include the “Twin Lion Stone Lantern at Yeongamsa Temple Site,” the “Three-Story Stone Pagoda at Yeongamsa Temple Site,” and the “Tortoise-Shaped Pedestal at Yeongamsa Temple Site.” All put together, the temple site has a beautiful symmetry in an amazing location. While more difficult to get to, it’s definitely worth the time and effort to find.

The entire temple site grounds with Mt. Hwangmaesan as a backdrop.
A look up at the “Three-Story Stone Pagoda at Yeongamsa Temple Site.”
A look at both the “Three-Story Stone Pagoda at Yeongamsa Temple Site” and the “Twin Lion Stone Lantern at Yeongamsa Temple Site.”
A closer look at the “Three-Story Stone Pagoda at Yeongamsa Temple Site.”
The view that the three-story pagoda gets to enjoy.
The view from the stone lantern out towards the three-story pagoda.
A beautiful view from the temple site grounds.
The view from the Geumdang-ji.
One of the stone engravings that adorns the Geumdang-ji retaining walls.
Another of the beautiful engravings that adorns the Geumdang-ji retaining walls.
And one more of the animal engravings that adorns the Geumdang-ji retaining walls.
One of the Gareungbinga (Kalavinka) that adorns the side stairs to the Geumdang-ji.
The western stele that’s part of the “Tortoise-Shaped Pedestal at Yeongamsa Temple Site.”
A stone pillar, which was probably a stone lantern, out in front of the former shrine hall in the West Geumdang-ji area.
The eastern stele that’s part of the “Tortoise-Shaped Pedestal at Yeongamsa Temple Site.”
And one last look at the amazing Yeongamsa-ji Temple Site.

Huirangdae Hermitage – 희랑대 (Hapcheon, Gyeongsangnam-do)

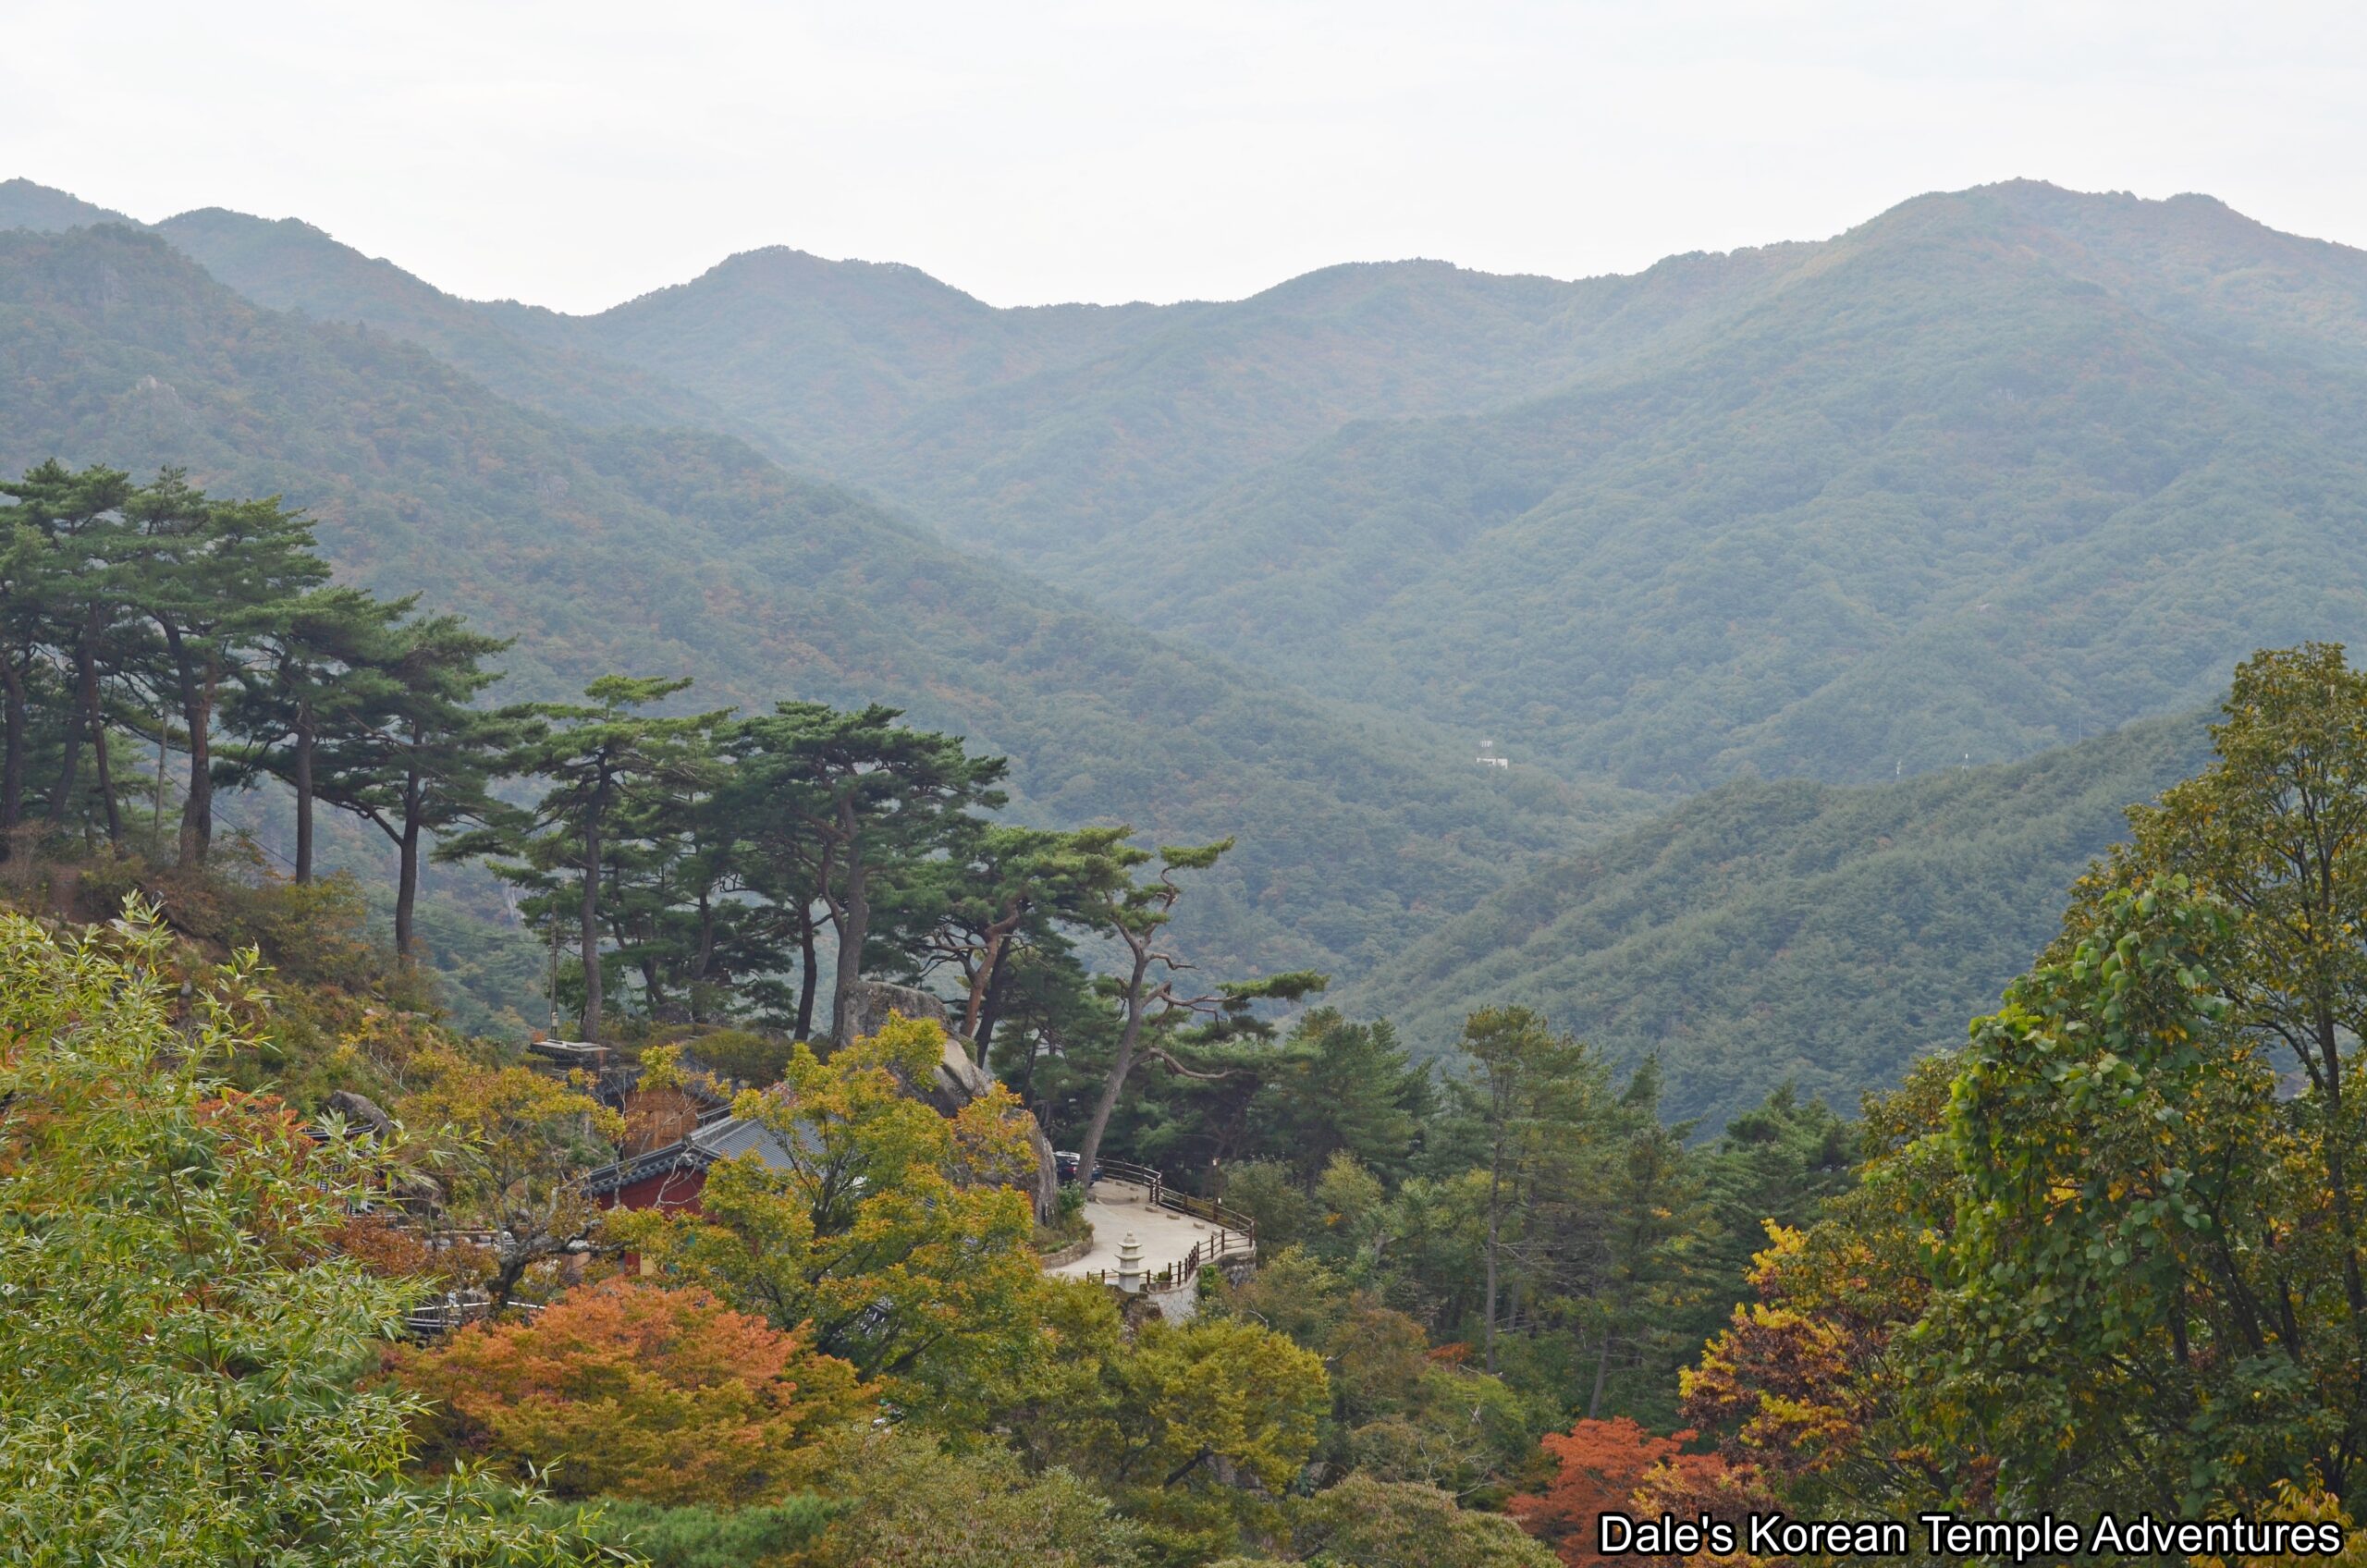
The Hermitage Grounds at Huirangdae Hermitage at Haeinsa Temple in Hapcheon, Gyeongsangnam-do.

Hermitage History

Huirangdae Hermitage is located on the Haeinsa Temple grounds in Hapcheon, Gyeongsangnam-do. The picturesque hermitage was first founded by Huirang-josa (889-956 A.D.) at the end of the Silla Dynasty (57 B.C. – 935 A.D.). However, after the hermitage was first founded by Huirang-josa as a meditative retreat, very little is known about the hermitage beyond its founding.

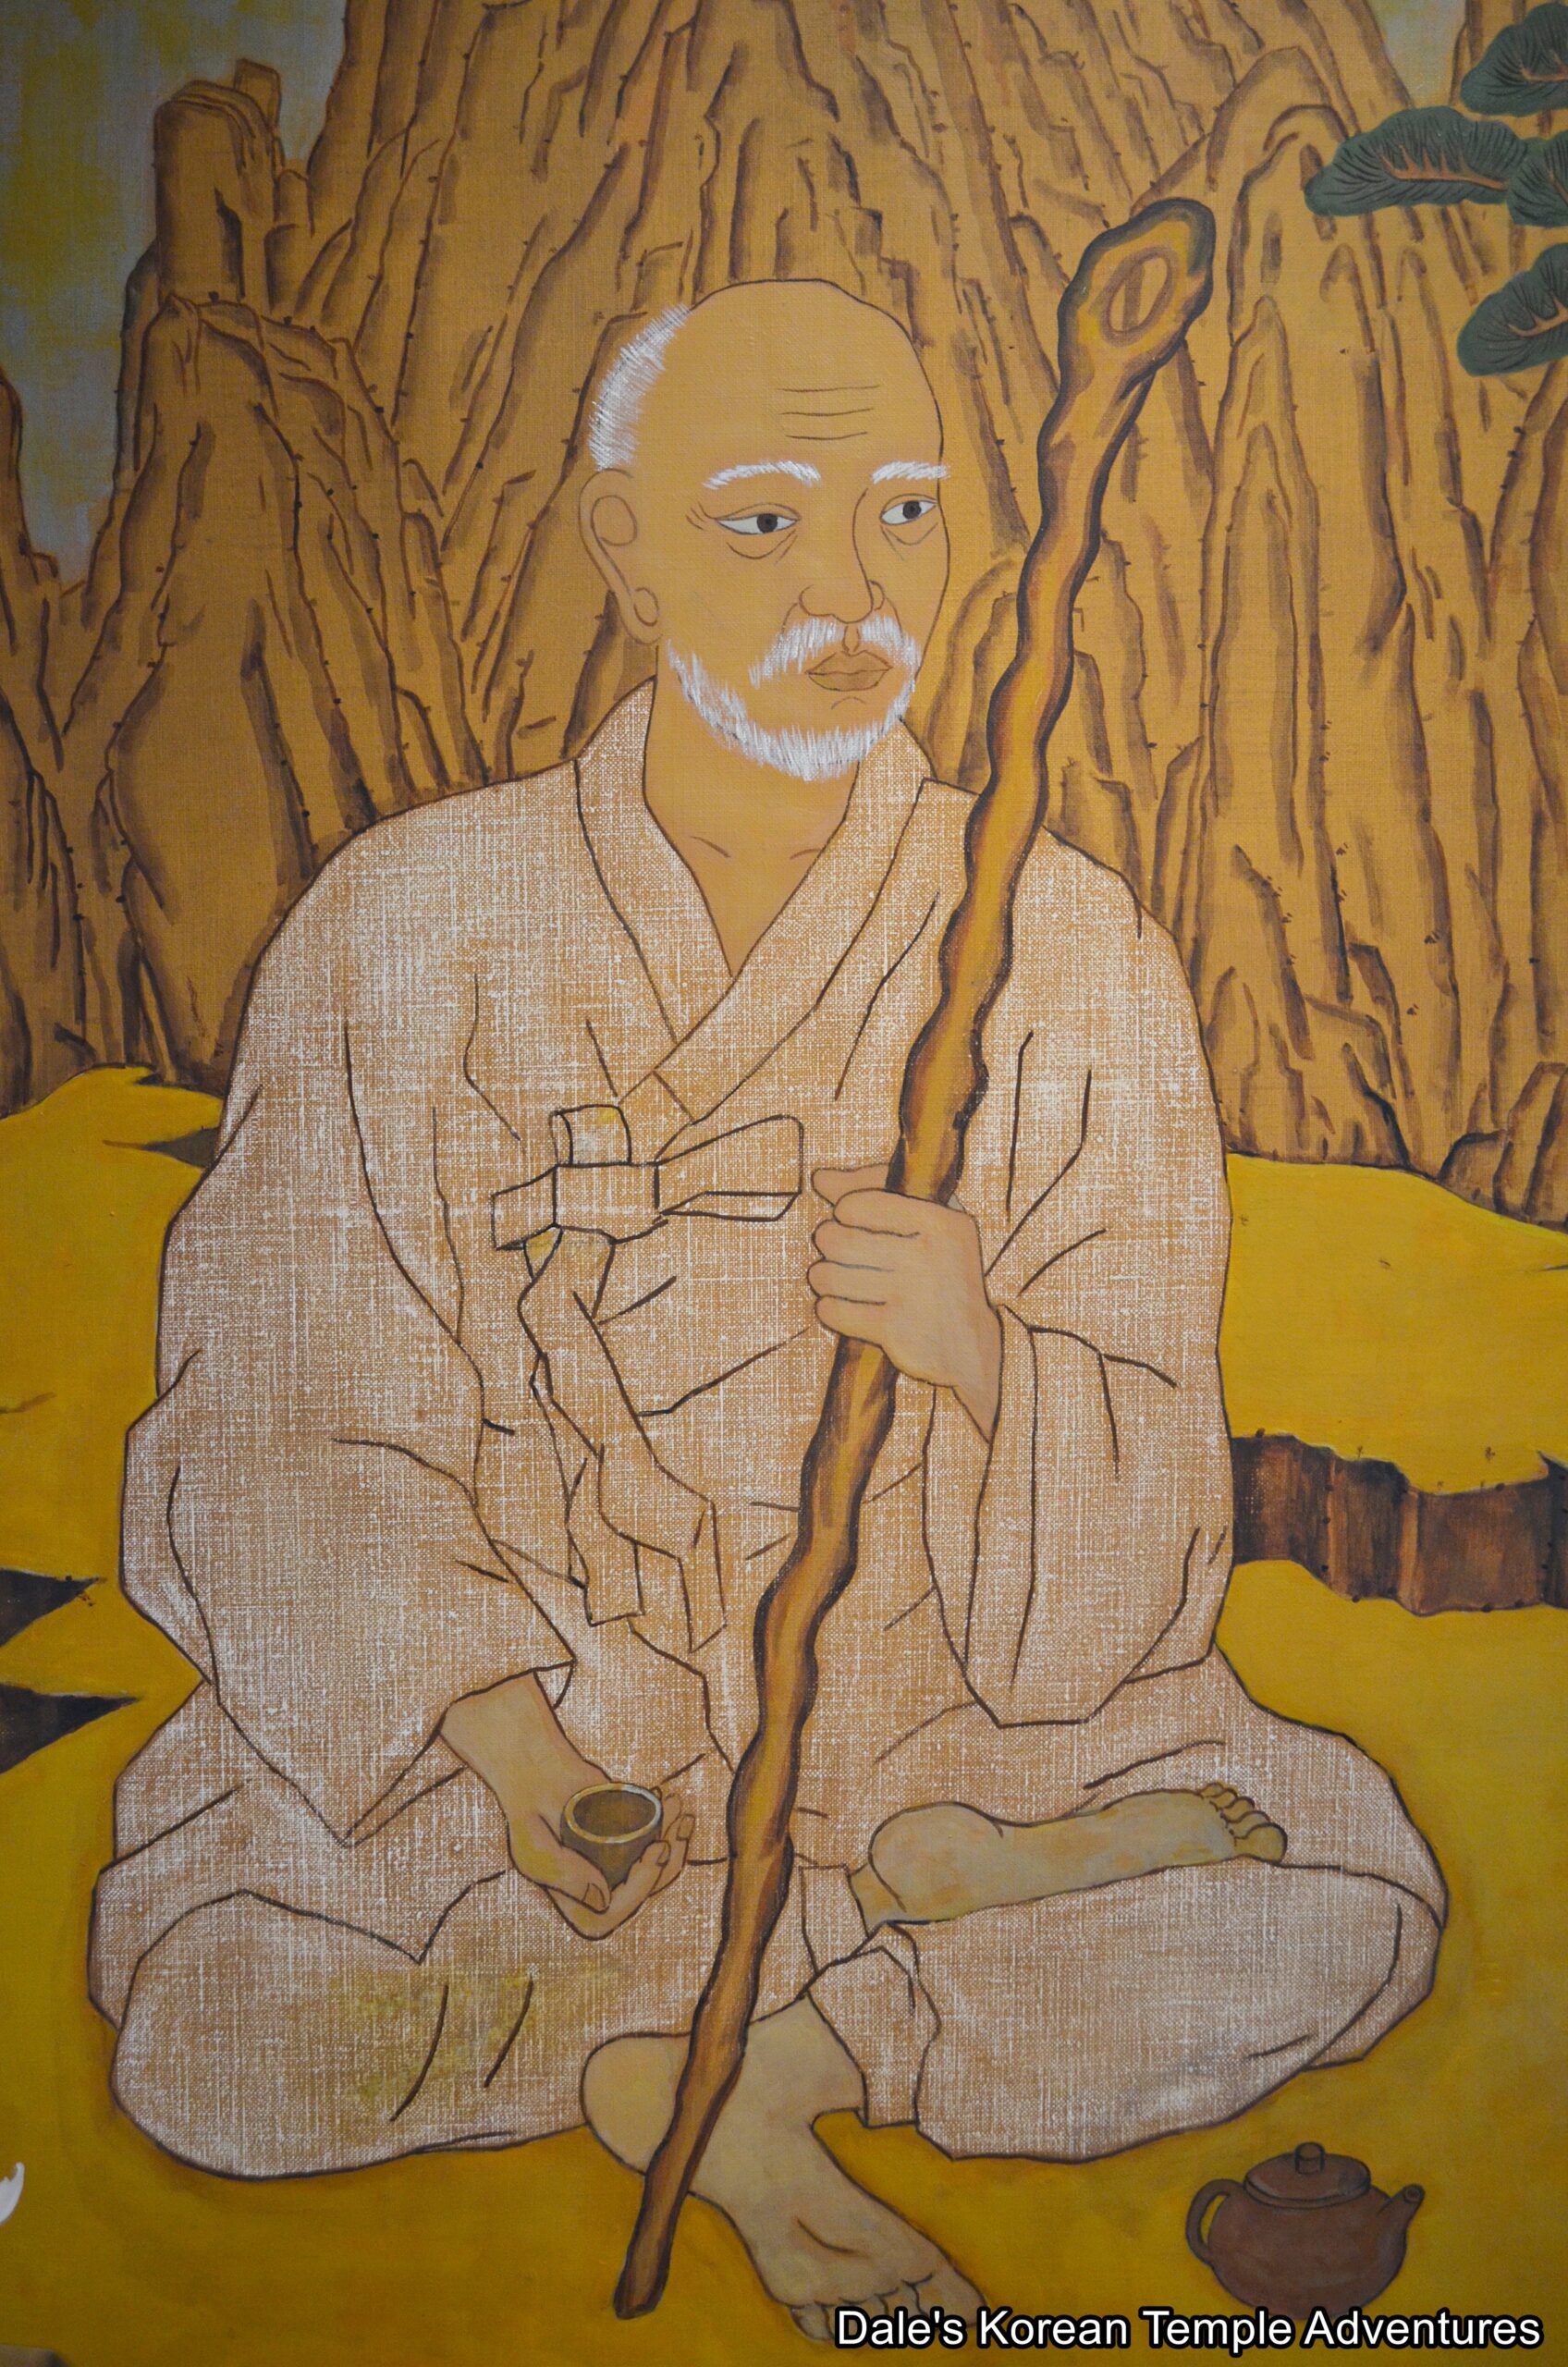
As for Huirang-josa, he contributed greatly to the unification of the nation under Goryeo rule (918-1392). Not only that, but he helped in the development of Korean Buddhism. More specifically, it’s said that Huirang-josa was a scholarly monk who was well educated in the study of Hwaeom-jong (The Flower Garland Sect). Huirang-josa stayed at Haeinsa Temple and spiritually helped Wang Geon, who was to become the founder of the Goryeo Dynasty as King Taejo of Goryeo (r. 918-943 A.D.). Huirang-josa would go on to help rebuild and reconstruct large parts of Haeinsa Temple, as well.

More recently, Huirangdae Hermitage was rebuilt in 1940. And in subsequent years, it has been repaired and expanded.

This hermitage is often compared to the scenic Bodeokam Hermitage on Mt. Geumgangsan in present-day North Korea. The reason for this is the similar surroundings and beautiful views. Like Bodeokam Hermitage, a natural cliff is part of the topography around the hermitage, while stones were stacked between the rocks to help build a site for the shrine halls.

In addition to the topography, there is a legend that surrounds Huirangdae Hermitage, as well. According to this legend, there was a person who became rich by praying to the image of Dokseong (The Lonely Saint) inside the Samseong-gak Hall. Another interesting opinion is that the mountains surrounding the hermitage resemble that of a crab. Because of this belief, and the idea of crabs becoming entangled if they get too close to each other, only one monk lives at Huirangdae Hermitage at a time. I’m not sure if this is still true; but when I visited, I could only see one monk at the hermitage. One other interesting fact about the hermitage is that there used to be an old pine tree that was situated next to the Samseong-gak Hall. It was believed that this old pine tree was first planted by Huirang-josa. Ten years ago, this old pine tree dried up and eventually died.

Hermitage Layout

You first make your way towards Huirangdae Hermitage to the south of Haeinsa Temple and up a road that houses a cluster of hermitages. In a bend in a road, and just past the turn-off for Jijokam Hermitage, you’ll find Huirang-dae Hermitage. As you near the hermitage, you’ll instantly notice the amazing topography that the hermitage enjoys. Looking out towards the hermitage buildings, you’ll first encounter a diminutive and modern three-story stone pagoda. Beyond this pagoda, and past the hermitage buildings, you’ll see the beautifully framed Jijokam Hermitage in the background.

To your right, you’ll pass by the hermitage’s administrative offices, monks’ dorms, and kitchen. Beyond this collection of buildings, there’s a stone bridge that hugs the mountain face. The first of the two buildings in this area is the Huirangdae Hall, which is where Huirang-josa purportedly meditated. This shrine hall appears to be off-limits to the general public. You can tell just how special this part of the hermitage is, because if you look back you’ll notice other hermitages off in the distance including Bohyeonam Hermitage and Wondangam Hermitage. The view is especially beautiful during the autumn months. And if you look down, you’ll see the terraced stonework that supports the southern part of the hermitage grounds. Also, if you look a bit further north, and just below the Huirangdae shrine hall, you’ll see what almost looks like the contours of the Buddha’s face and body protruding out from the mountain wall.

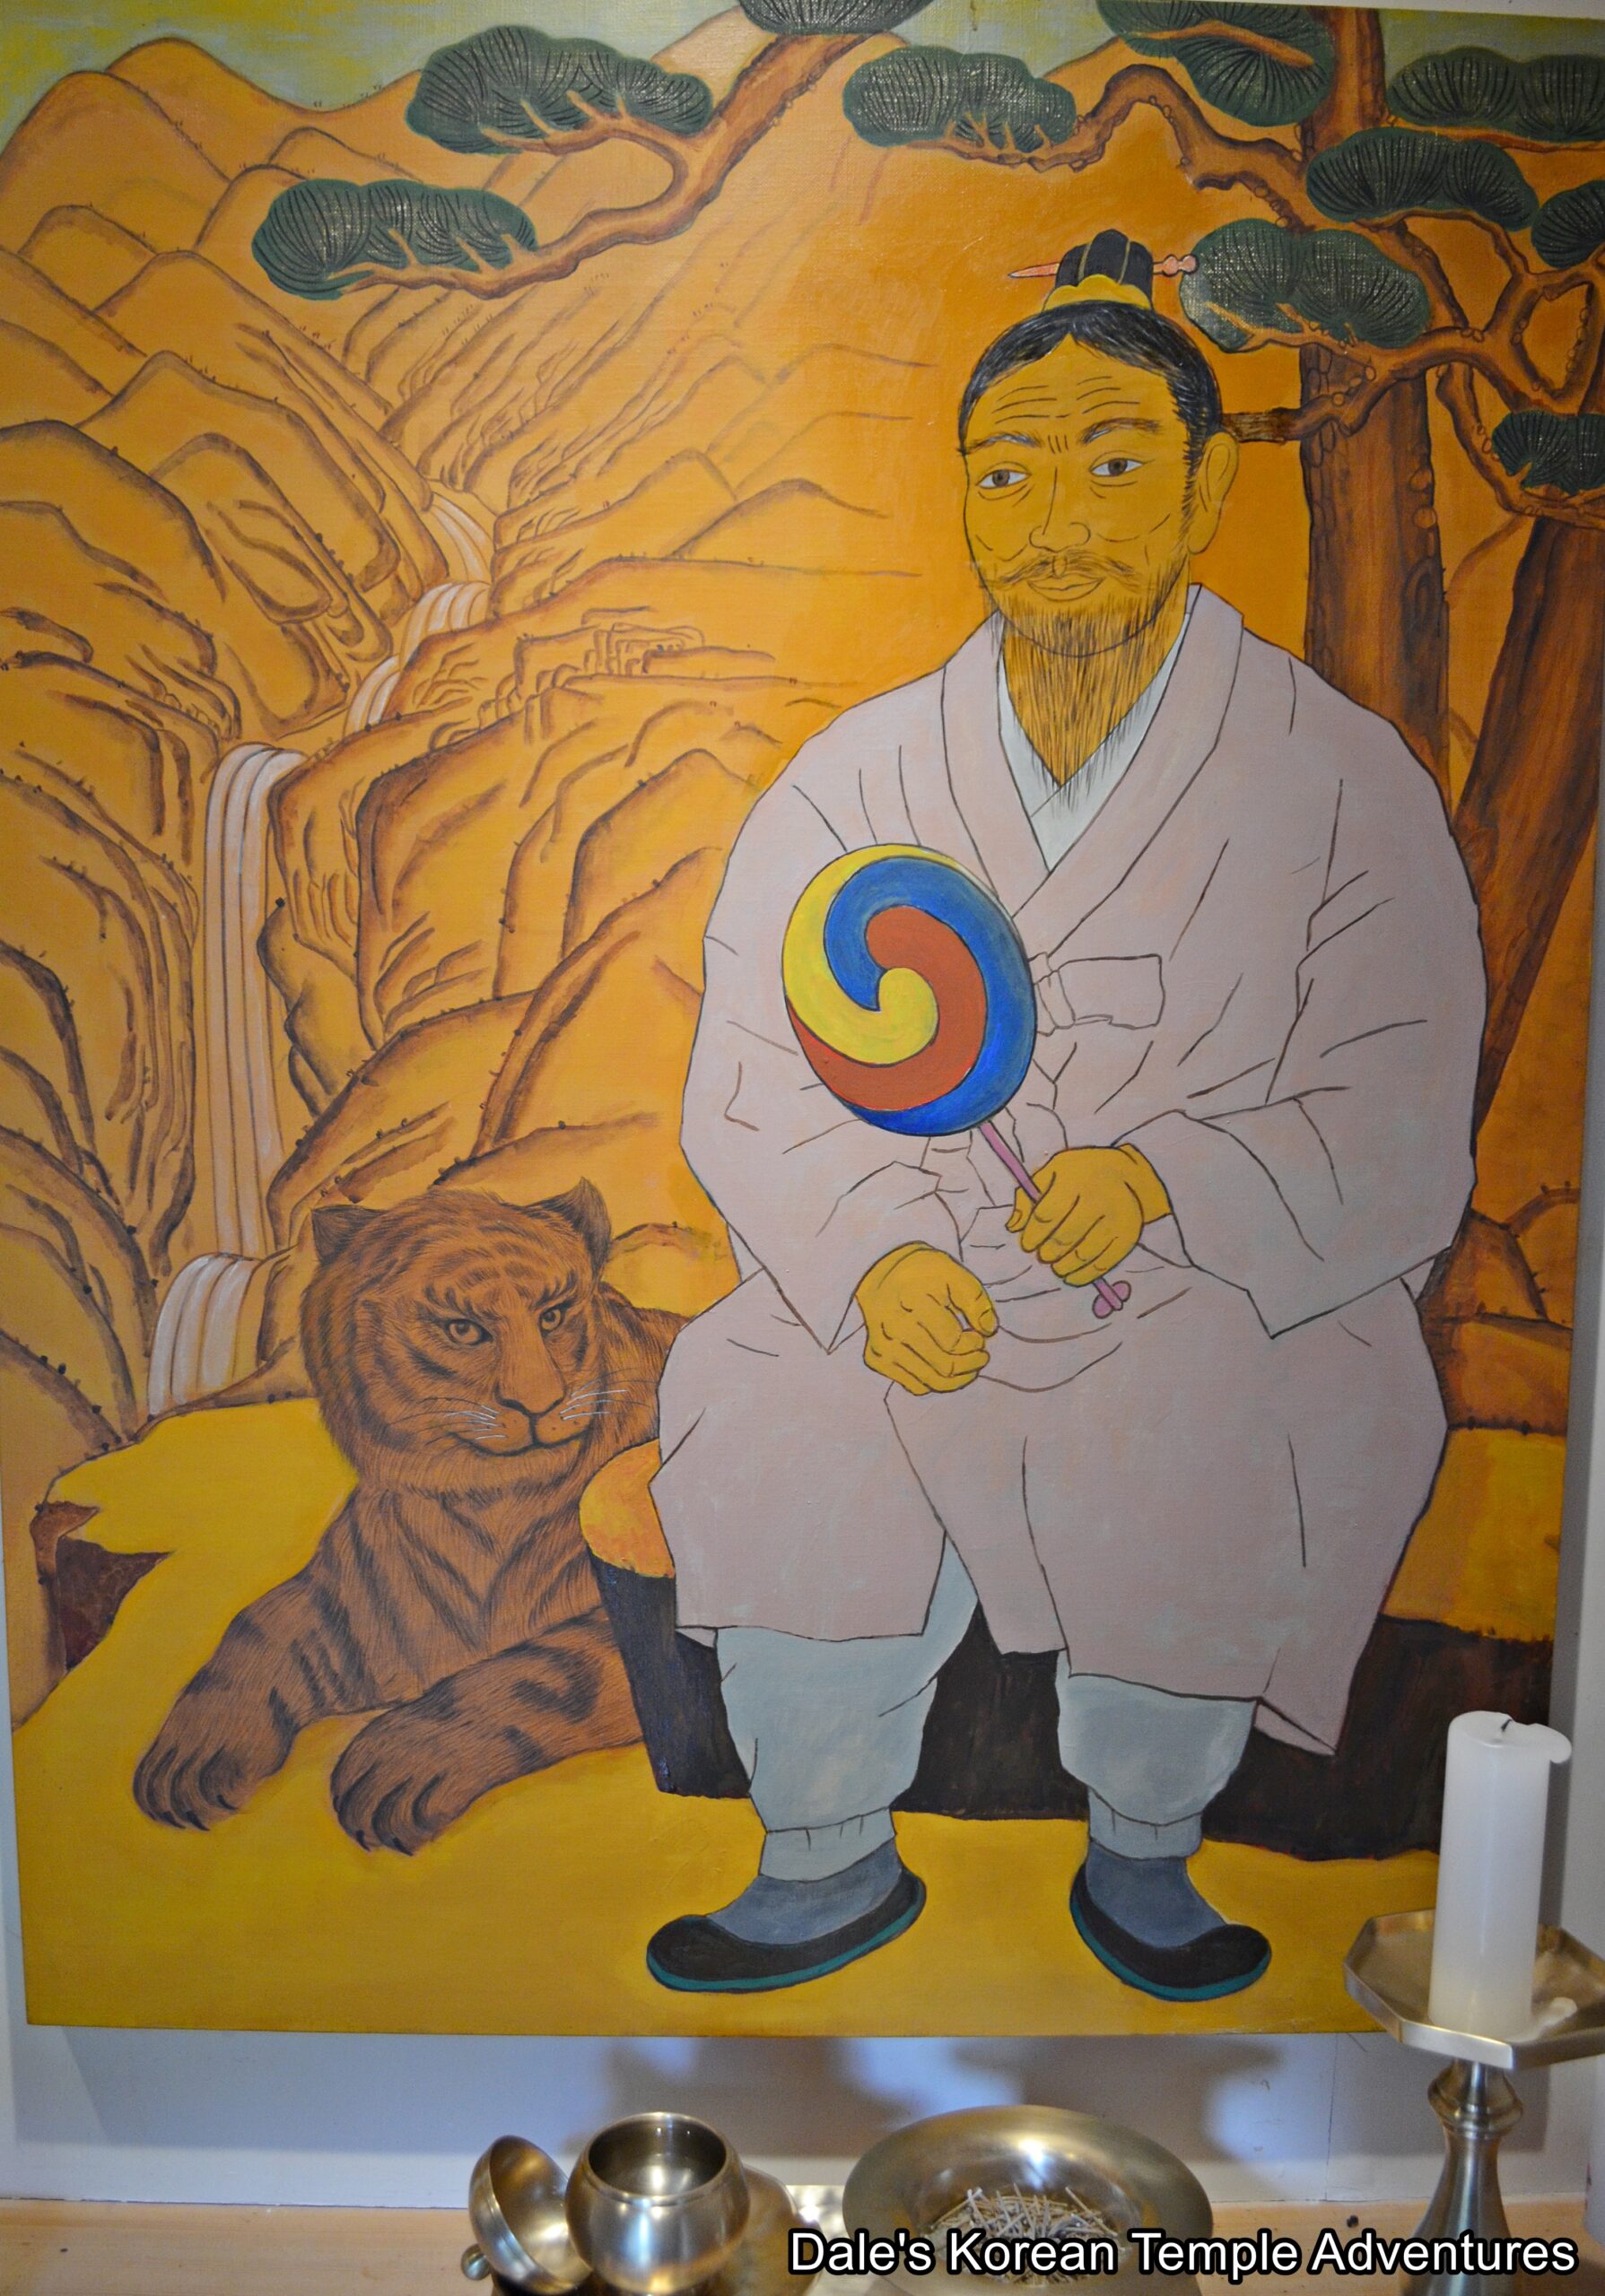
Beyond the Huirangdae Hall, you’ll notice another hermitage shrine hall. This is the Samseong-gak Hall. The exterior walls to this shaman shrine hall are beautifully adorned in dancheong colours and murals dedicated to the Nahan (The Historical Disciples of the Buddha), Dokseong (The Lonely Saint), and various dragons and phoenixes. Stepping inside the Samseong-gak Hall, you’ll find the central image of Dokseong (The Lonely Saint) in the centre of the three most popular shaman deities. This is rather peculiar because it’s typically Chilseong (The Seven Stars) that’s situated in the centre of the three shaman deities. The reason for this is the unique energy that surrounds Dokseong. The reason for this belief in this spiritual energy is that numerous wishes have been granted after praying to this statue of Dokseong including becoming rich. To the right of the central image of Dokseong is a rather uniquely painted image of Chilseong. And to the left of this central image of Dokseong is an older mural dedicated to Sanshin (The Mountain Spirit). This image of Sanshin is hooded, and he holds a green leaf fan in his left hand. At his side is a roaring tiger. It almost appears as though Sanshin is partially seated atop this ferocious tiger.

While heading back to the hermitage parking lot, you’ll notice a small set of stairs to the rear of the monks’ facilities. These stairs lead up to a mountaintop trail and overlook. From this overlook, you get another amazing look out towards the neighbouring hermitages, as well as a pretty spectacular view of Huirangdae Hermitage.

The “Dry-lacquered Seated Statue of Buddhist Monk Huirang at Haeinsa Temple” inside the Haeinsa Temple Museum.
The historic statue from a different angle.

The “Dry-lacquered Seated Statue of Buddhist Monk Huirang at Haeinsa Temple”

As a bit of a side note, but since it’s still relevant to Huirang-josa, I thought I would mention it here. In 2020, the “Dry-lacquered Seated Statue of Buddhist Monk Huirang at Haeinsa Temple” was named as a National Treasure. This statue of Huirang-josa is the only extant carved representation of an eminent Korean Buddhist monk in the country. It’s presumed to have first been made in the early part of the 10th century. This was at a time when many carved images of monks were being made in both China and Japan but not on the Korean Peninsula.

According to records from the Joseon Dynasty (1392-1910), this statue was kept at Haeinsa Temple; however, it was moved around quite a bit at the temple, moving from the Haehaeng-dang Hall, the Jinsang-jeon Hall, and the Josa-jeon Hall. And finally, it was housed inside the Bojang-jeon Hall for hundreds of years until it arrived at its current address inside the Haeinsa Temple Museum.

As for the style of the statue, it has realistic features. The statue has a tranquil gaze, a light smile, and an emaciated-looking body and face. Additionally, there is a small hole made in the centre of the chest. According to a legend, the hole was made to let mosquitoes suck blood from the statue. This would help prevent other living monks from being bitten. Additionally, the hole in the chest of a highly respected monk is thought to also symbolize supernatural powers.

How To Get There

To get to Huirangdae Hermitage, you’ll first need to get to Haeinsa Temple. And to get to Haeinsa Temple, you’ll first need to get to the Seobu Bus Terminal in Daegu. From here, you can catch an express bus to Haeinsa Temple. This express bus departs every 40 minutes, and the bus ride lasts about an hour and a half. After arriving at Haeinsa Temple, you’ll need to head south from the Iljumun Gate. You’ll pass by a collection of biseok (stele) and budo (stupa). There is a mountain road with a large rock and sign markers that point you towards the four hermitages in this area of the Haeinsa Temple grounds. You’ll first pass Gukilam Hermitage along the way, until you eventually come to a road to your left. This is the road that leads up to Huirangdae Hermitage. In total, the walk from Haeinsa Temple to Huirangdae Hermitage takes about 24 minutes, or 1 km, up a mountainside road.

Overall Rating: 5/10

By far, the best thing about Huirangdae Hermitage are the views. From this hermitage, you can see all of the neighbouring hermitages, as well as the beautiful peaks of Mt. Gaysan (1,433 m) off in the distance. In addition to all of the spectacular views, especially during the autumn months, take your time to enjoy the interior of the Samseong-gak Hall. All three of the paintings and murals dedicated to Sanshin, Dokseong, and Chilseong are masterful in their own right. And if you have the time, make your way over to the Haeinsa Museum to see the “Dry-lacquered Seated Statue of Buddhist Monk Huirang at Haeinsa Temple.” The historic statue is both stunning and unique.

The view as you first enter the hermitage grounds.
The Huirangdae (left) and Samseong-gak Hall (right) at Huirangdae Hermitage.
A look down at the Buddha-like stone that supports the weight of the Huirangdae.
The view that looks out onto neighbouring hermitages at Haeinsa Temple from Huirangdae Hermitage.
The Samseong-gak Hall at the hermitage.
A look up at the amazing dancheong.
An image of Dokseong (The Lonely Saint) that adorns one of the exterior walls of the shaman shrine hall.
The view from the Samseong-gak Hall.
The amazing image of Sanshin (The Mountain Spirit) inside the Samseong-gak Hall.
The view to the right of the Huirangdae.
The mountaintop view of both Huirangdae Hermitage and Jijokam Hermitage off in the distance.
A closer look at the two.
A look down at the three-story pagoda at the entry of the hermitage and a look out towards Mt. Gayasan off in the distance.

TXT’s Unique Speech Decoded by Korean Teacher

TXT ("TOMORROW X TOGETHER") is a Korean group formed in 2019 by Big Hit Music and consists of five members. I share my analysis on each member, including how they speak overall, any unique things to notice about their Korean, as well as their writing, dialect usage, and personality.

Make sure to leave a comment if you watch the video!

The post TXT’s Unique Speech Decoded by Korean Teacher appeared first on Learn Korean with GO! Billy Korean.
Living History – Dan Y.T. Cheung (Born – 1957)

Jogyesa Temple in Jongno, Seoul in October, 2004.

One of the great things about running a website about Korean Buddhist temples is that you get to meet a lot of amazing people. And a lot of these amazing people have varying backgrounds, interests, and insights. Rather amazingly, some of these people first visited Korea in the 1960s, 1970s, and 1980s. Here are their stories!

Q1: When and why did you first come to Korea?

A: I was born in Seoul in 1957.

Q2: When you first came to Korea what city did you live in? Did you subsequently move around?

A: I lived in Seoul at my paternal grandfather’s house, which my father grew up in. It was re-built after being destroyed during the Korean War (1950-53). I moved to Japan at the age of three and lived there for eight years, with summer visits to Korea, where I stayed with my father’s and mother’s parents in Seoul and one summer in Daejeon, when my mother’s father was appointed to a government post by Park Chunghee [1917-79]. This is ironic since my grandfather was once on a list of official “enemies” by the Park regime. He didn’t volunteer, he was “convinced” by “being made an offer he couldn’t refuse.” We moved back to Korea in late 1968 and stayed until 1973, which was when I met Betty and Bill Krause.

I returned to Korea while serving in the US Army for Exercise Team Spirit 84 and again for TS 85 for deployments and temporary duty. I got to visit my family and friends.

Magoksa Temple during Japanese Colonial Rule from 1910-45. (Picture courtesy of the National Museum of Korea).

Q3: What was the first temple you visited in Korea?

A: Not sure, we visited so many of them. Jogyesa Temple in Seoul for sure, and various temples in Gyeonggi-do and Chungcheongnam-do. My father’s family was from Gongju [Chungcheongnam-do] and the family made contributions to Magoksa Temple. My great-grandmother (paternal grandfather’s mother) was particularly devoted to practice and a confirmed vegetarian who followed ahimsa toward all living creatures.

Q4: What drew your interest to Korean Buddhist temples? (Buddhism, architecture, art, history, etc)

A: It was part of my family traditions, which were a Confucian-Buddhist syncretism during centuries of cyclic rising and waning of support for Buddhism since the Baekje Kingdom [18 B.C. – 660 A.D.], especially after being invaded by Silla Kingdom [57 B.C. – 935 A.D.] and the Goguryeo Kingdom [37 B.C. – 668 A.D.), and the Mongols [1231-1257]. Me and my sister (including her son) are the only actively practicing Buddhists in my family, the others have kind of lapsed because of the rigors of practice, or they just lost interest.

Q5: What is your favourite temple? Why?

A: I liked Jogyesa Temple because it was the easiest to visit, but Magoksa Temple is where my ancestors’ spirit tablets were kept and the monks advised them on dharma.

Q6: What temple or hermitage has changed the most from when you were first got here? What has changed about it?

A: Since I had last personally visited them in the 1960s and 1970s, Magoksa Temple and a few others in Gyeonggi-do had dramatically changed when I saw them in the 1980s; and even more so, when I saw recent pictures of them. I knew things had changed a lot when I noticed that bridges were rebuilt and there were a Coca-Cola vending machine and an ATM machine on the premises of Magoksa Temple!

Outside the Seokguram Grotto in Gyeongju in October, 2005.

Q7: What was the most difficult temple to get to? How did you get there?

A: Seokguram Grotto. We were on an overnight field trip, and we walked up to it in 1972. There were no paved roads to the top of the mountain, only the footpaths and stairs. Good news was that we were able to go inside and walk around the Seokgamoni-bul [The Historical Buddha] statue and look directly at the carvings on the walls. There was another temple in Gangwon-do that I visited in 1985 (can’t recall the name), but it was a small one in the hills in the middle of nowhere. No paved roads, only a footpath. The monks were amused to see me, dressed in full army combat gear.

Q8: Did you remain in Korea or did you return home?

A: I left Korea and returned to the US due to my father’s job transfer with the Corps of Engineers, and then I went to college. I served as an army officer, and then I lived in the USA, eventually settling in southern Maine.

My Son Reacts to a REAL Korean Food Alleyway

Tongin Market is an outdoor marketplace in Seoul that's kind of like a pay-as-you-go buffet, where you choose only what you want from several of the vendors in a long alleyway. One thing that makes this place unique is that you can also pay using traditional coins, called 엽전, which makes the experience more memorable and fun. I went there together with my son and we ate until we were full, and then ate some more. (This video is not sponsored.)

The post My Son Reacts to a REAL Korean Food Alleyway appeared first on Learn Korean with GO! Billy Korean.
The Plain Form (Conjugation + Usage) | Live Class Abridged

The Plain Form has many uses ranging from grammar forms (such as quoting statements), to writing (such as in test example sentences), and to speaking (such as to friends, or to yourself). In Sunday's most recent live stream I taught how to conjugate the Plain Form, as well as when and how to use the Plain Form. Here's the summarized version.

The post The Plain Form (Conjugation + Usage) | Live Class Abridged appeared first on Learn Korean with GO! Billy Korean.
Wollamsa-ji Temple Site – 월남사지 (Gangjin, Jeollanam-do)

The Wollamsa-ji Temple Site in Gangjin, Jeollanam-do.

Temple Site History

The Wollamsa-ji Temple Site is located in northern Gangjin, Jeollanam-do in the southern foothills of Mt. Wolchulsan (810.7 m). In fact, it’s just over the hill from the famed Muwisa Temple. The history of this temple is largely unknown. According to a 16th century document, it was founded by the monk Hyesim (Jingak-guksa, 1178-1234), during the Goryeo Dynasty (918-1392). However, recent excavations of the site in the 2010s revealed not only building sites, roof tile shards and celadon shards from the Goryeo Dynasty, but also roof tiles from the Baekje Kingdom (18 B.C. – 660 A.D.). This suggests that the temple was founded during the Baekje Kingdom and later expanded during the Goryeo Dynasty.

The overall layout of the temple site is typical of Buddhist temples built during Unified Silla (668-935 A.D.); and yet, the buildings and extant east pagoda (Korean Treasure #298) date to the Goryeo Dynasty. There are no specific records as to when the temple fell into disrepair, but it’s presumed to have been destroyed during the Imjin War (1592-98) and never restored. The reason for this, and based upon historical records, the only temple that still remained in the area after the Imjin War was the neighbouring Muwisa Temple.

In total, there are two Korean Treasures at the Wollamsa-ji Temple Site. They are the “Stele for State Preceptor Jingak at Wollamsa Temple Site,” which is Korean Treasure #313; as well as the “Three-Story Stone Pagoda at Wollamsa Temple Site,” which is Korean Treasure #298. As for the temple site itself, it’s Jeollanam-do Monument #125.

The “Three-Story Stone Pagoda at Wollamsa Temple Site” from 1934. (Picture courtesy of the National Museum of Korea).
And the “Stele for State Preceptor Jingak at Wollamsa Temple Site” also from 1934. (Picture courtesy of the National Museum of Korea).

Temple Site Layout

Formerly, the Wollamsa-ji Temple Site was surrounded by private homes. Now, and after years of archaeological work and reconstruction, the former temple site now lies in a clearing with Mt. Wolchulsan framing the temple site grounds. In addition to all the labourous work that has been completed to make the Wollamsa-ji Temple Site look the way it does, there is also recent construction to the south of the temple site grounds to make the temple site a fully operational temple, once more.

With all that being said, and from the temple site parking lot, you can see the sprawling temple site grounds out in front of you to the north. The first thing to stand out when you approach the Wollamsa-ji Temple site, besides the newly reconstructed Daeungbo-jeon Hall that stands on the former Geumdang-ji Site, is the “Three-Story Stone Pagoda at Wollamsa Temple Site.” Formerly, there were two pagodas, both an east and west pagoda, but the west pagoda no longer stands; instead, all that remains is the eastern pagoda. The pagoda appears to be made of bricks, but it’s actually built by piling up natural stones that are cut to look like bricks. This style of pagoda is rare. The three-story pagoda rests on top of a single story pedestal. The square pedestal is made of neatly cut stone blocks with a capstone on top of them. The three body stones are also made of stone blocks with capstones. The first-story body stone is the biggest with the two subsequent body stones growing smaller in size. However, all three body stones use the same method and style. While built during the Goryeo Dynasty, the pagoda retains a Baekje-style, which is where the pagoda is located (on the former lands of the Baekje Kingdom). The style of this pagoda closely resembles that of the “Five-Story Stone Pagoda at Jeongnimsa Temple Site” in Buyeo, Chungcheongnam-do. In both style and size, the “Three-Story Stone Pagoda at Wollamsa Temple Site” is incredibly important. The “Three-Story Stone Pagoda at Wollamsa Temple Site” is Korean Treasure #298.

Backing the “Three-Story Stone Pagoda at Wollamsa Temple Site” is the newly constructed Daeungbo-jeon Hall that rests upon the former Geumdang-ji Site. The exterior walls to the Daeungbo-jeon Hall are still unadorned (and might remain that way). Stepping inside the main hall, you’ll find a triad of golden statues resting on the main altar. Resting in the centre of this triad is an image of Seokgamoni-bul (The Historical Buddha), who appears to be joined by Amita-bul (The Buddha of the Western Paradise) and Yaksayeorae-bul (The Buddha of the Eastern Paradise, and the Buddha of Medicine). Beyond the main altar, the sumidan, you’ll find rows of statuettes dedicated solely to Seokgamoni-bul. And hanging on the far left wall is a modern Shinjung Taenghwa (Guardian Mural).

To the immediate right and left of the Daeungbo-jeon Hall are two long rectangular raised pieces of land. These are two former corridors. Directly behind the new main hall is another raised piece of land that was a shorter corridor that led to three former buildings at the Wollamsa-ji Temple Site. The last of these raised pieces of land was the former lecture hall at the temple. To the right of the eastern corridor site, the Hoerang-ji, is a collection of two additional building sites. You’ll also find a water well in this area, too.

The final thing that visitors can explore is to the far west. Housed inside a large wooden pavilion is the “Stele for State Preceptor Jingak at Wollamsa Temple Site.” This stele, which is known as a “biseok” in Korean, was made to commemorate Jingak-guksa (1178-1234). The stele was first erected in 1250. Jingak-guksa’s name was Choe Hye-sim. He passed the state civil examination when he was 24 years old. However, after his mom died, he became a monk. Jingak-guksa learned under the famed monk Jinul (1158-1210). Jingak-guksa would become the successor to Jinul.

Traditionally, a Korean stele consists of three parts: the tortoise-shaped base, the body stone, and the capstone. The “Stele for State Preceptor Jingak at Wollamsa Temple Site” has a beautiful tortoise-shaped base. The tortoise has its neck stretched outward with a bead in its mouth. It’s placed all four of its feet on the ground, and it looks both strong and realistic. The shell of the tortoise as hexagonal shapes on its back, and it supports the weight of the partial body stone that still remains. The other half of the body stone is now housed at the Gwangju National Museum. The surface of the remaining stone has nearly been worn away. And the capstone is completely missing.

How To Get There

From the Gangjin Intercity Bus Terminal, you’ll need to walk about 5 minutes to get to the “Gangjin Jeonhwaguk – 강진 전화국” bus stop. You’ll then need to take the “Nongeo-chon 농어촌 5-1” bus. This type of bus is typically a town bus. After one hour, or 22 stops, you’ll need to get off at the “Wollam – 월남” bus stop. And from where the bus drops you off, you’ll be right at the Wollamsa-ji Temple Site.

Overall Rating: 6/10

The Wollamsa-ji Temple Site is one of the most beautifully located temple sites in all of Korea with the beautiful Mt. Wolchulsan as a backdrop and the surrounding green tea fields. In addition to all of its natural beauty are the pair of Korean Treasures, the “Stele for State Preceptor Jingak at Wollamsa Temple Site” and the “Three-Story Stone Pagoda at Wollamsa Temple Site.” It’s hard to believe that just a decade ago that this entire area was inundated with houses.

The beautiful Wollamsa-ji Temple Site with Mt. Wolchulsan in the background.
A closer look at the newly built Daeungbo-jeon Hall and the historic “Three-Story Stone Pagoda at Wollamsa Temple Site.”
A closer look at the “Three-Story Stone Pagoda at Wollamsa Temple Site.”
From a different angle.
The main altar inside the Daeungbo-jeon Hall.
A look up at Mt. Wolchulsan.
From a different angle.
A walk through the former building sites.
The pavilion that houses the “Stele for State Preceptor Jingak at Wollamsa Temple Site.”
An up-close of the tortoise-base to the stele.
The “Stele for State Preceptor Jingak at Wollamsa Temple Site” from the side.
And an up-close.

Pages

Subscribe to Koreabridge MegaBlog Feed