


Temple History
Haeinsa Temple, which is located in Hapcheon, Gyeongsangnam-do, means “Ocean Seal Temple” in English. The name of the temple is in reference to the “Ocean Seal” samadhi (meditative consciousness) from the Avatamsaka Sutra, or “Flower Garland Sutra” in English, or “Hwaeom-gyeong” in Korean. The reason for this reference is the idea that the mind is like the surface of a perfectly calm sea. And it’s from this that the true image of our existence is clearly reflected and everything appears as it is.
Alongside Tongdosa Temple in Yangsan, Gyeongsangnam-do and Songgwangsa Temple in Suncheon, Jeollanam-do, Haeinsa Temple forms the Three Jewel Temples (삼보사찰, or “Sambosachal” in English). Tongdosa Temple represents the Buddha, Songgwangsa Temple represents the Sangha, and Haeinsa Temple represents the Dharma.
It’s believed that Haeinsa Temple was first established in 802 A.D. by the monks Suneung and Ijeong. However, and predating Suneung and Ijeong founding Haeinsa Temple, there is a legend that claims that the famed Uisang-daesa (625-702 A.D.) first founded Haeinsa Temple in the mid-600s as a hermitage. With that being said, the founding of Haeinsa Temple is more firmly rooted in masters Suneung and Ijeong, who were religious descendants of Uisang-daesa’s Hwaeom-jong, or “Flower Garland Sect” in English. Haeinsa Temple would become one of the Ten Monasteries of Hwaeom, or the Hwaeom Sipchal in Korean. Suneung and Ijeong founded the temple upon their return from their religious studies in Tang China (618–690, 705–907 A.D.). According to one temple legend, the two monks helped heal the wife of King Aejang of Silla (r. 800 – 809 A.D.). Suneung and Ijeong studied Esoteric Buddhism, or Chongji-jong in Korean, while in Tang China. Purportedly, the wife of King Aejang of Silla had a tumour. The monks tied a piece of silk thread around the tumour and attached it to a neighbouring tree. They then chanted Esoteric Buddhist verses, or jin-eun in Korean, that they had learned in Tang China. Miraculously, and through these Buddhist chants, the tumour vanished, while the tree withered and eventually died. Grateful, King Aejang of Silla (r. 800-809 A.D.) granted the two monks funding that they would need to build a new temple wherever they wanted it. Surprisingly, the two monks chose to construct their new temple in the remote mountains of Mt. Gayasan. They would become the first and second abbots of Haeinsa Temple.
Haeinsa Temple also played a pivotal role in the assumption of King Taejo of Goryeo (r. 918-943 A.D.), or Taejo Wang Geon, to the throne. For this, the monk Huirang, who was the fifth abbot of Haeinsa Temple, or “Juji” in Korean, was rewarded for his loyalty. Huirang, and through him, Haeinsa Temple, received substantial royal patronage from King Taejo of Goryeo. As a result, Haeinsa Temple went from a mid-sized temple to a major temple. This resulted in hundreds of monks being able to study and practice at Haeinsa Temple and the Hwaeom teachings.
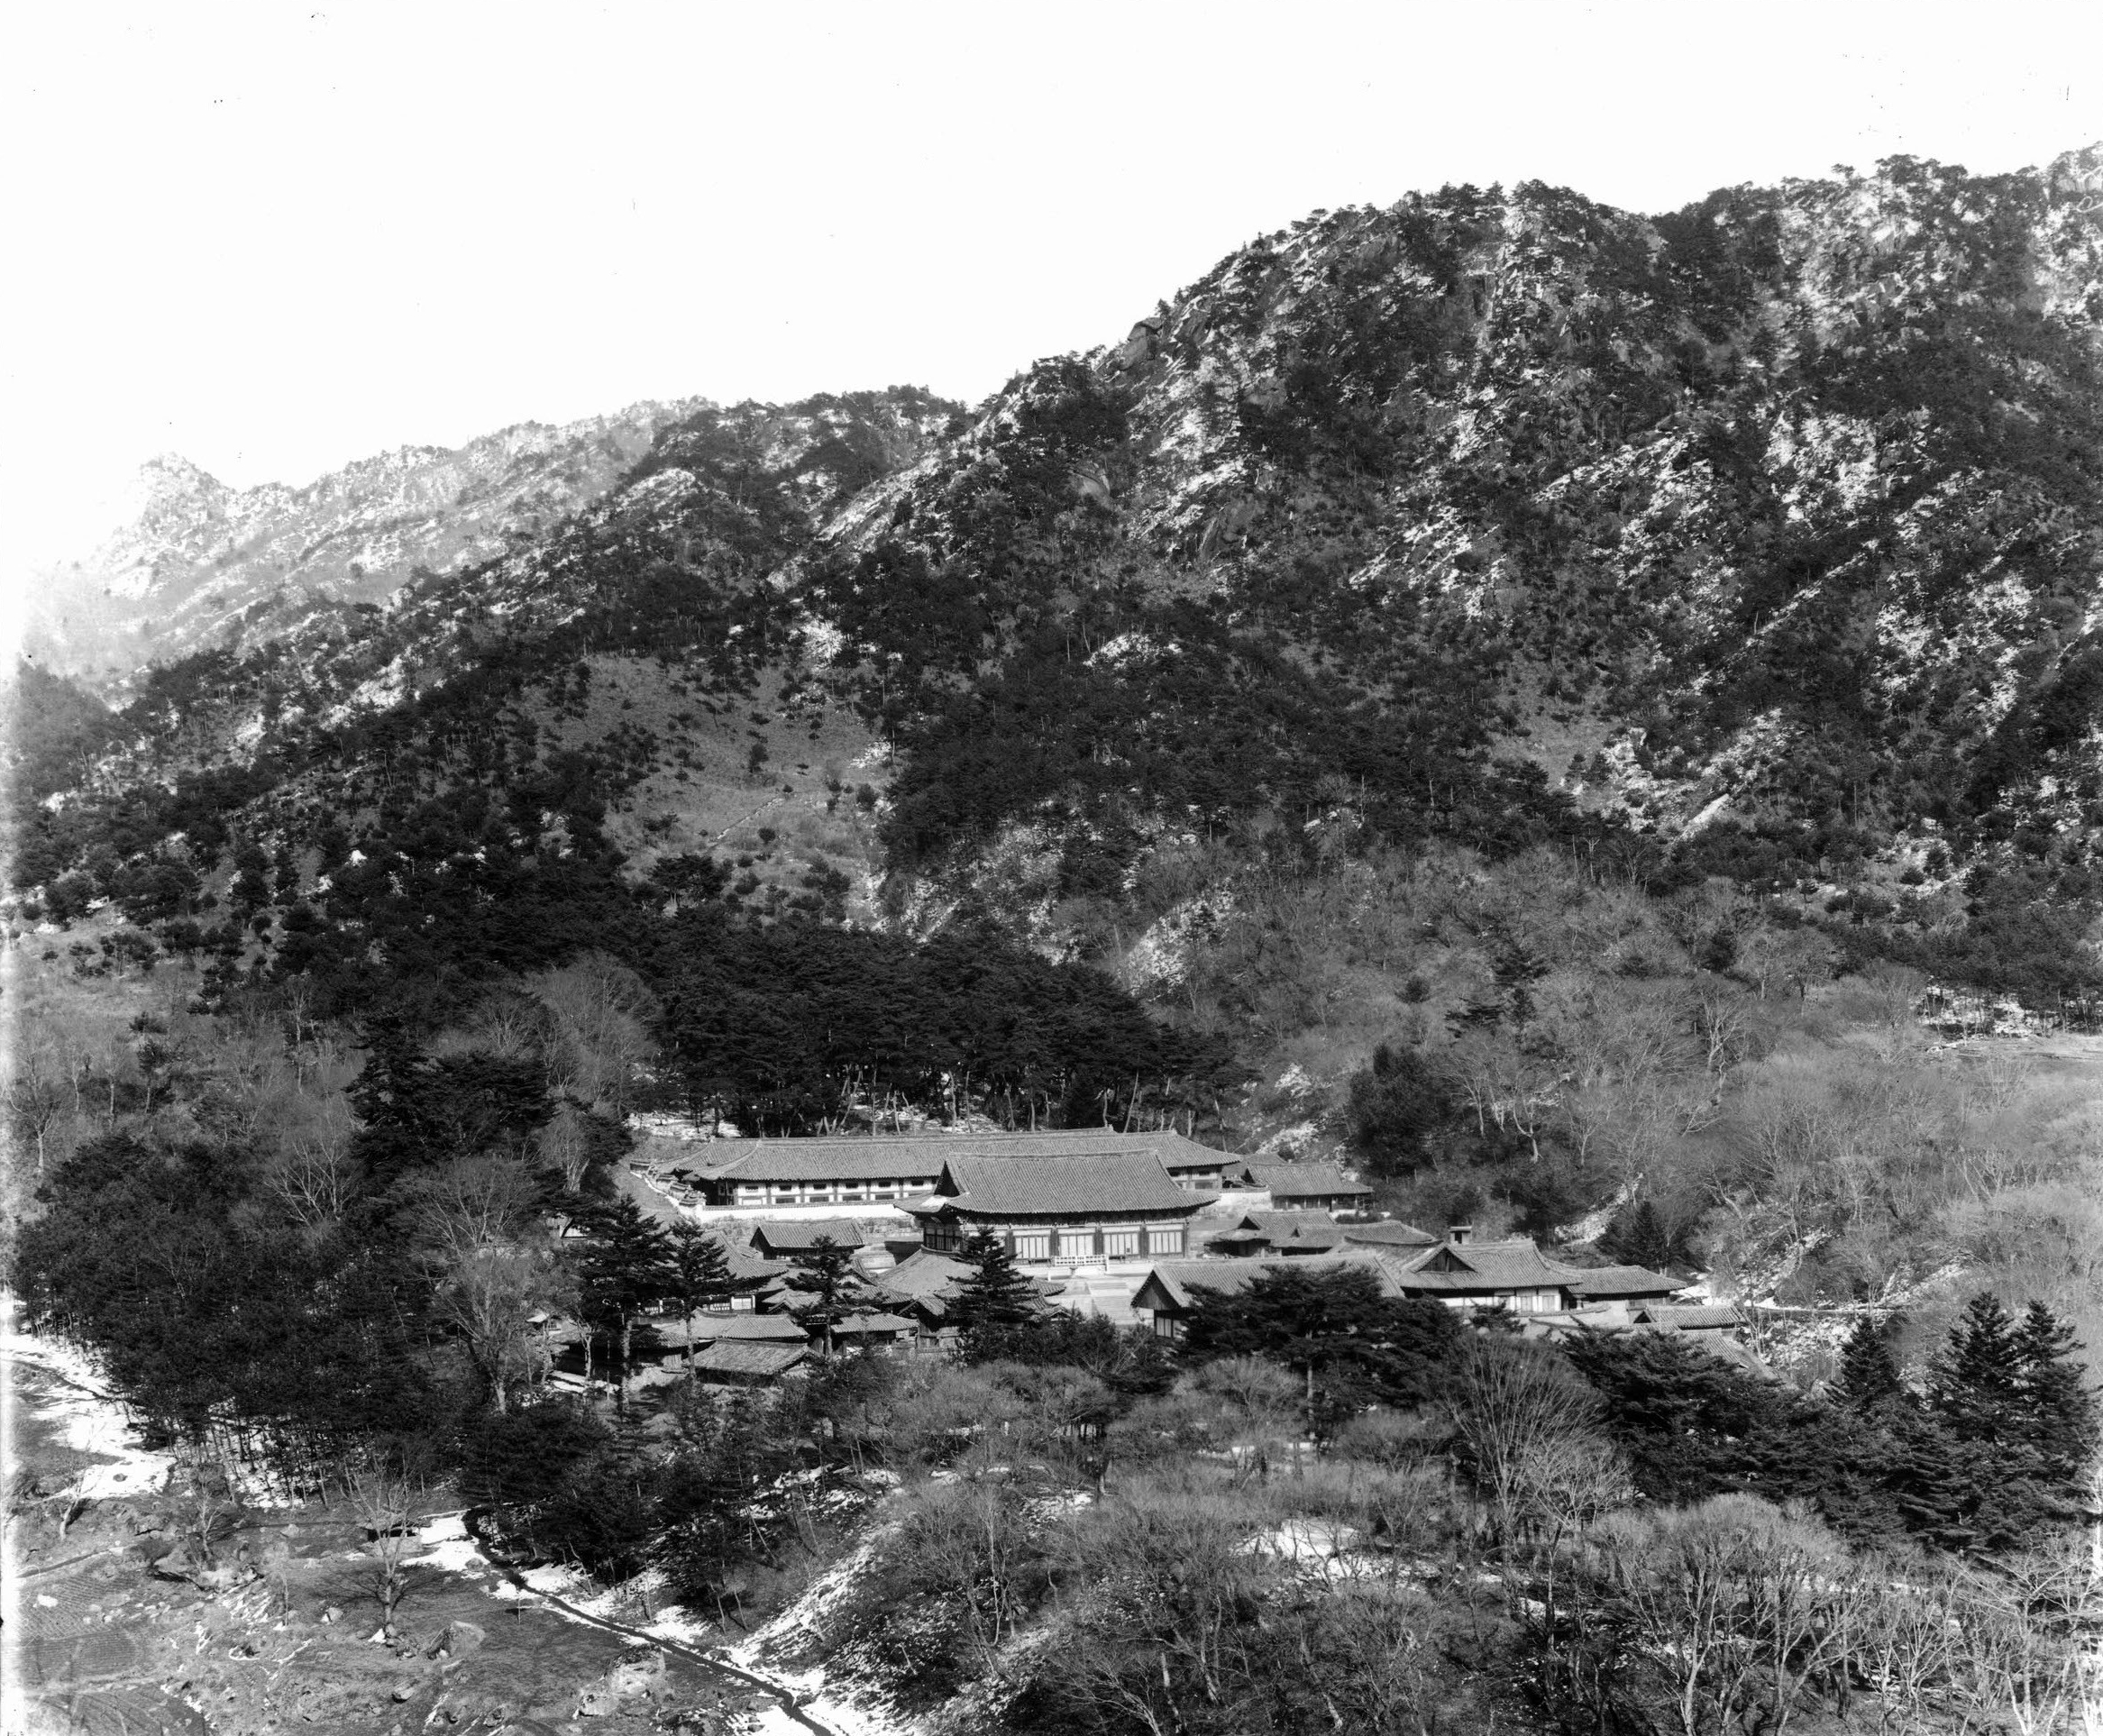
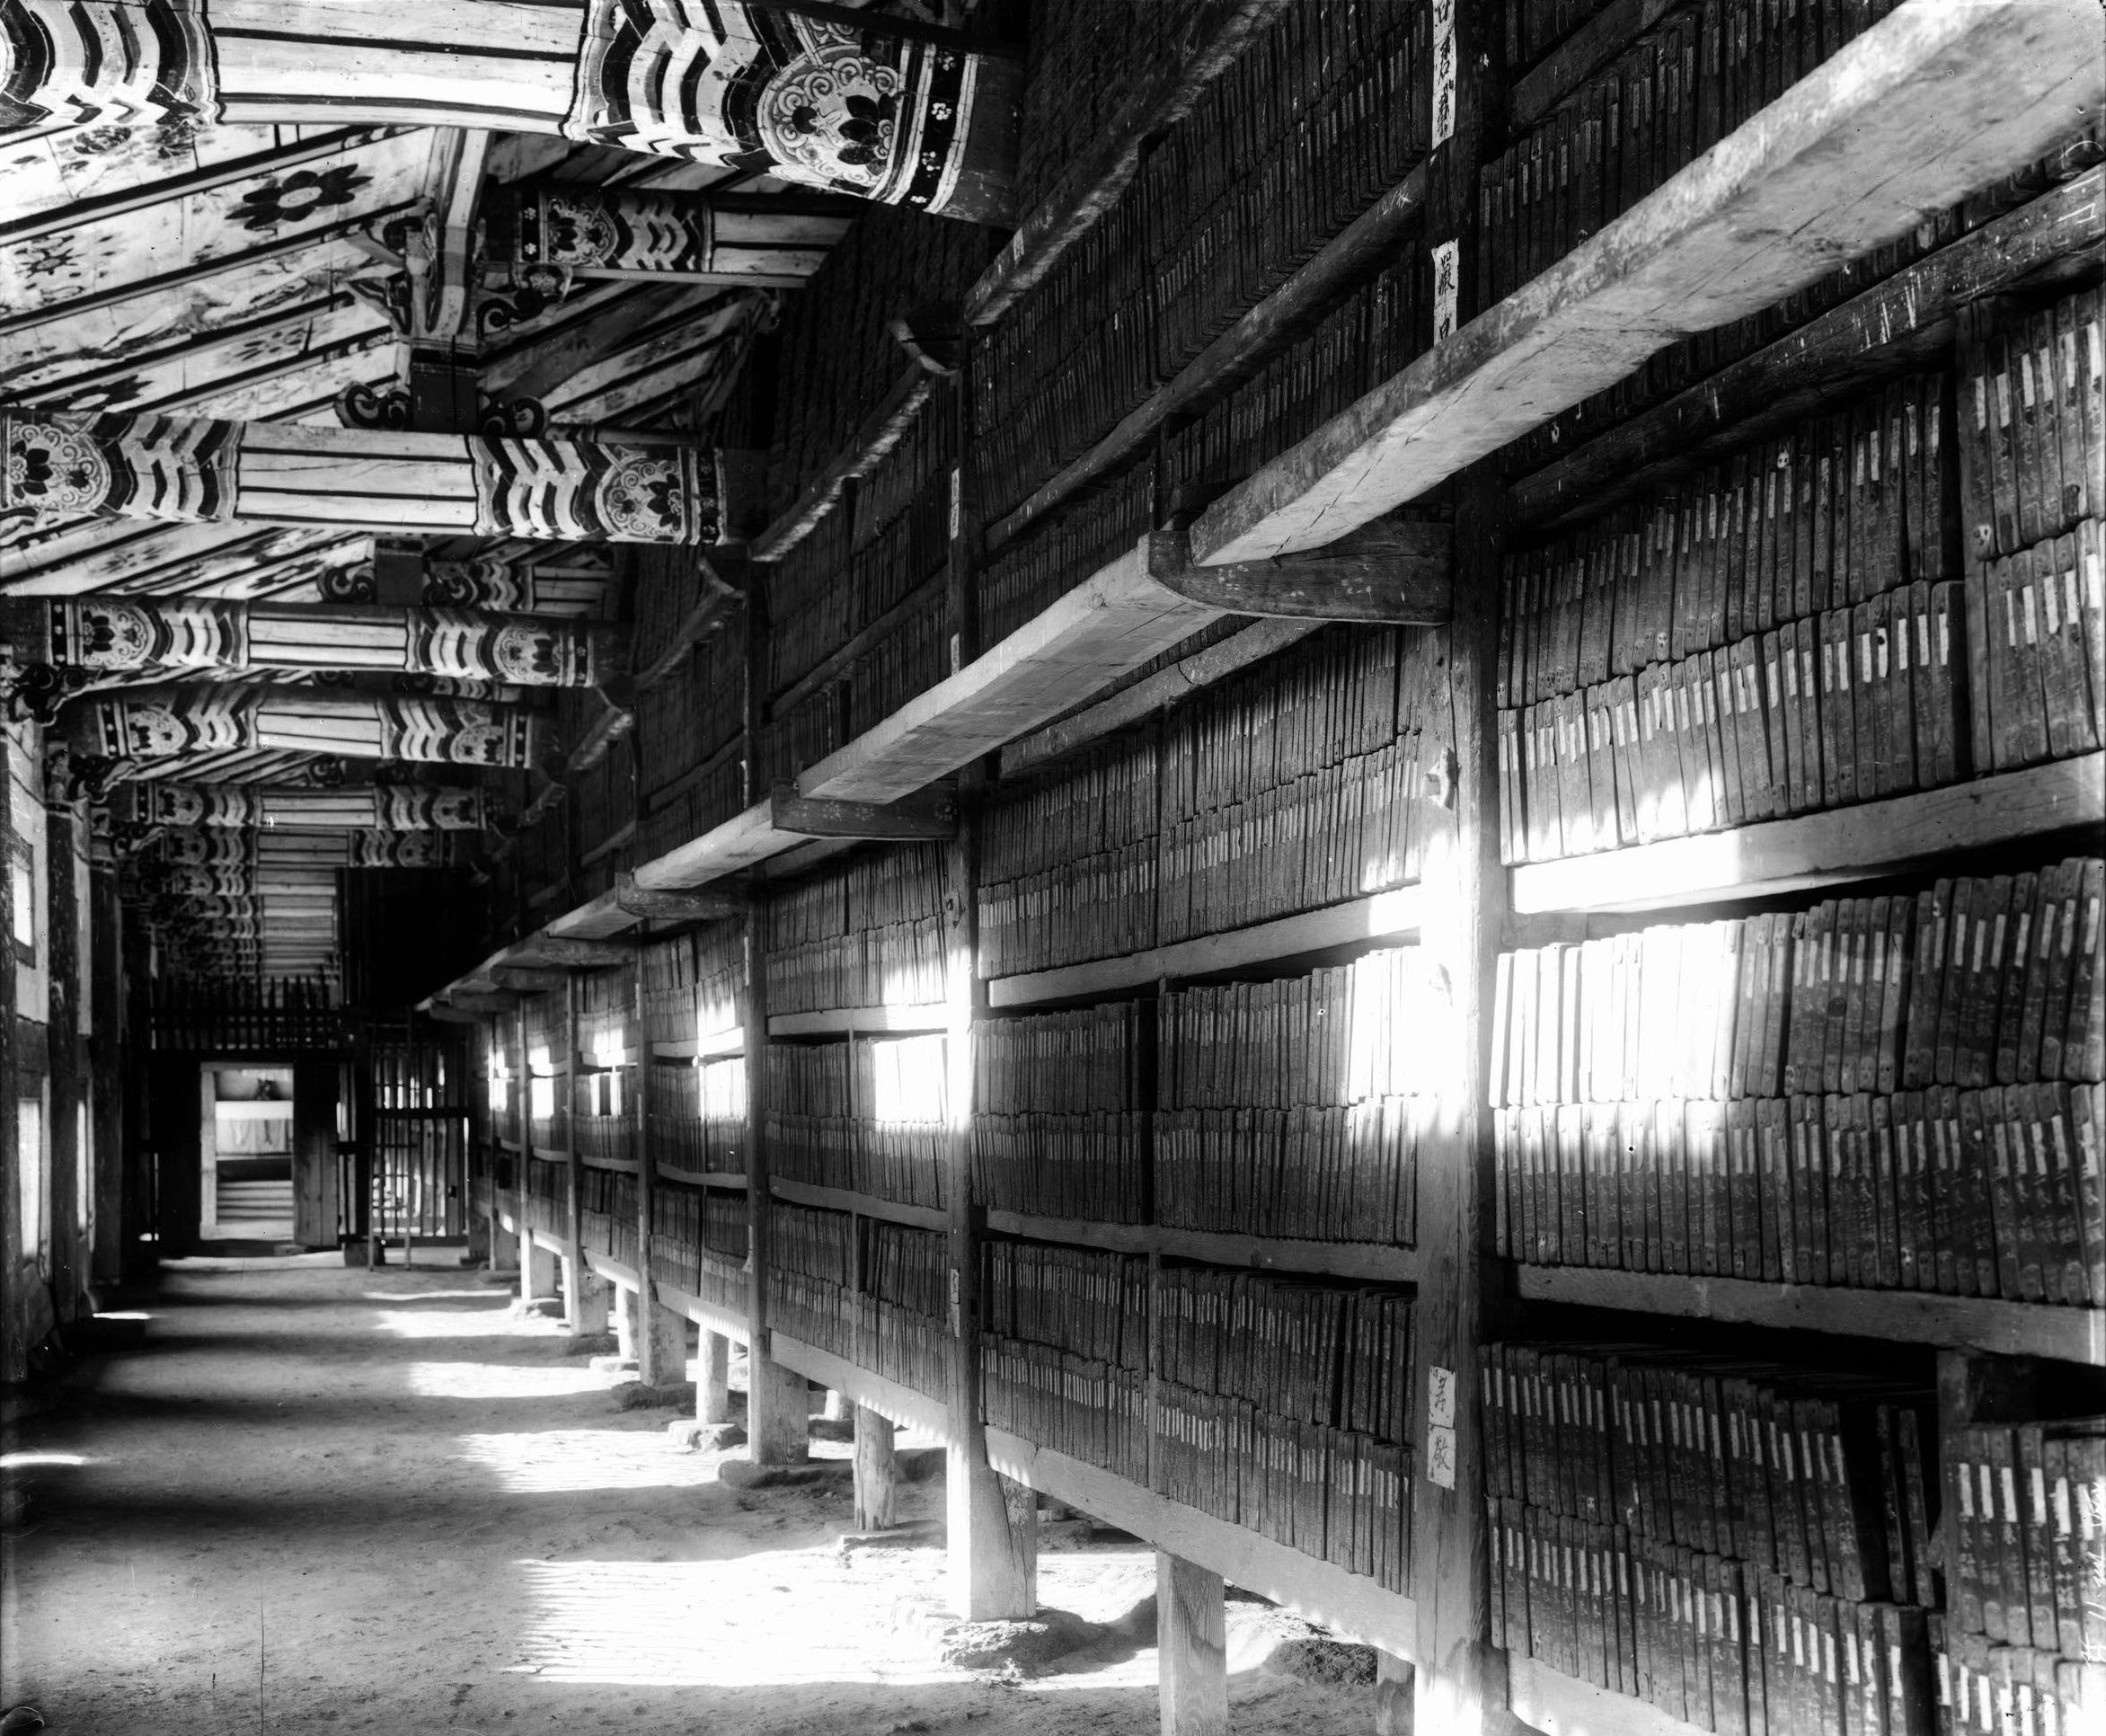
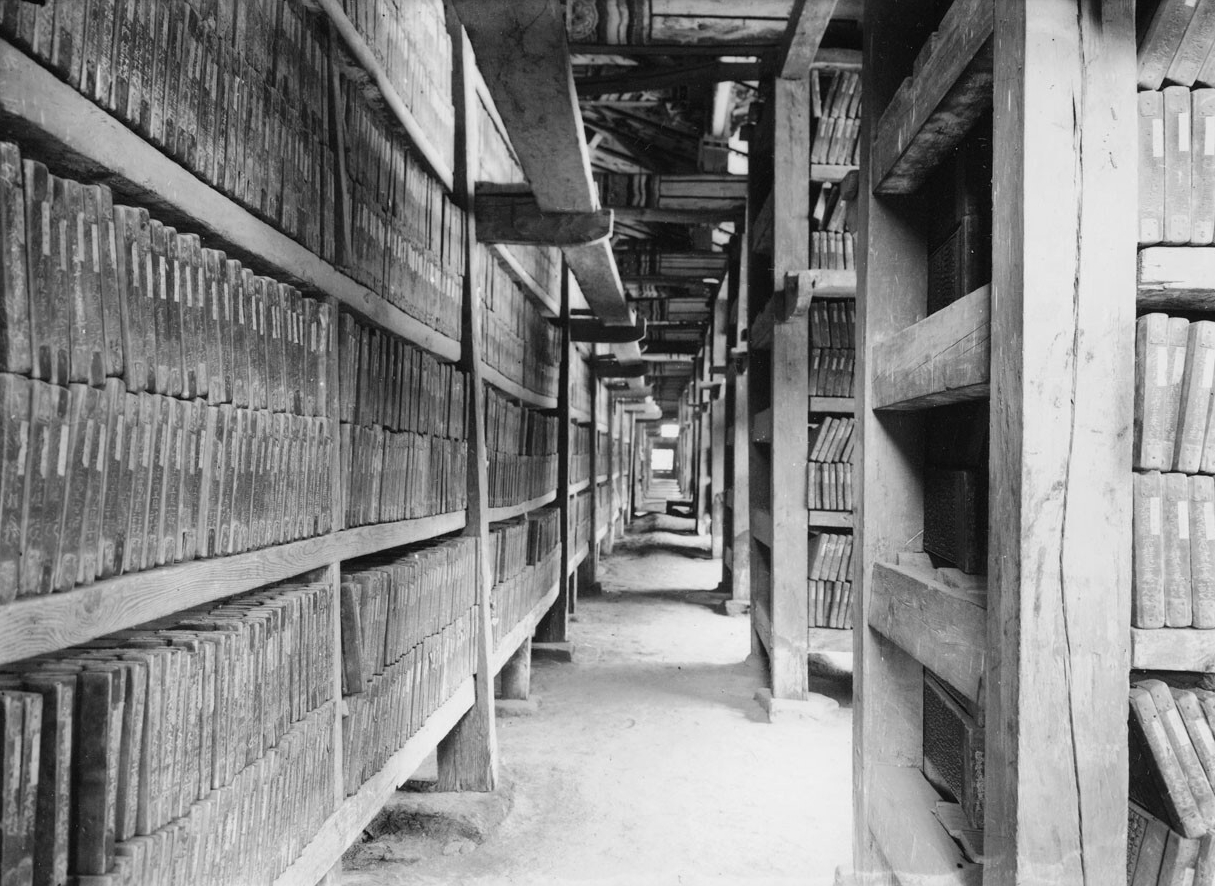
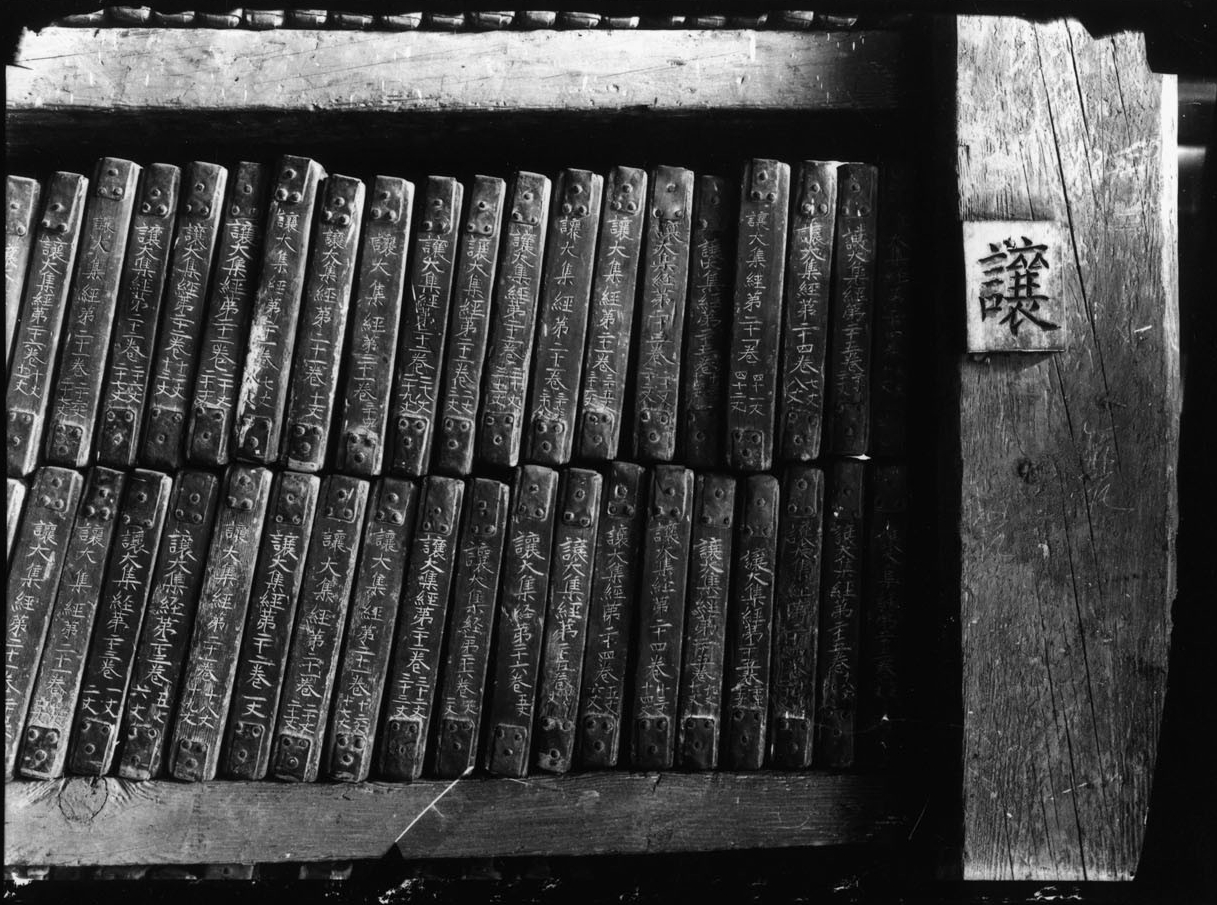
Fortunately, Haeinsa Temple has been protected from plundering and destruction because of its remote and isolated location unlike other famous Buddhist temples on the Korean Peninsula. Such was the case in 1592, when the Korean Peninsula was invaded by the Japanese during the Imjin War (1592-1598). In fact, the Japanese intended to cart the woodblocks of the Tripitaka Koreana back to Japan. However, the monk Seosan-daesa (1520-1604) organized a legion of Buddhist monks known as the Righteous Army to fight in defence of the nation under the leadership of Samyeong-daesa (1544-1610), who was a disciple of Seosan-daesa. This force was stationed out of Haeinsa Temple, and they fought, and won, against the Japanese army by employing guerrilla tactics through the Hongnyu-dong Valley. This victory allowed for the precious Tripitaka Koreana woodblocks to be spared from Japanese plundering.
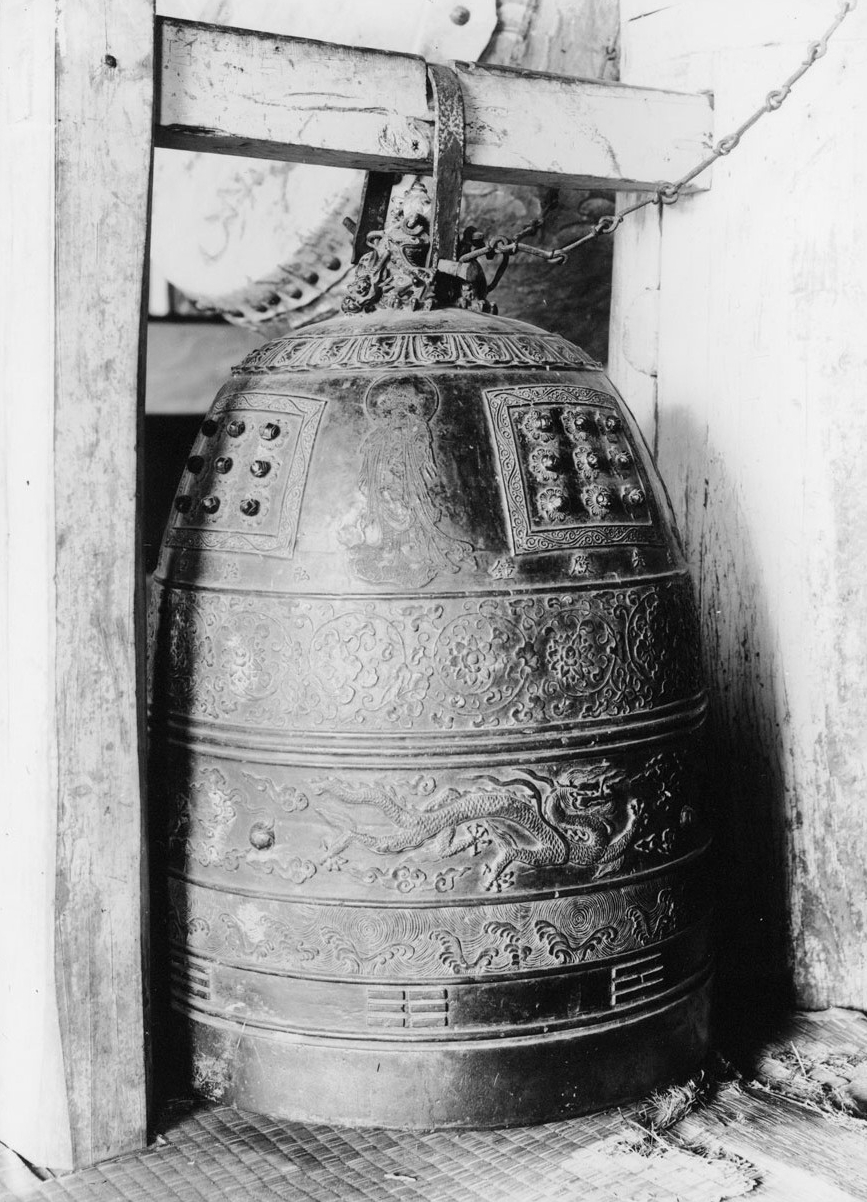
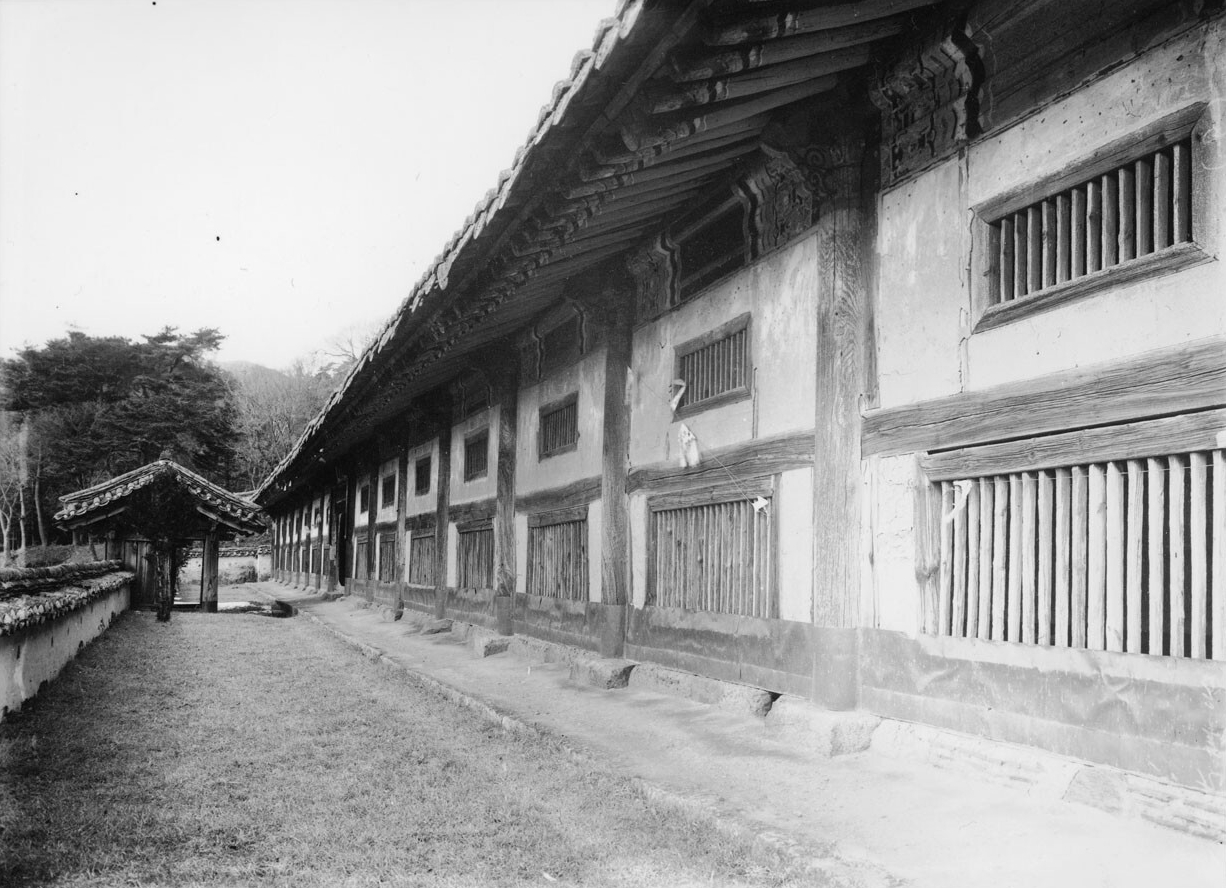
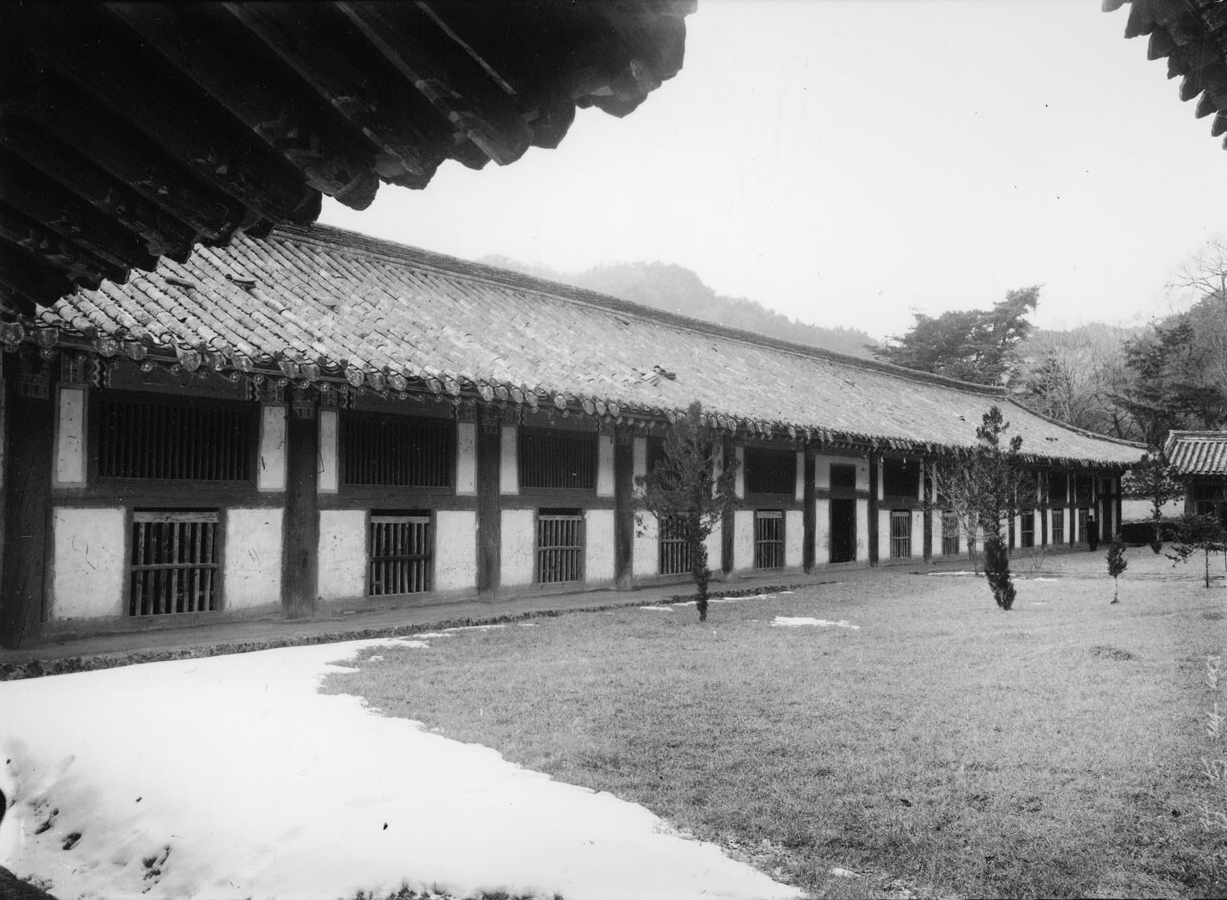
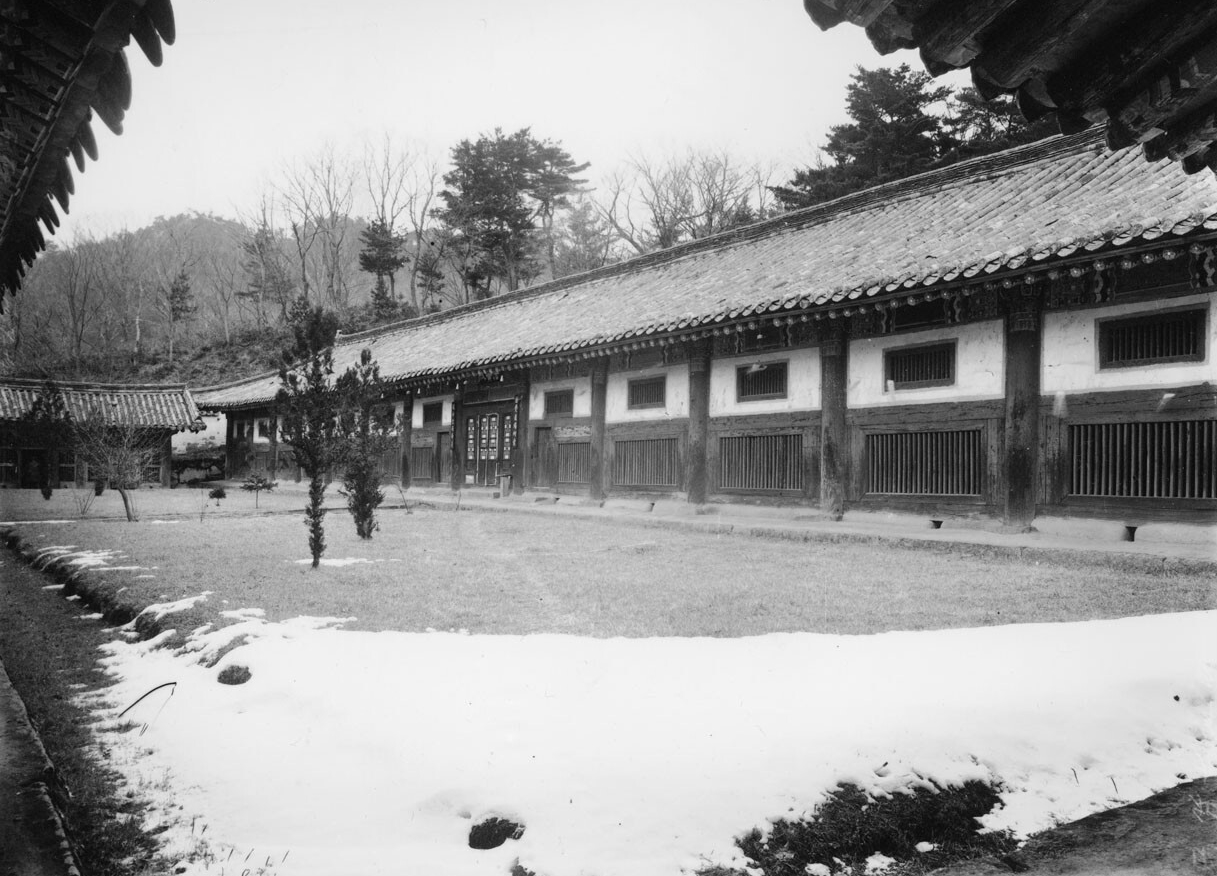
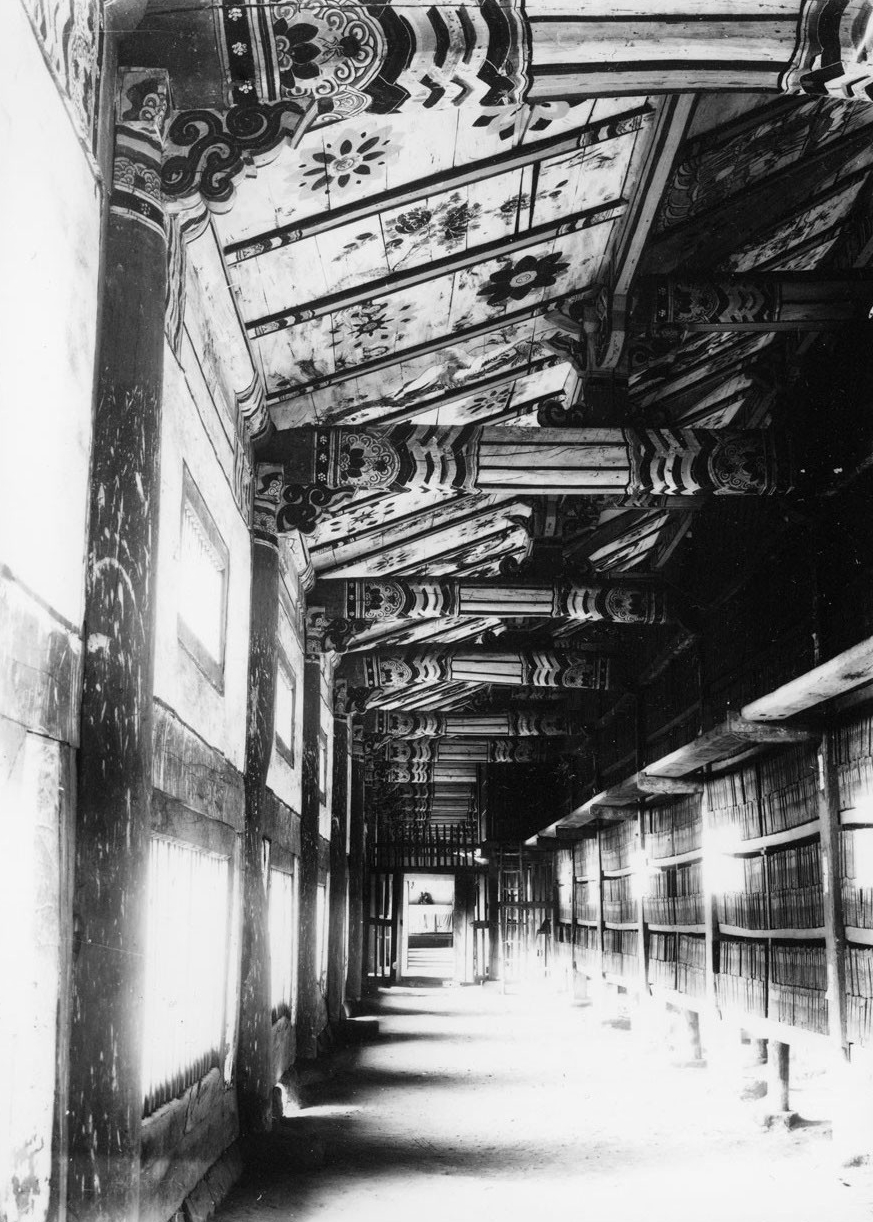
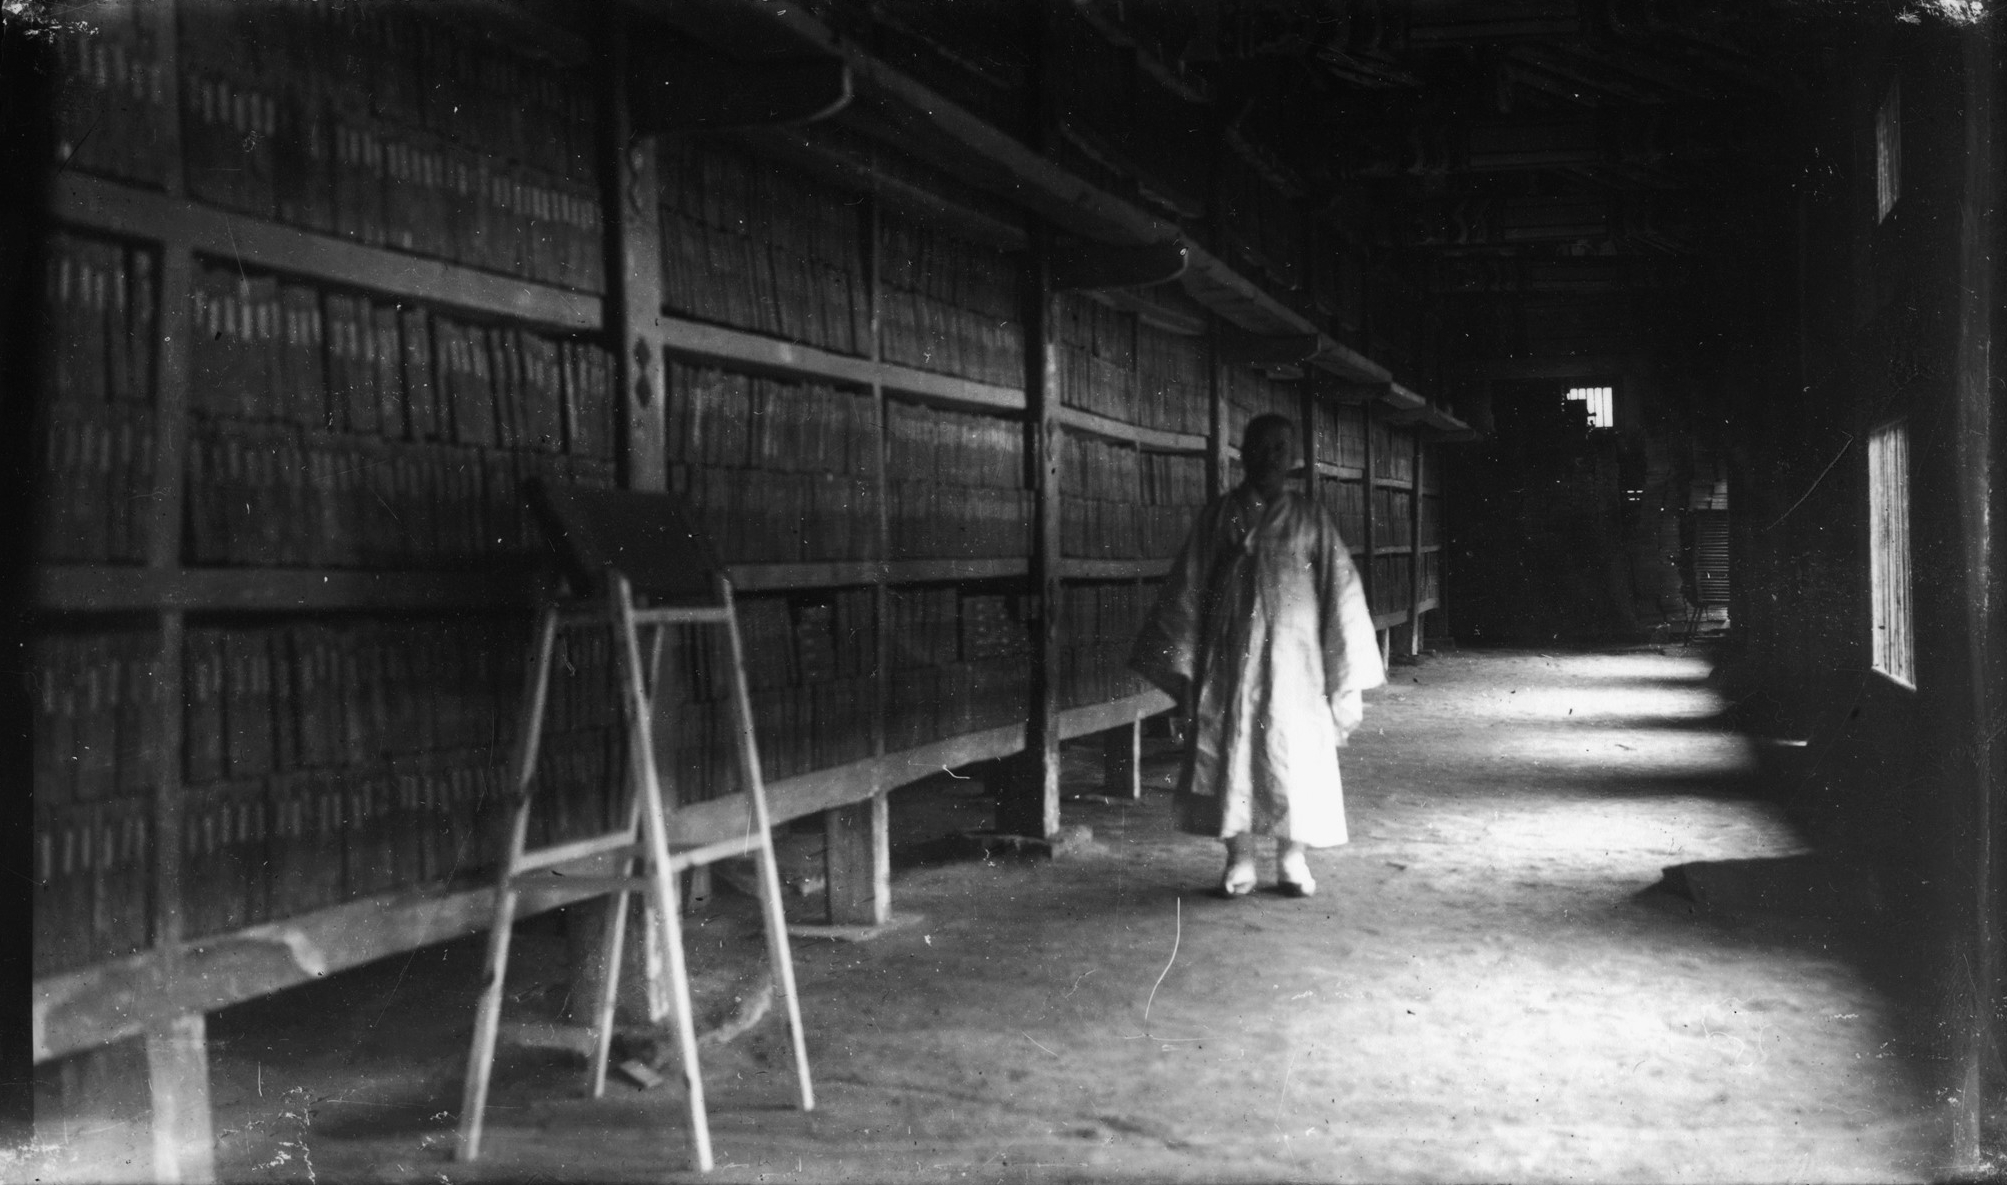
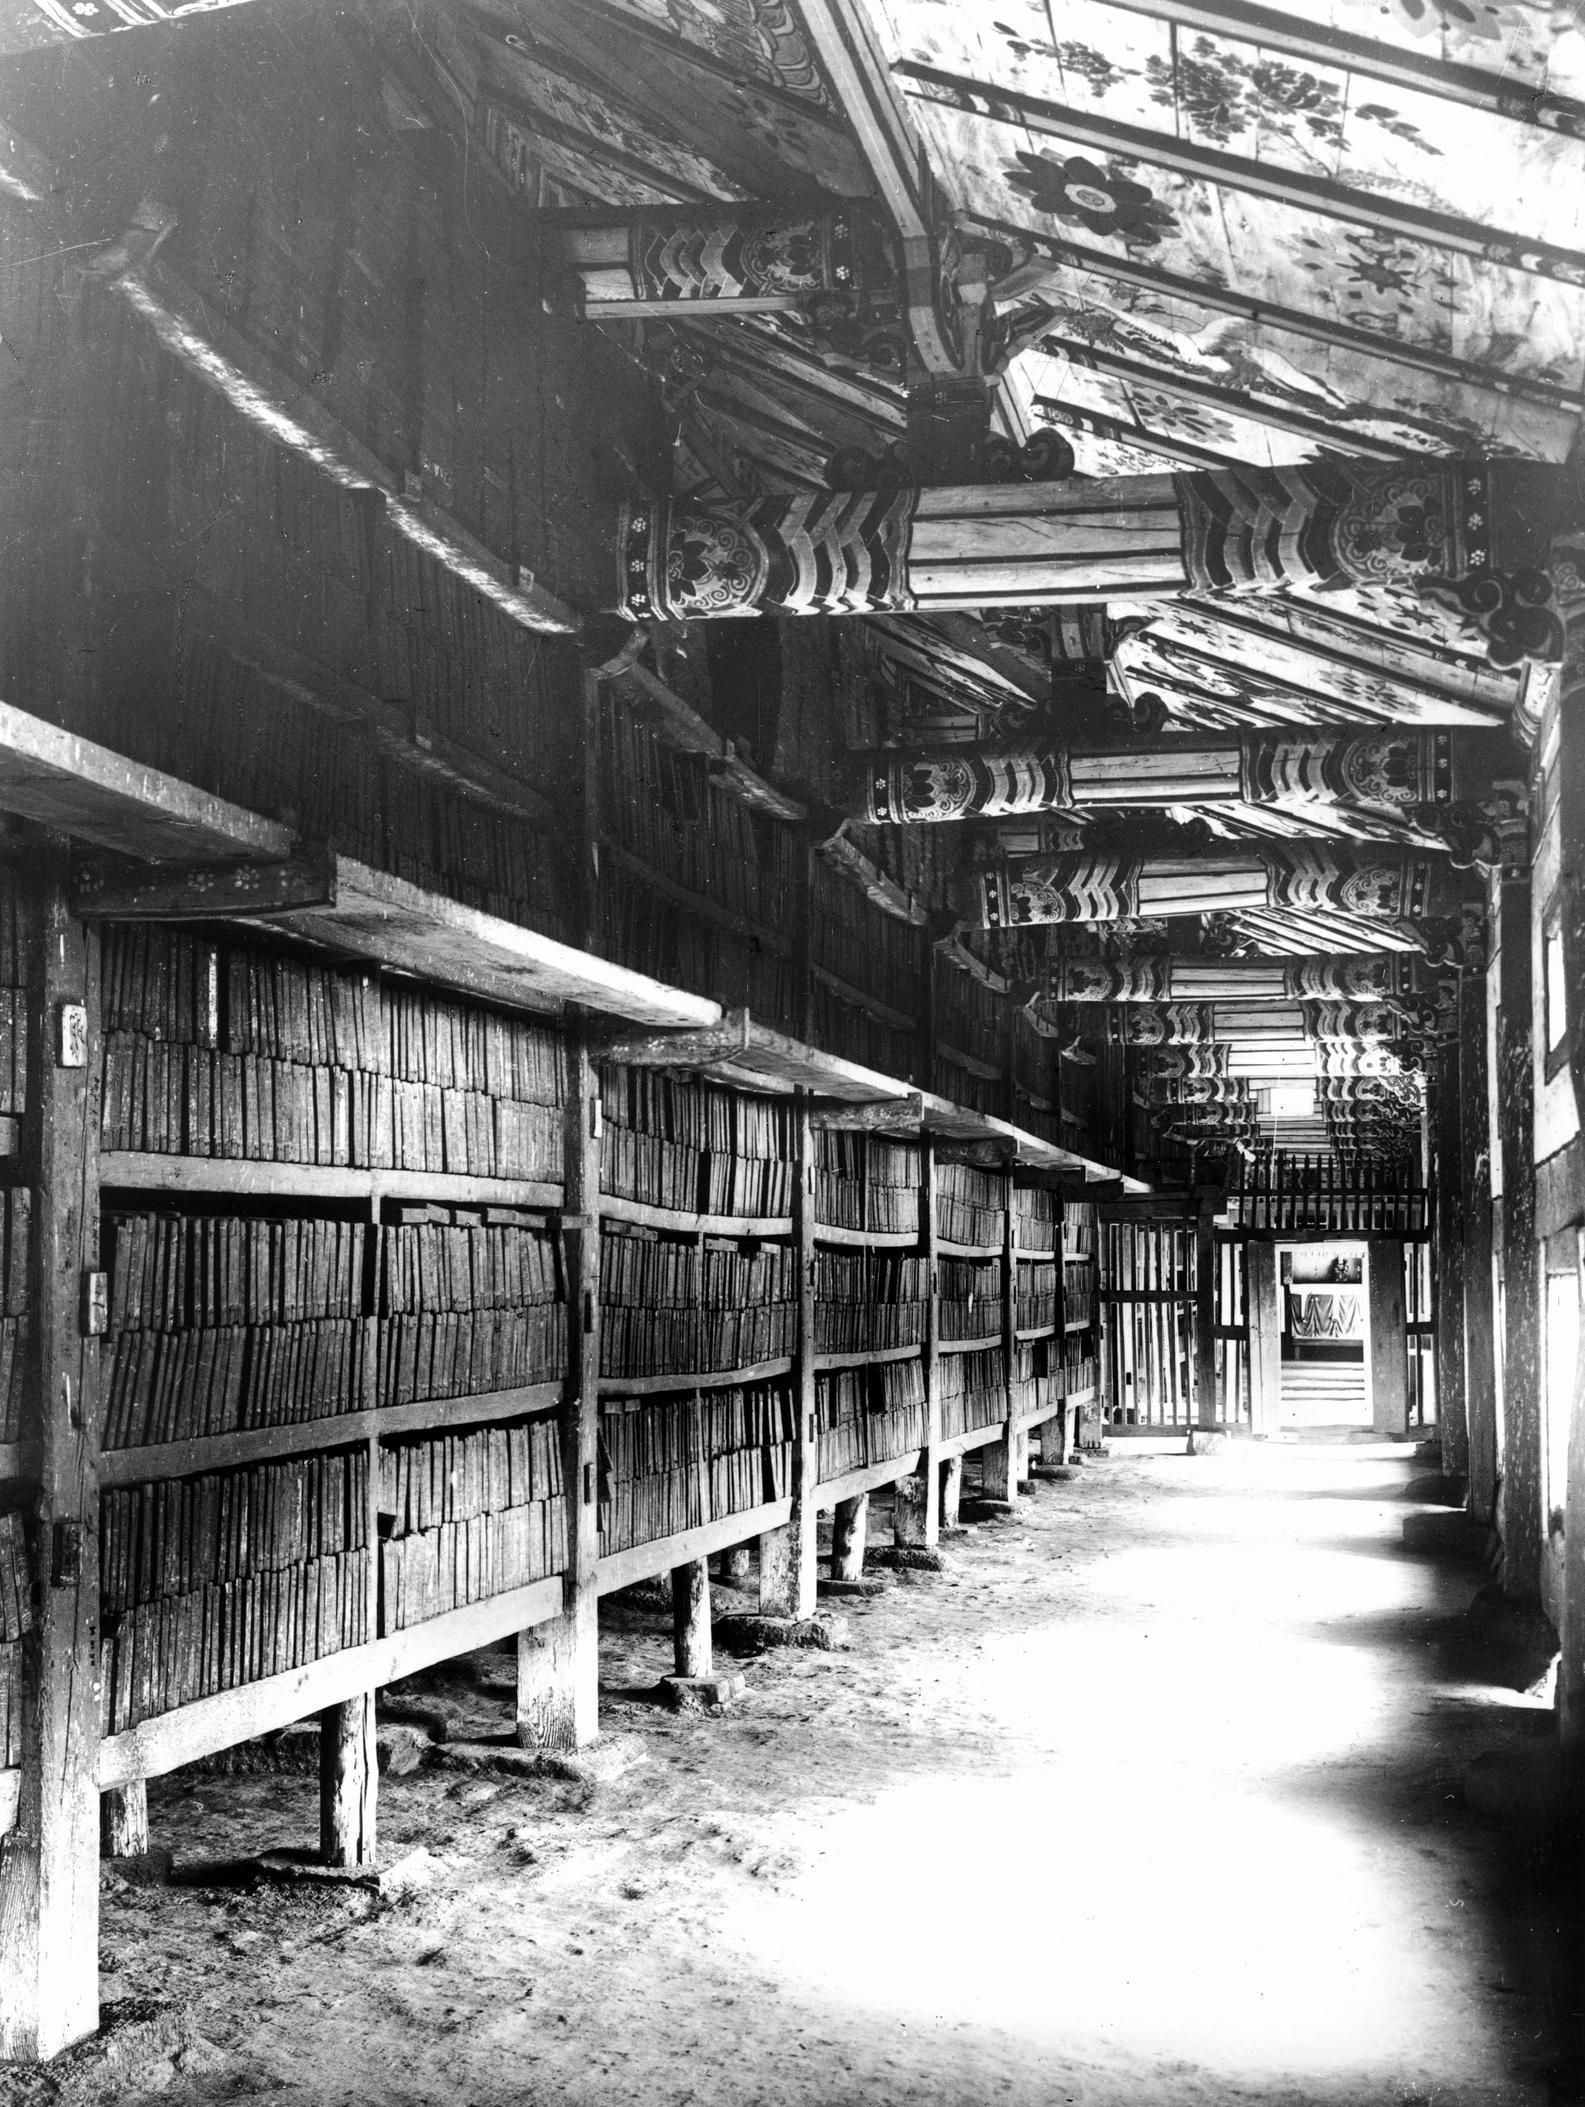
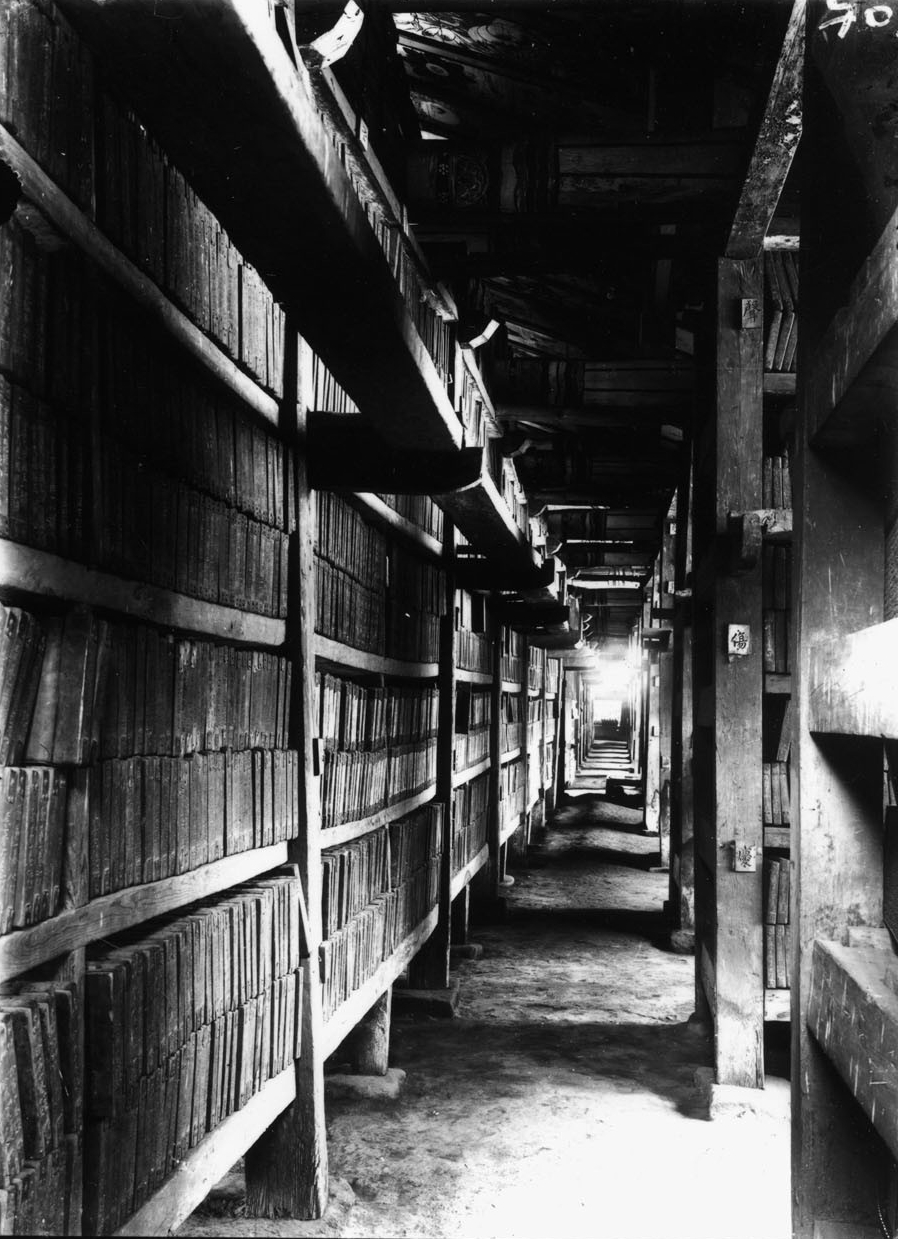
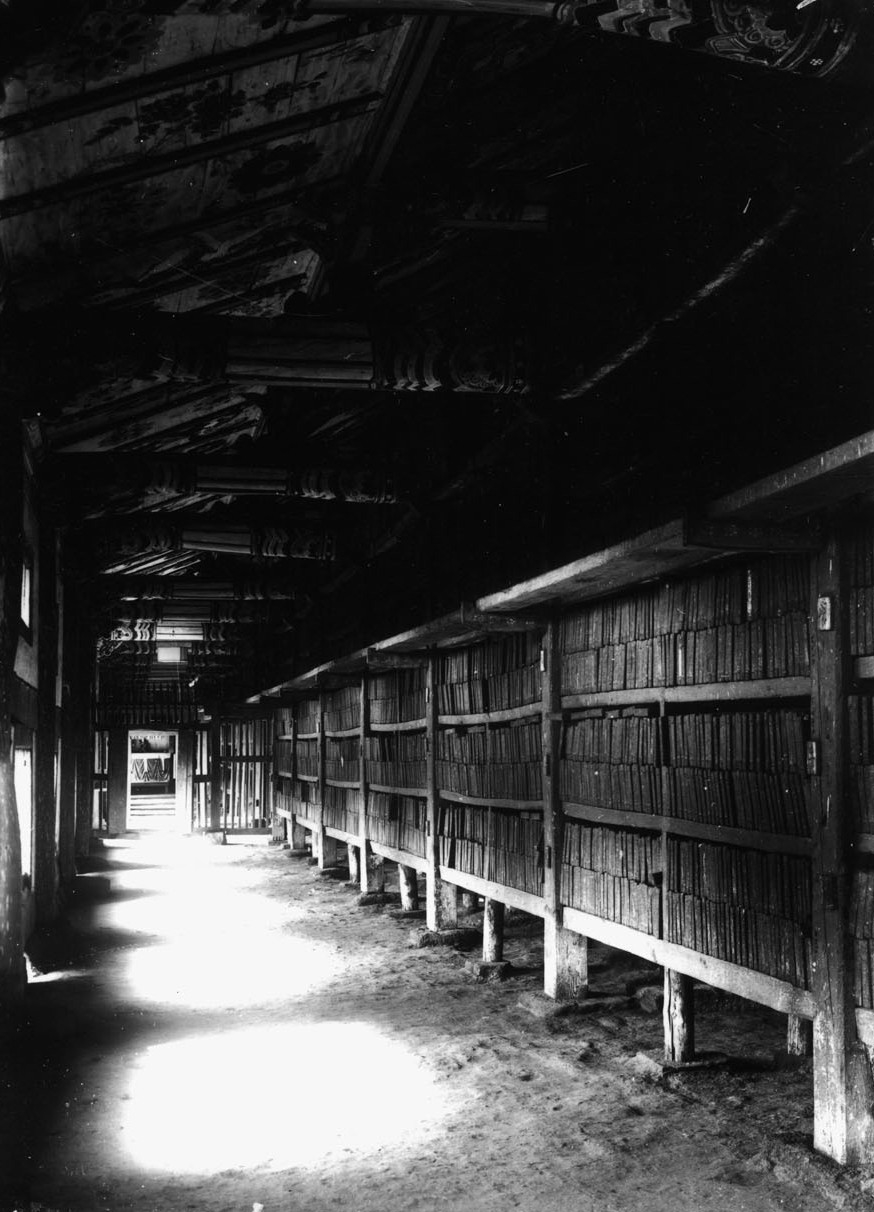
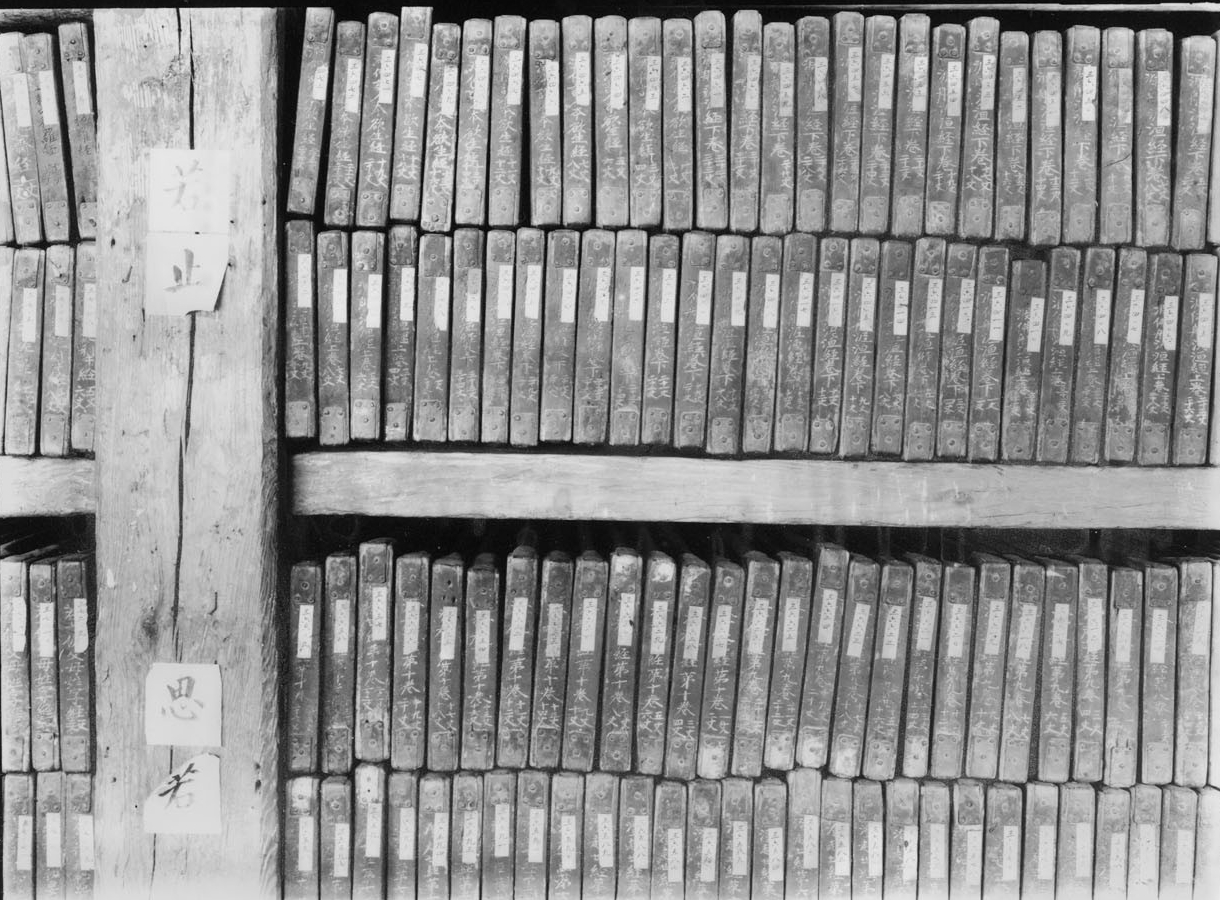
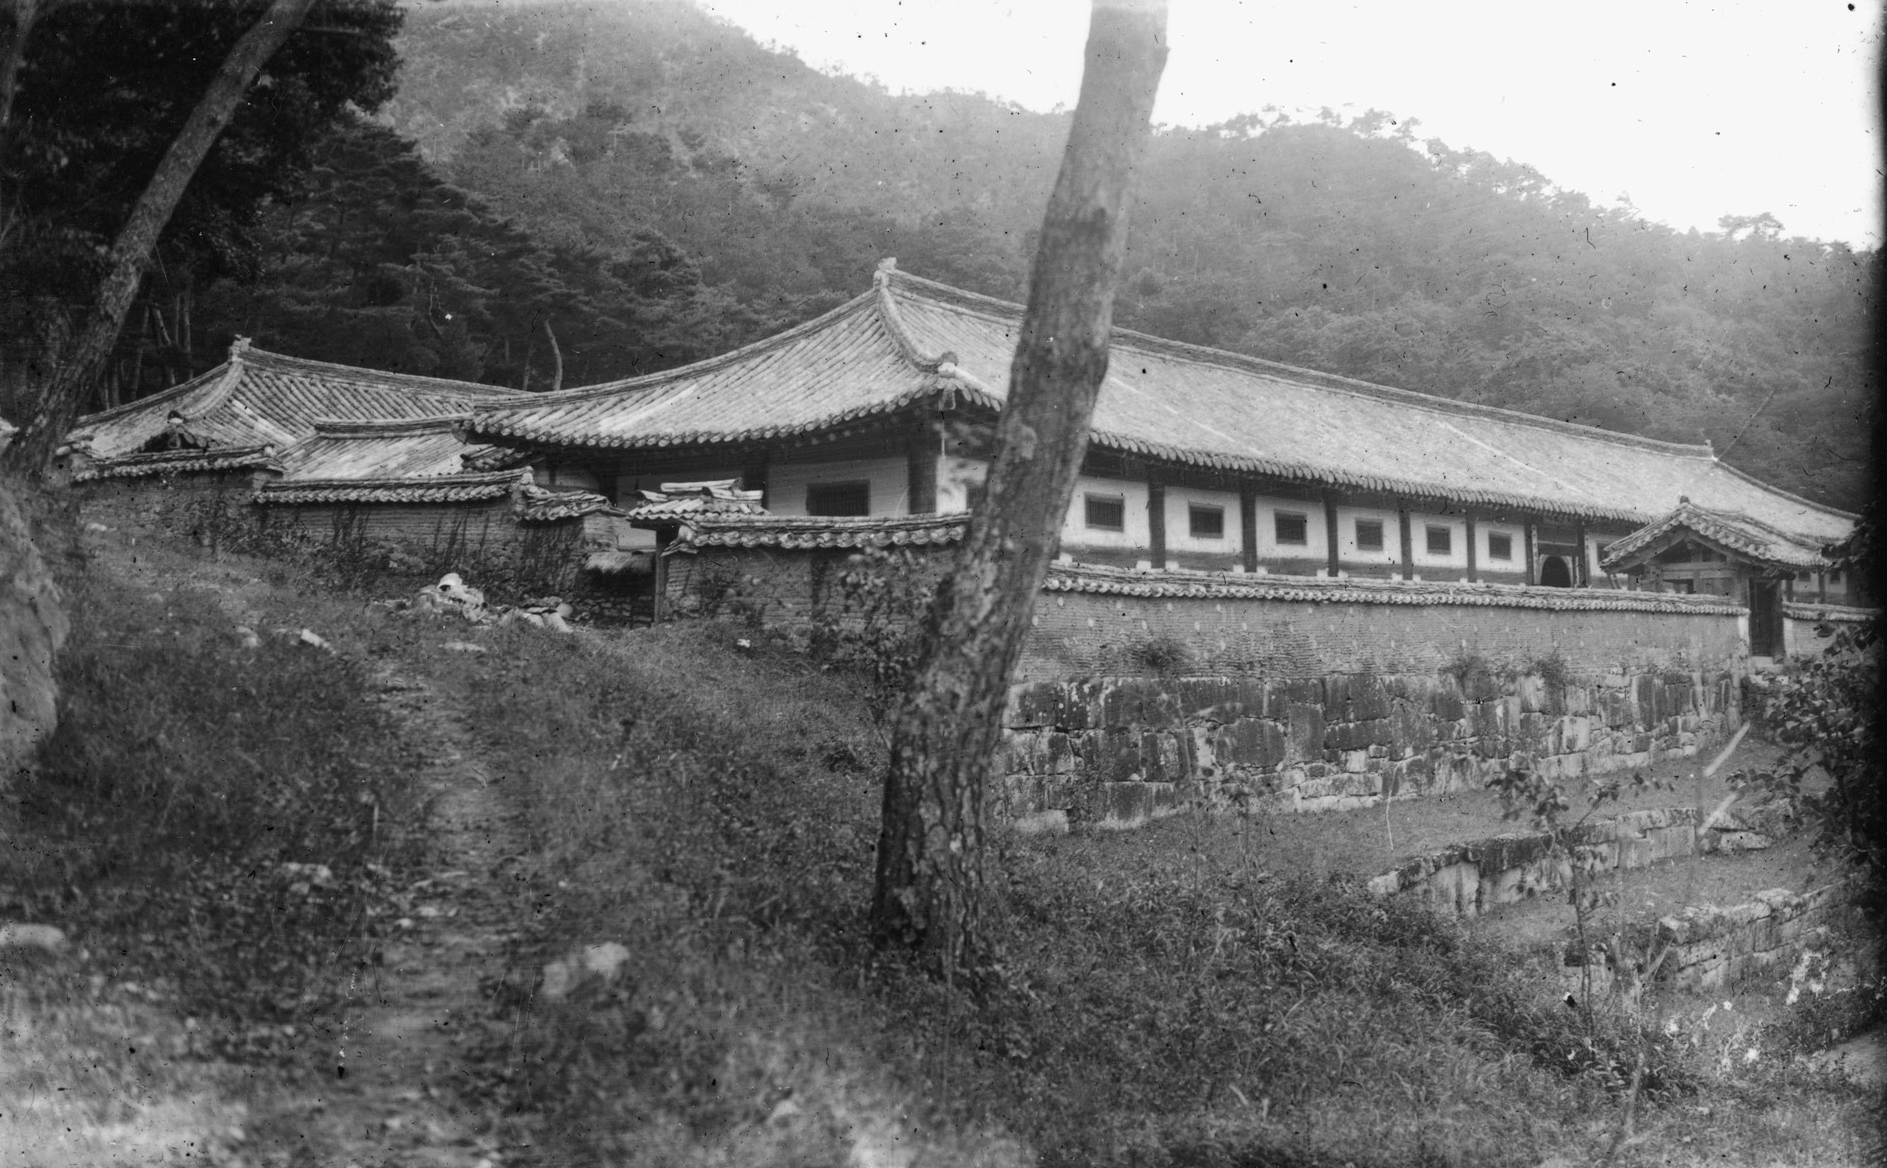
Throughout the centuries, Haeinsa Temple has undergone numerous expansions like in 1488, 1622, and 1644. Tragically, most of Haeinsa Temple was destroyed by fire in 1817. In total, Haeinsa Temple has suffered seven disastrous fires with varying degrees of destruction. Fortunately, the fire of 1817 spared the Janggyeong-panjeon (National Treasure #52) and the Tripitaka Koreana (National Treasure #32) housed inside the ancient library.
Later, and during the Korean War (1950-1953), communist guerrillas attempted to use Haeinsa Temple as their base. However, the abbot of Haeinsa Temple, Master Hyodang, thwarted this attempt, and he was able to convince them to withdraw from the temple grounds. Additionally, the South Korean army didn’t know of this withdrawal, so they ordered airplanes to bomb and destroy Haeinsa Temple. Thankfully, the pilot refused this order and helped preserve Haeinsa Temple.
More recently, Haeinsa Temple underwent renovations during the 1960s to 1970s. This was done through funding by President Park Chung-hee (1917-1979). This was meant to help further tourism and rebuild and re-establish pride in Korea. In total, the Haeinsa Temple grounds is home to seventeen hermitages, which is one of the largest collections of hermitages on a temple site in Korea.
Haeinsa Temple is home to four National Treasures, 19 Korean Treasures, the temple itself is a Scenic Site and it’s also a Historic Site. Haeinsa Temple, and more specifically, the Janggyeongpanjeon Depositories of Haeinsa Temple and the Printing Woodblocks of the Tripitaka Koreana in Haeinsa Temple, have been a UNESCO World Heritage Site since 1995.
A special thank you goes out to Prof. David Mason for the amazing information that he provides on his website, especially the history of Haeinsa Temple. Please check it out!
Colonial Era Photography
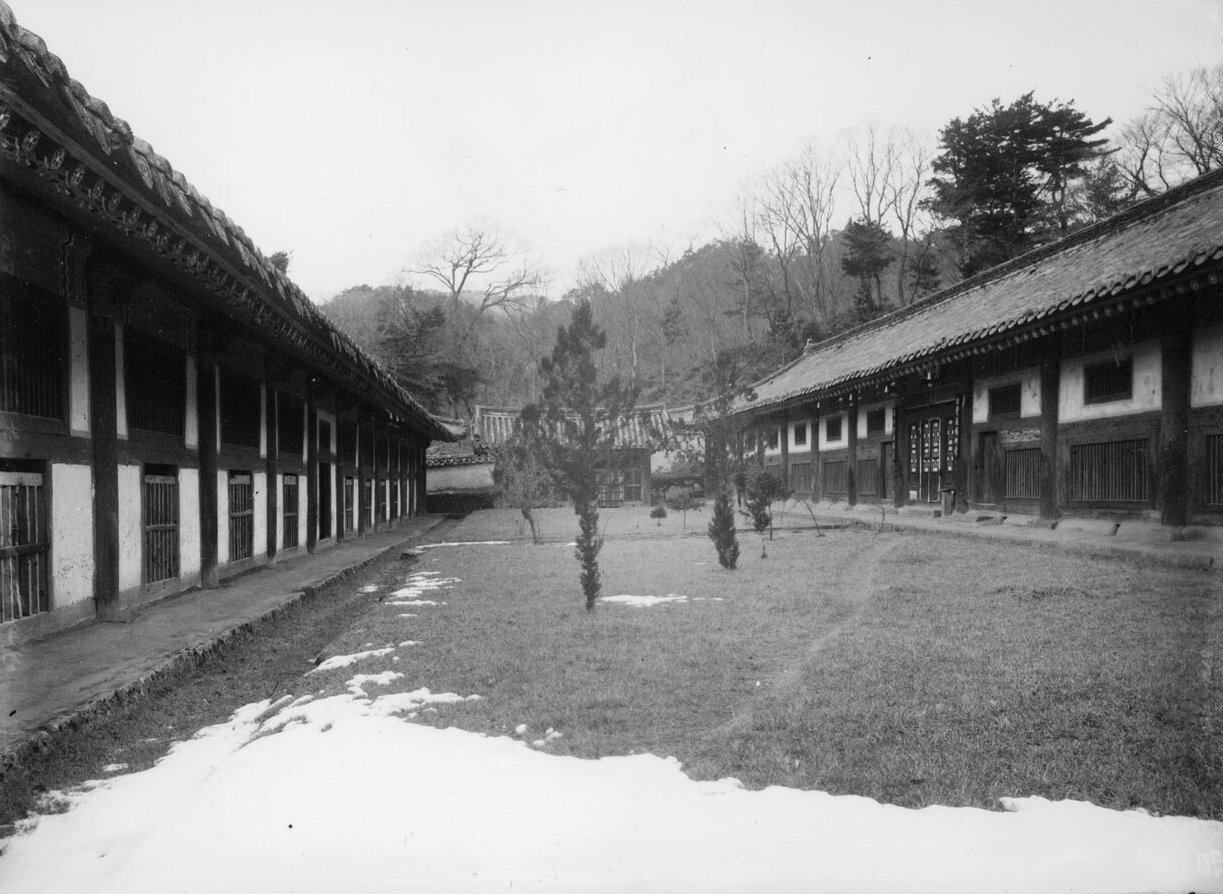
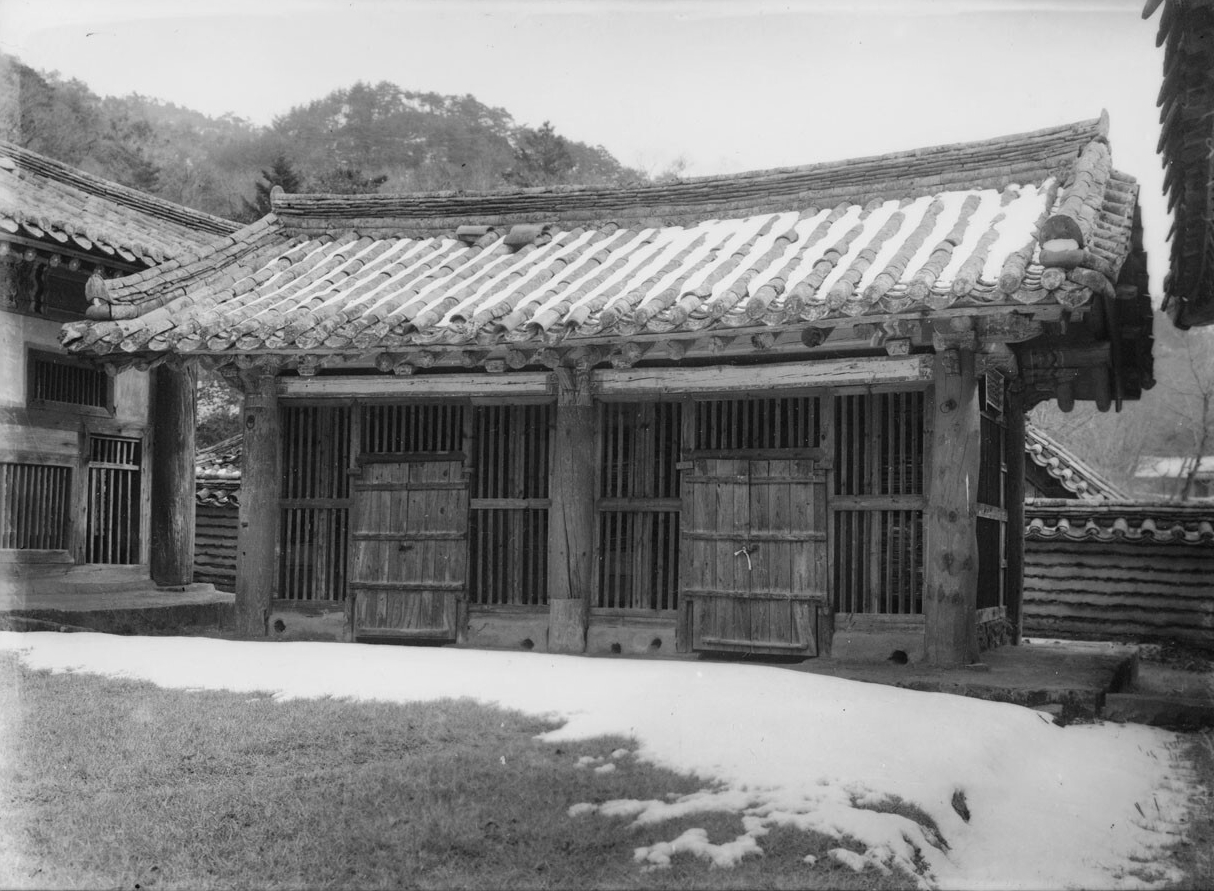
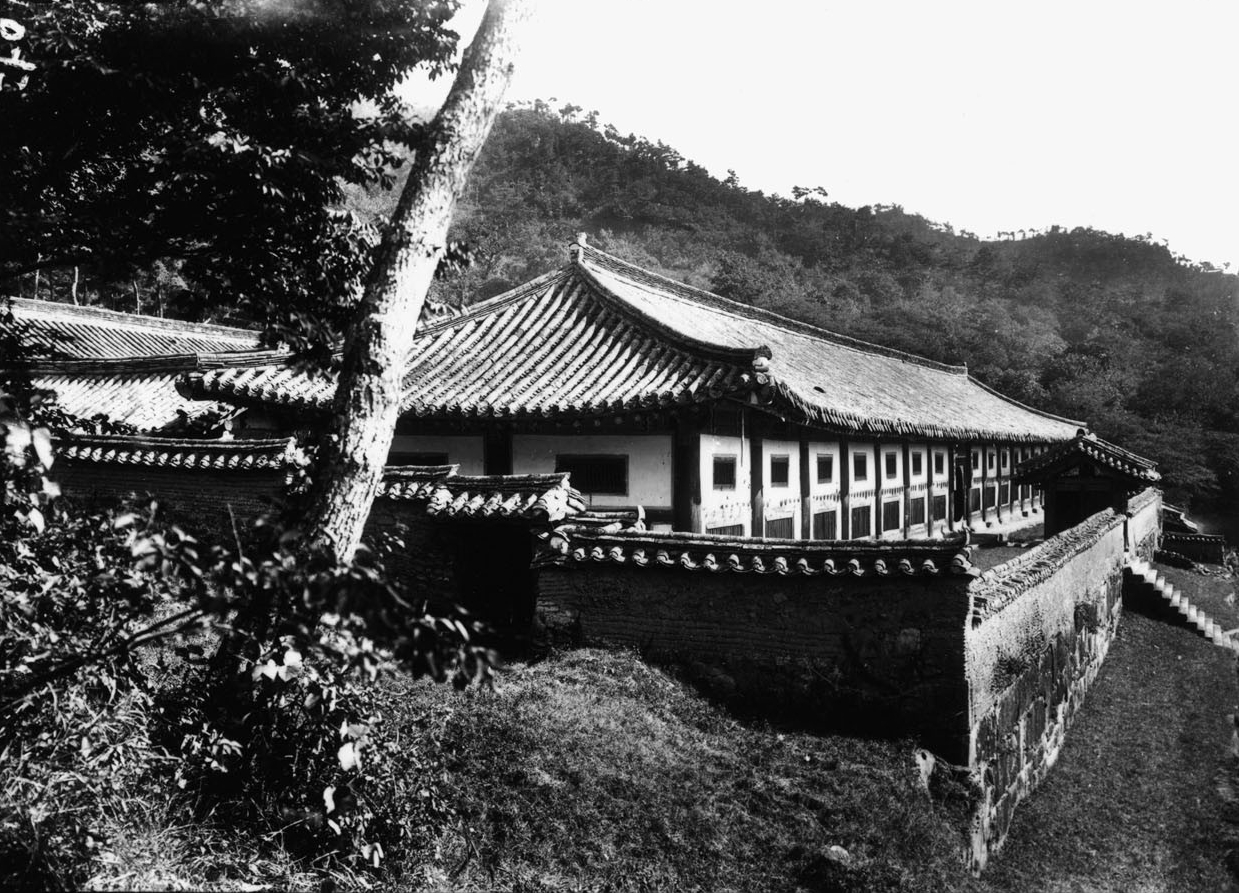
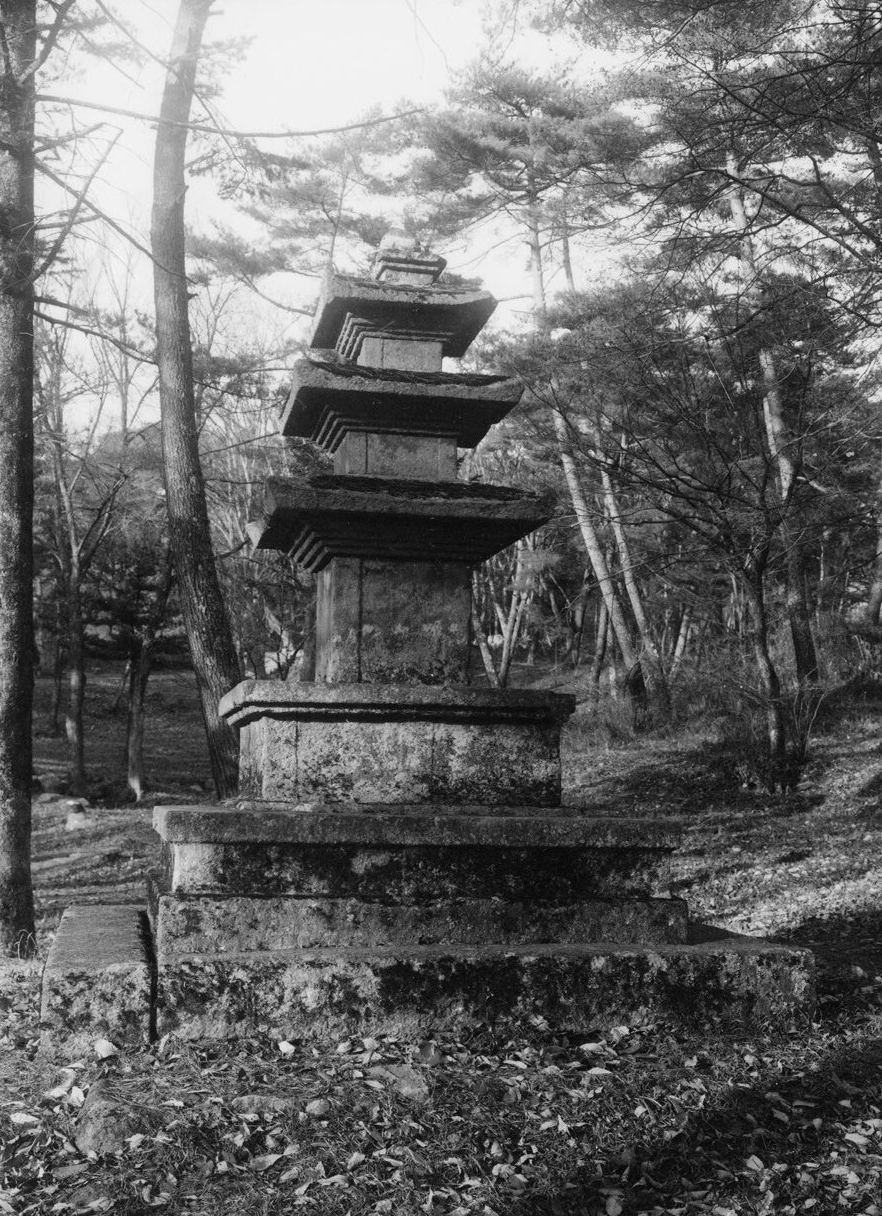
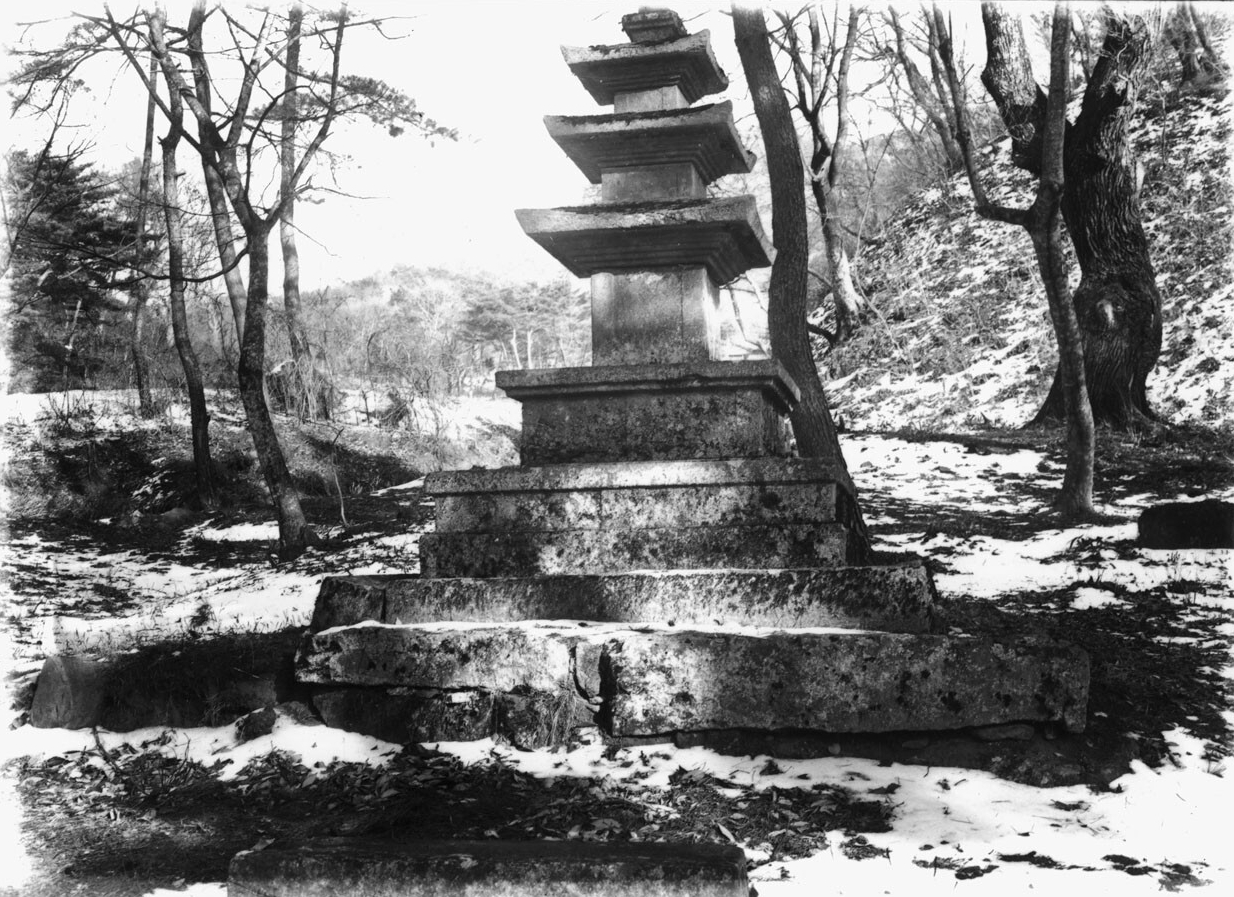
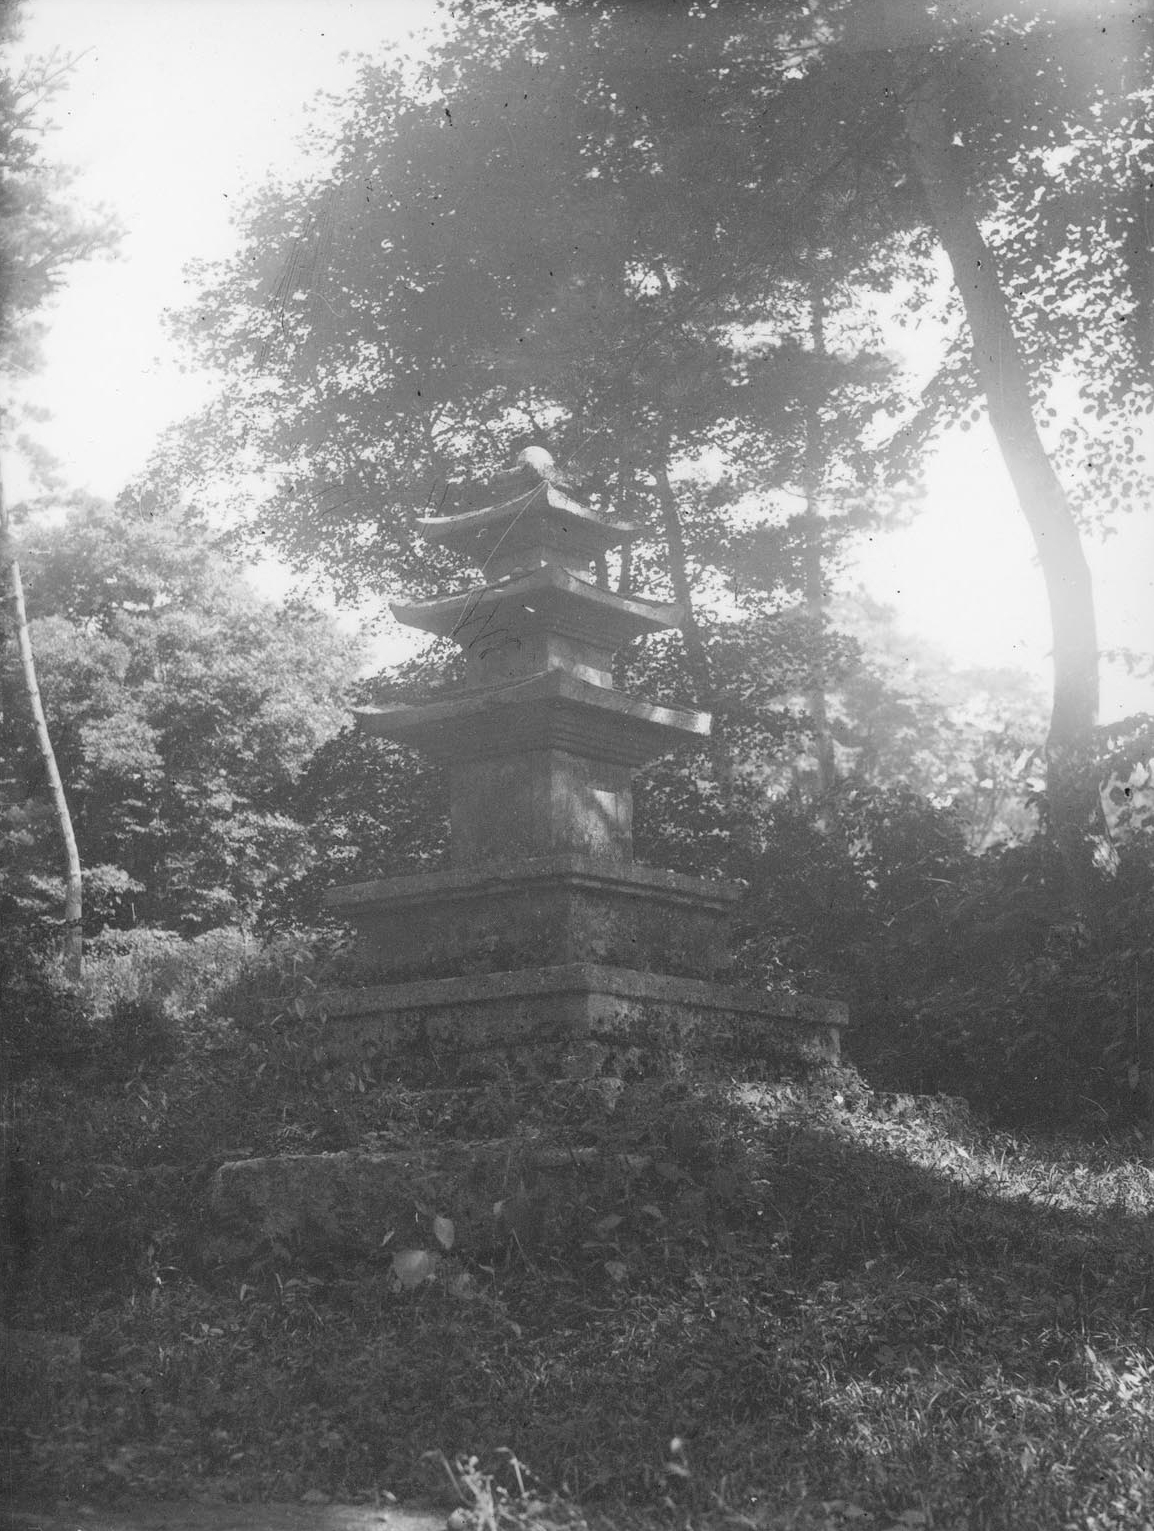
It should be noted that one of the reasons that the Japanese took so many pictures of Korean Buddhist temples during Japanese Colonial Rule (1910-1945) was to provide images for tourist photos and illustrations in guidebooks, postcards, and photo albums for Japanese consumption. They would then juxtapose these images of “old Korea” with “now” images of Korea. The former category identified the old Korea with old customs and traditions through grainy black-and-white photos.
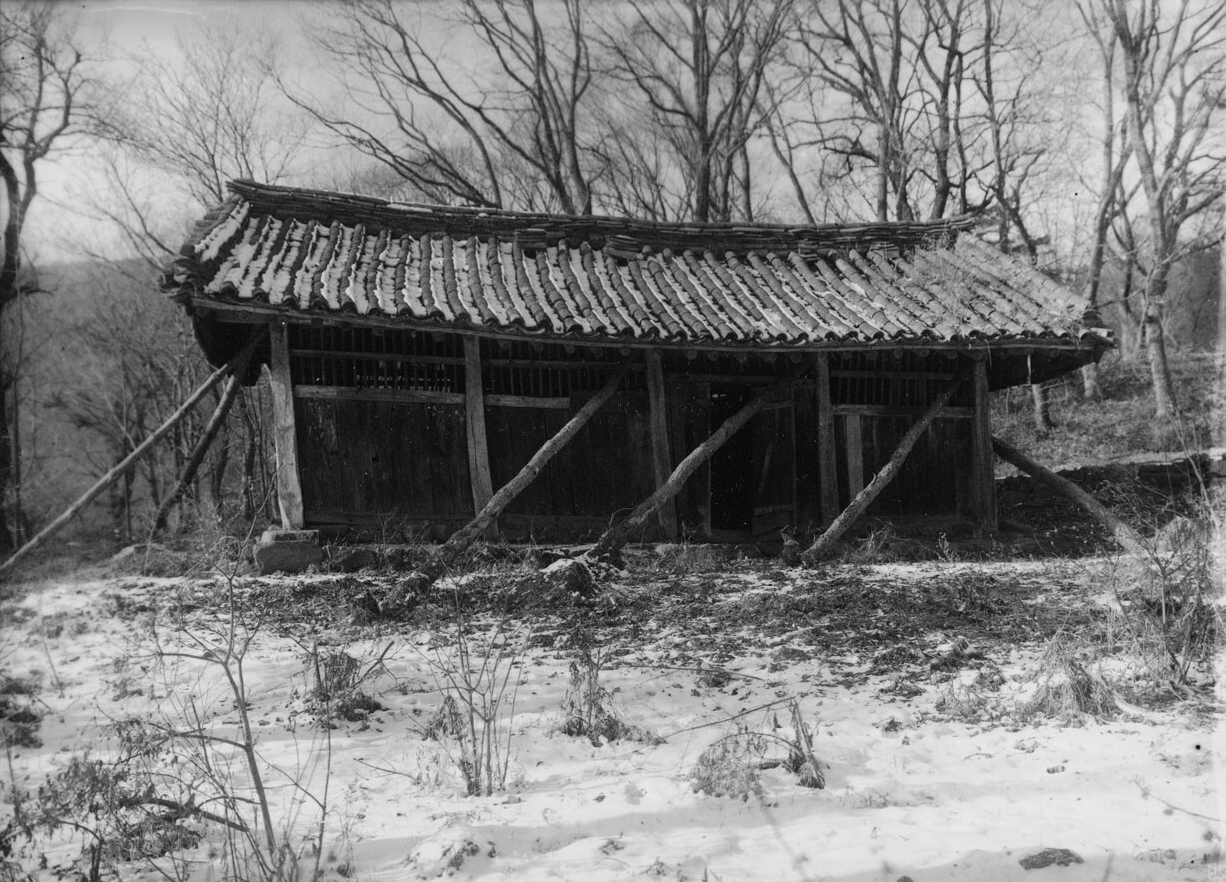
These “old Korea” images were then contrasted with “new” Korea images featuring recently constructed modern colonial structures built by the Japanese. This was especially true for archaeological or temple work that contrasted the dilapidated former structures with the recently renovated or rebuilt Japanese efforts on the old Korean structures contrasting Japan’s efforts with the way that Korea had long neglected their most treasured of structures and/or sites.
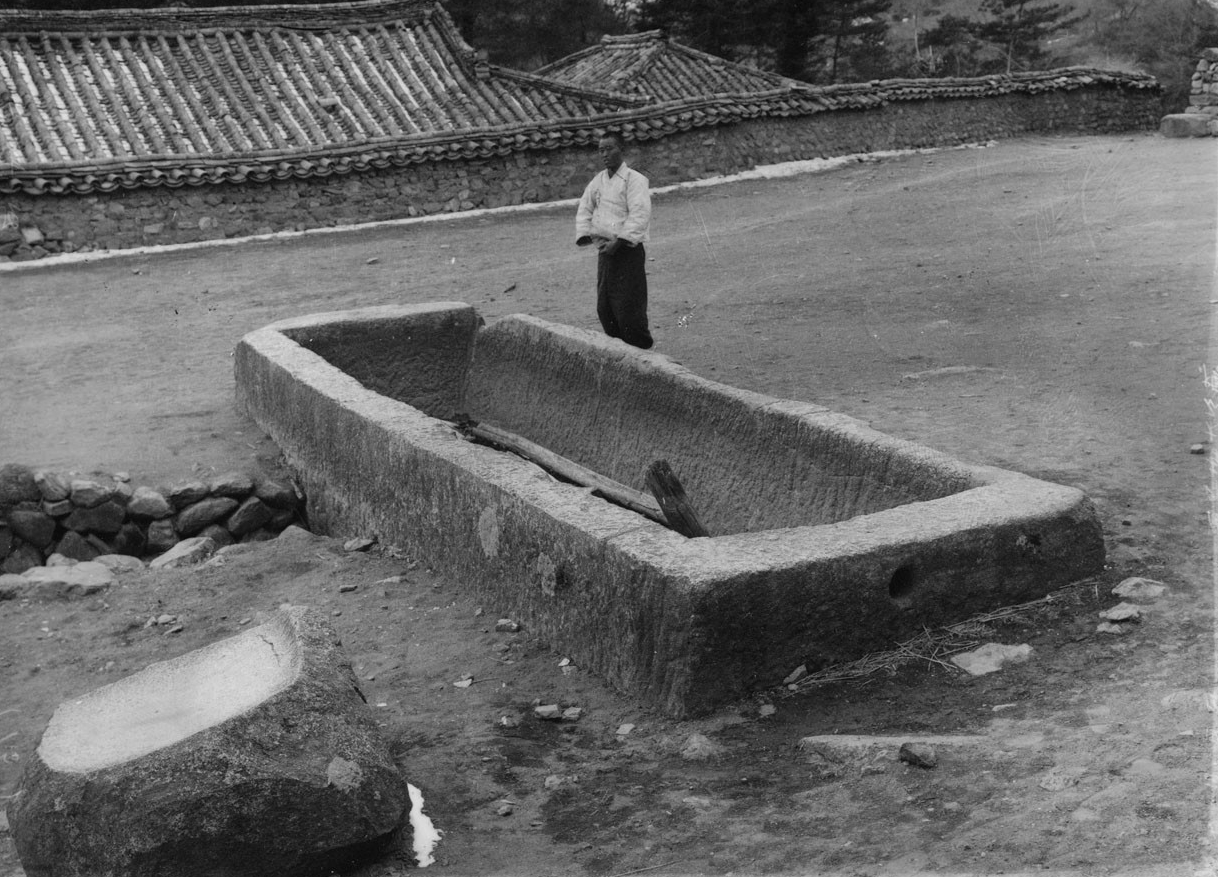
This visual methodology was a tried and true method of contrasting the old (bad) with the new (good). All of this was done to show the success of Japan’s “civilizing mission” on the rest of the world and especially on the Korean Peninsula. Furthering this visual propaganda was supplemental material that explained the inseparable nature found between Koreans and the Japanese from the beginning of time.
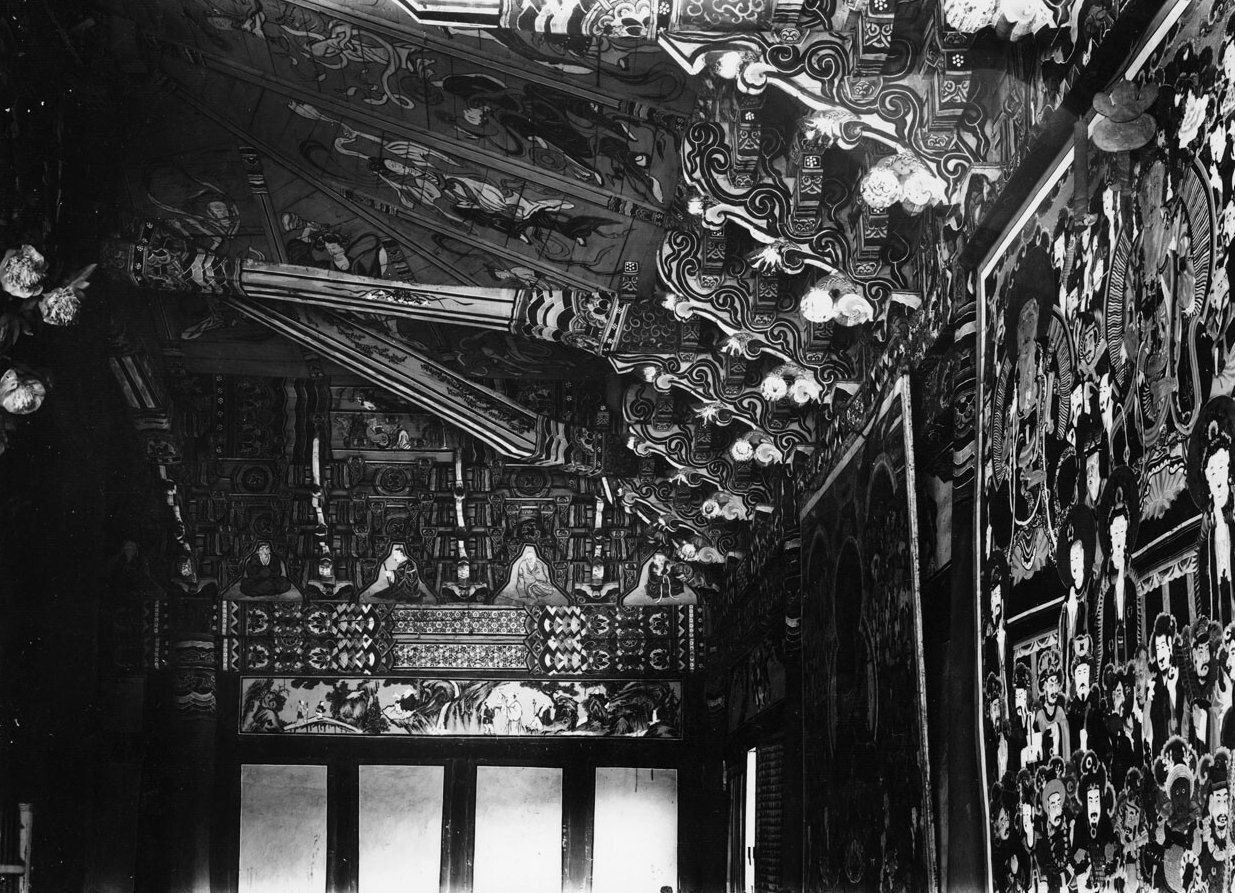
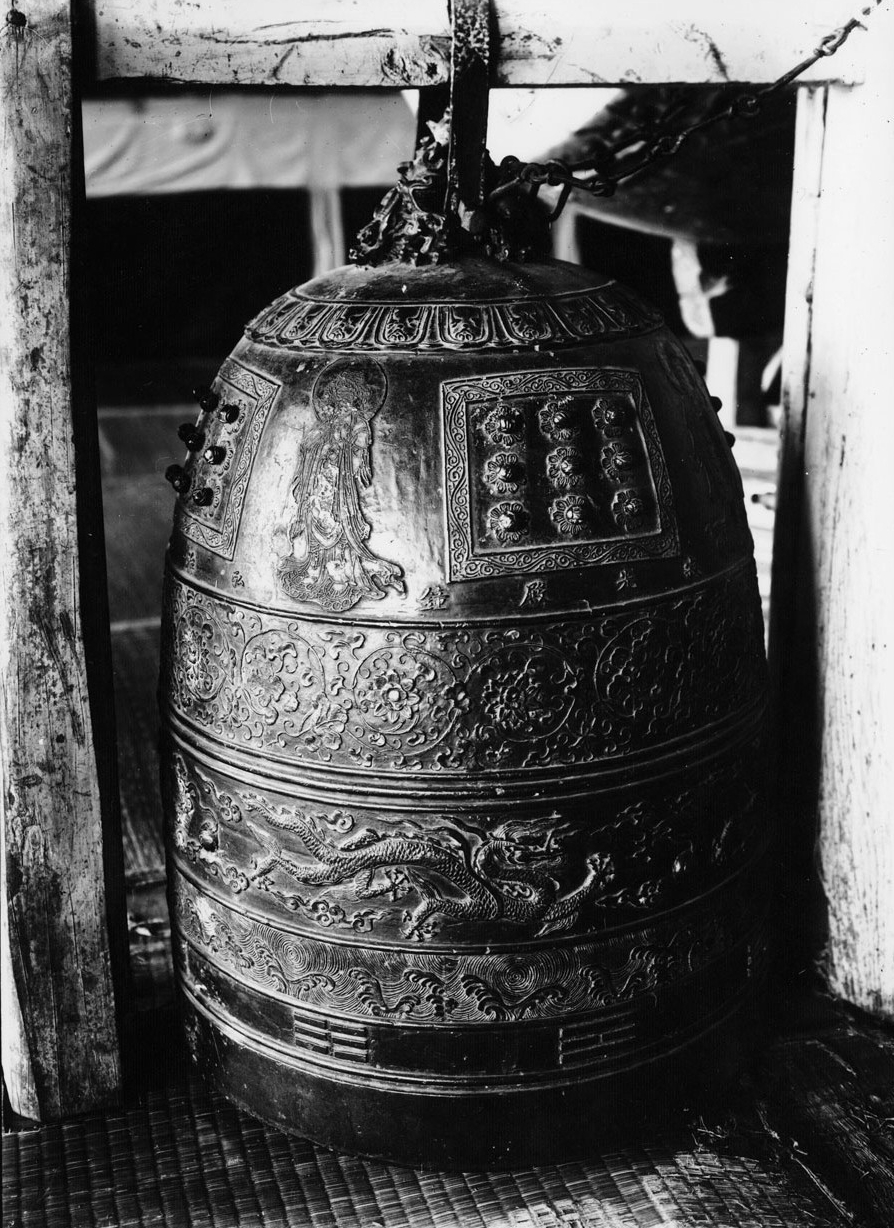
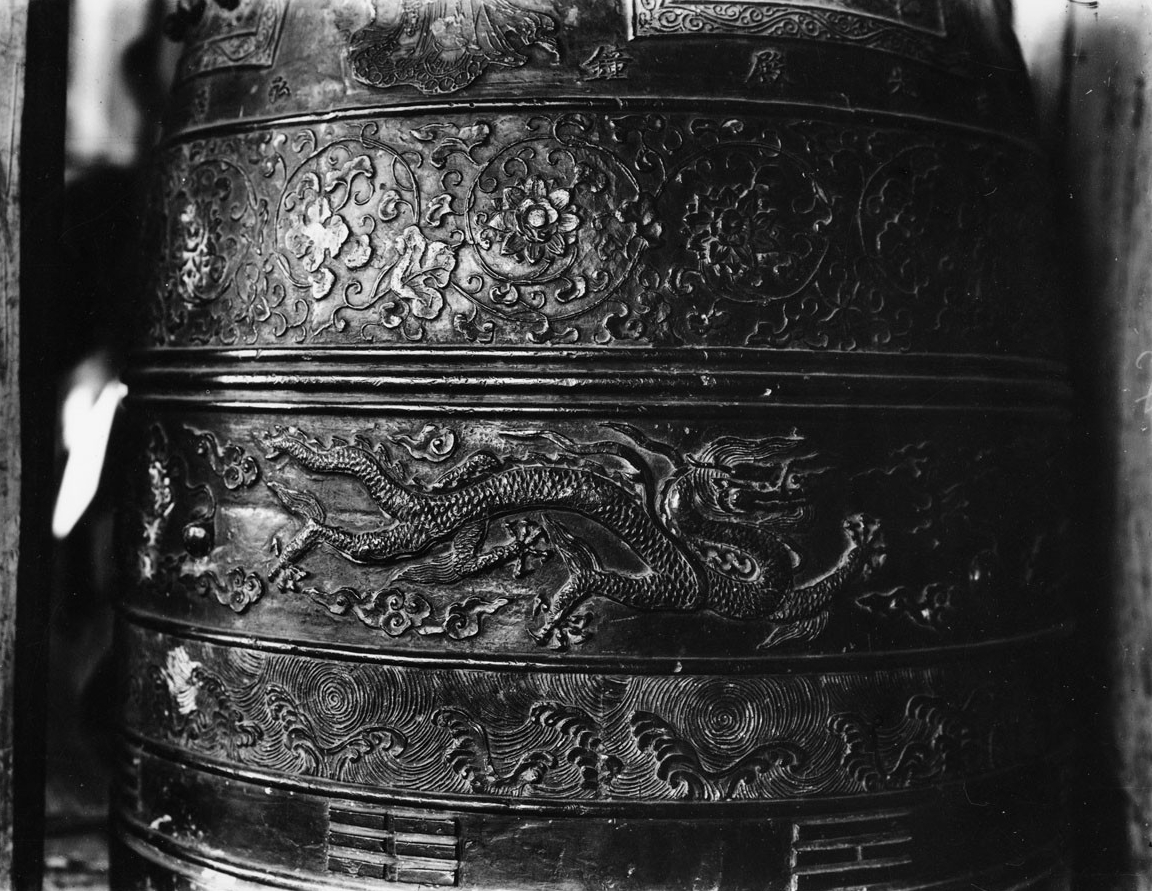
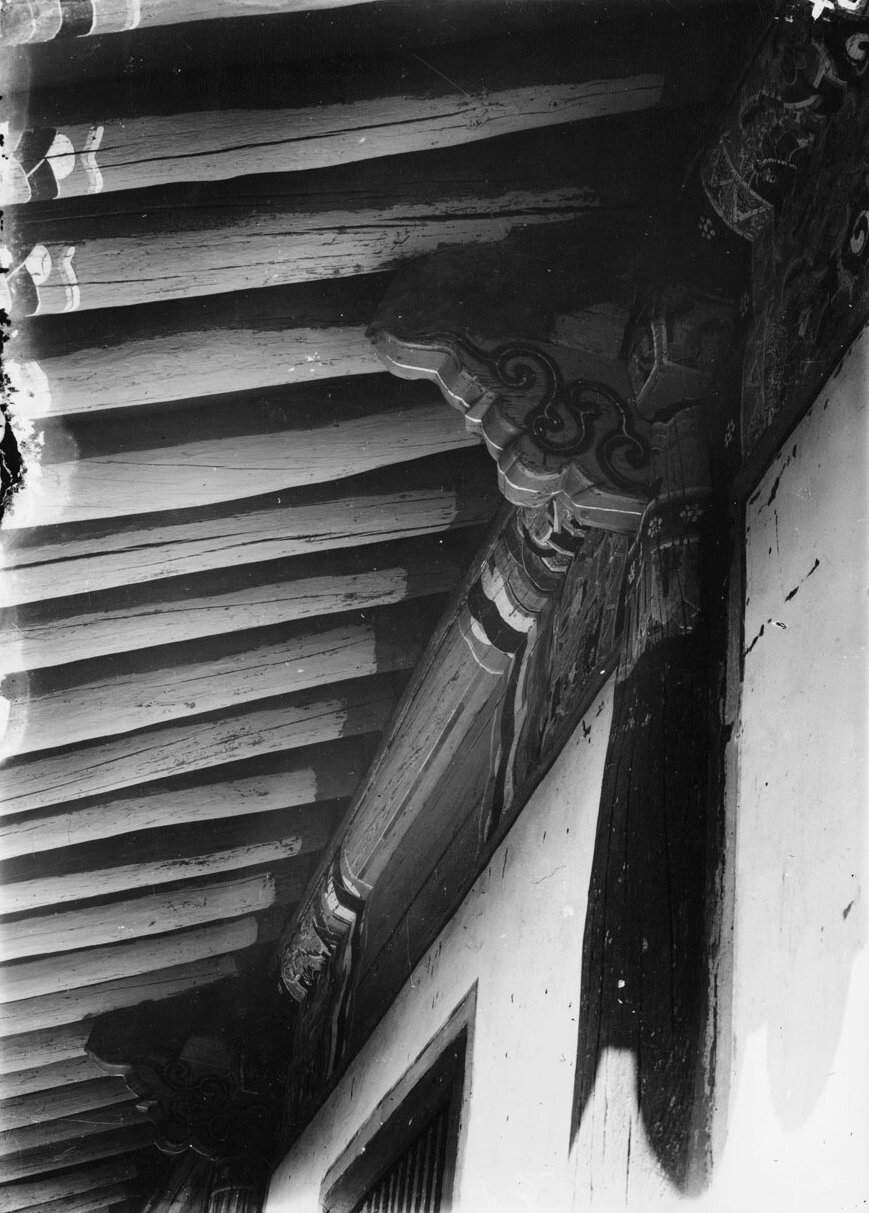
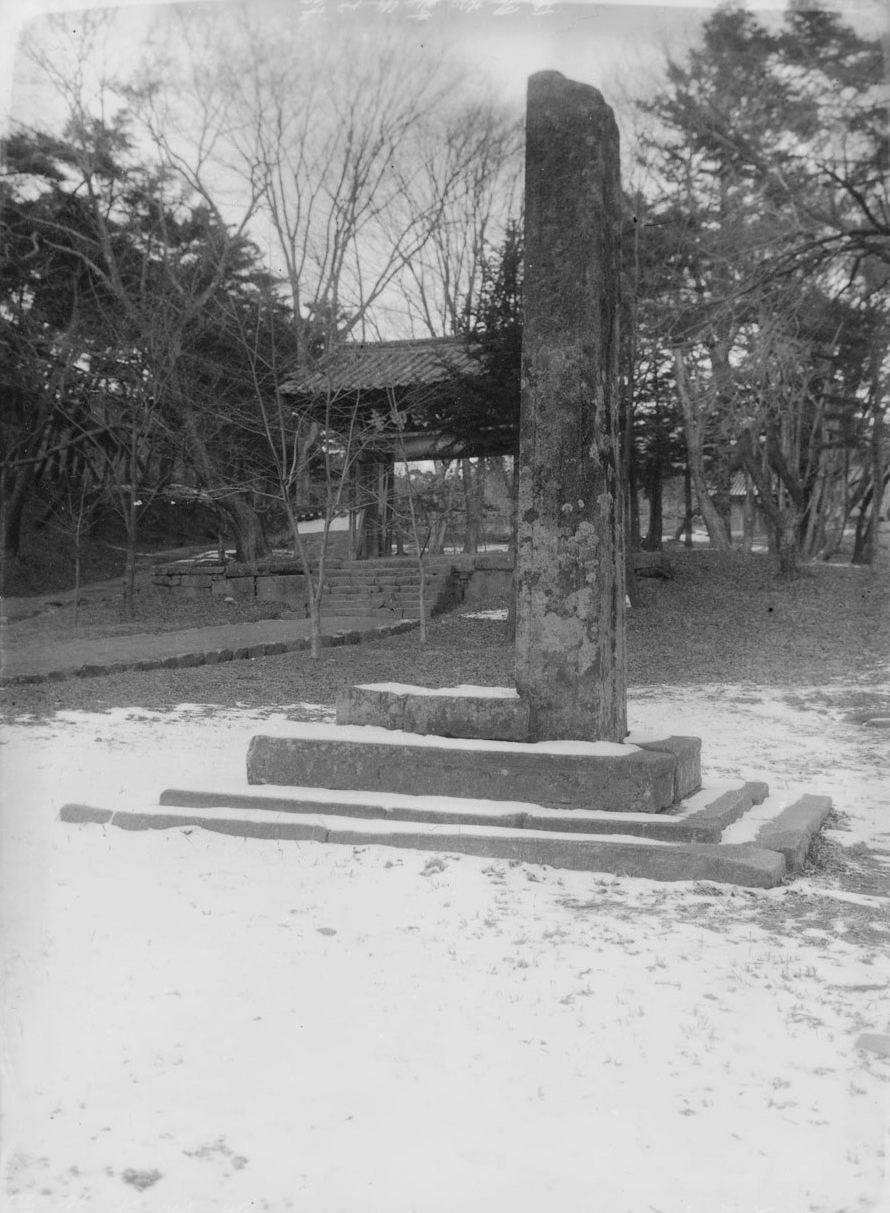
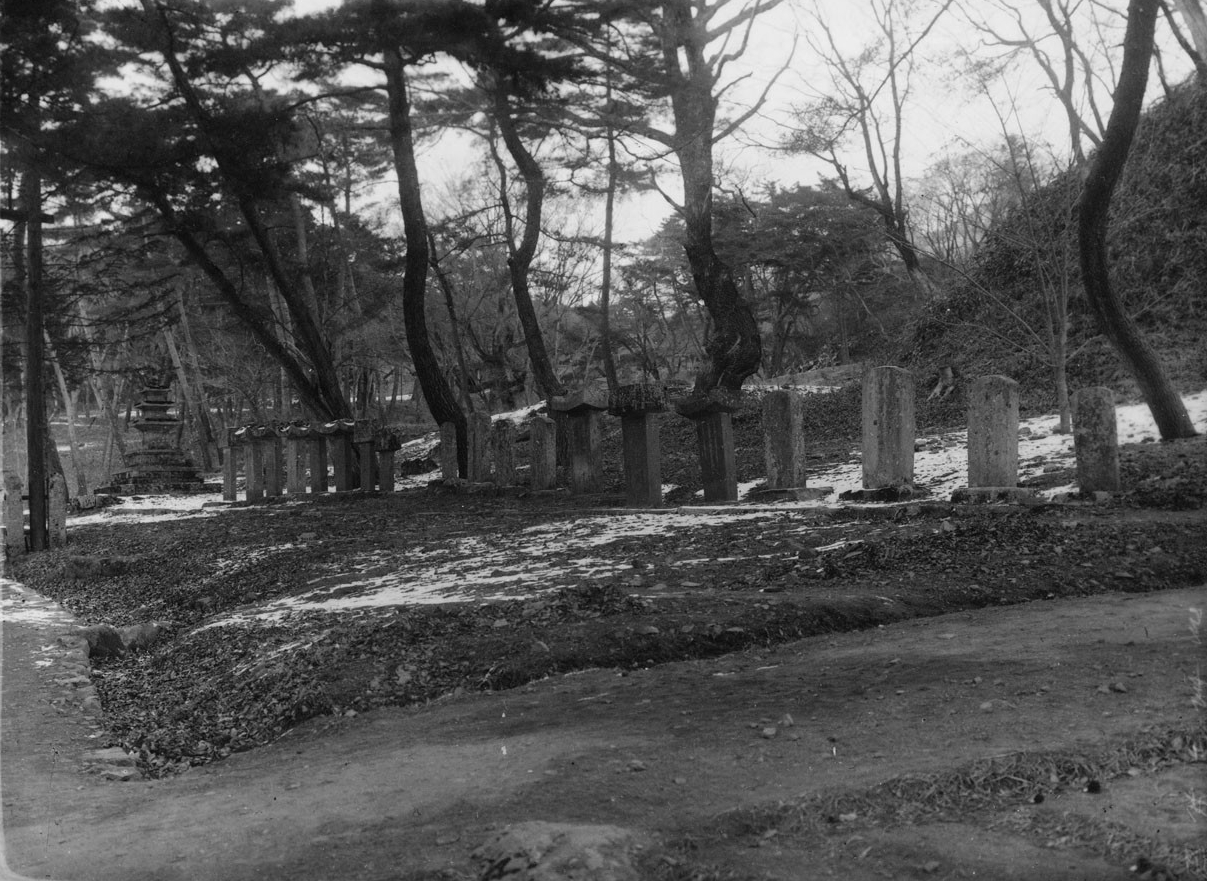
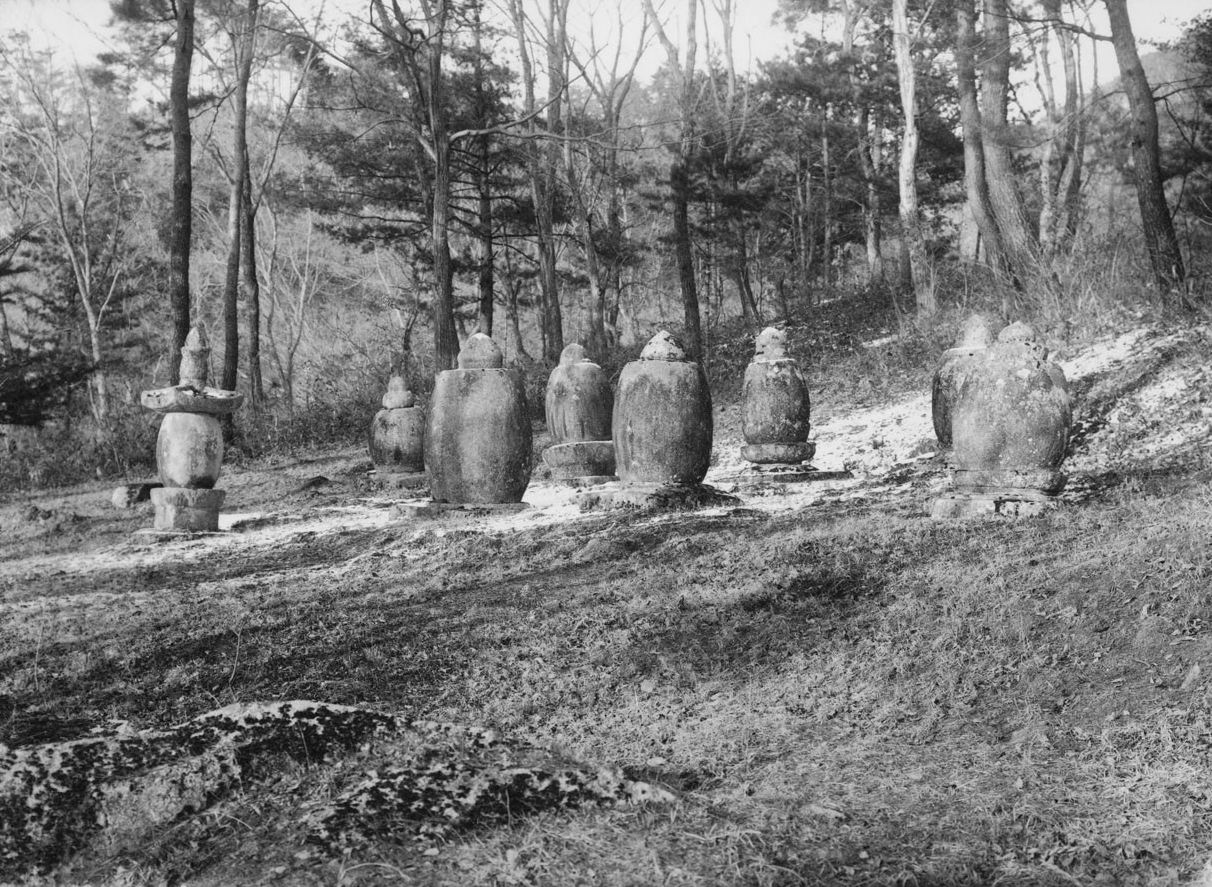
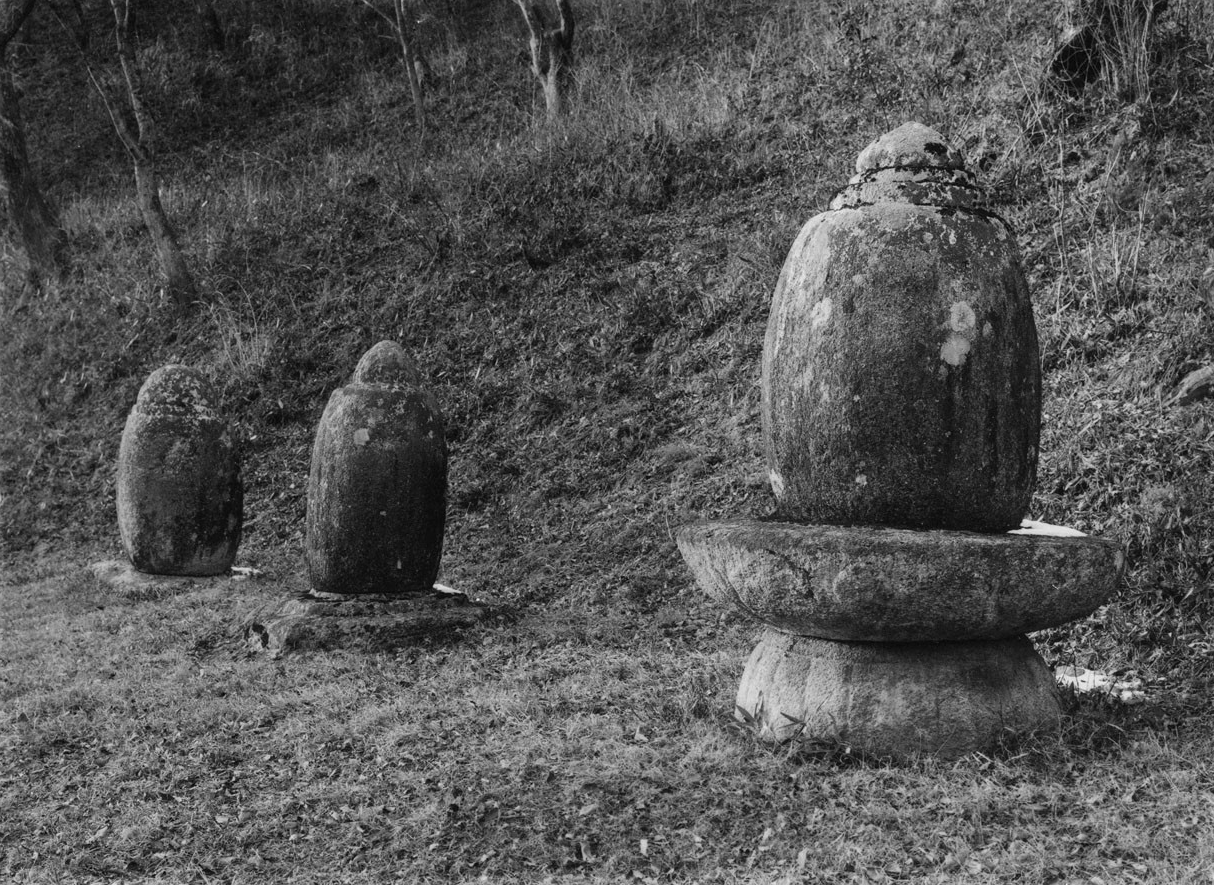
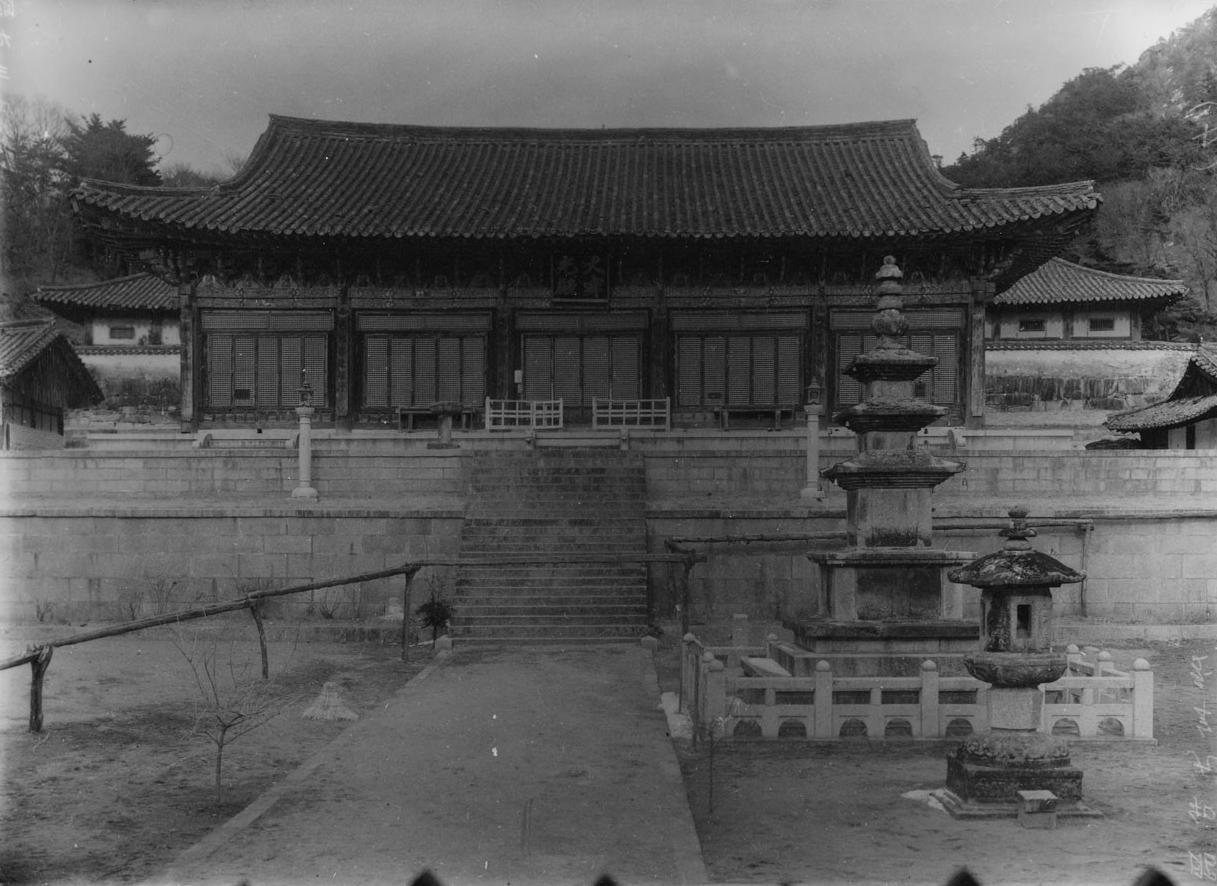
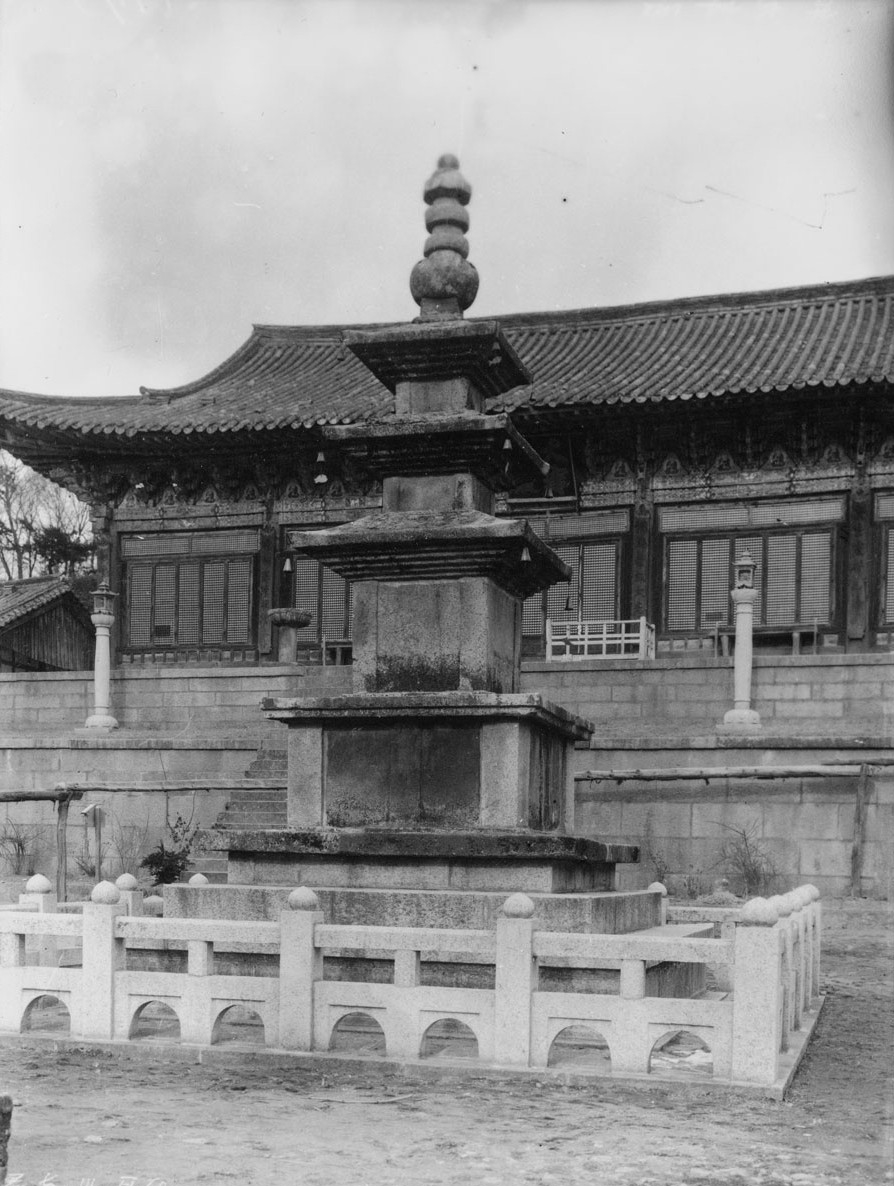
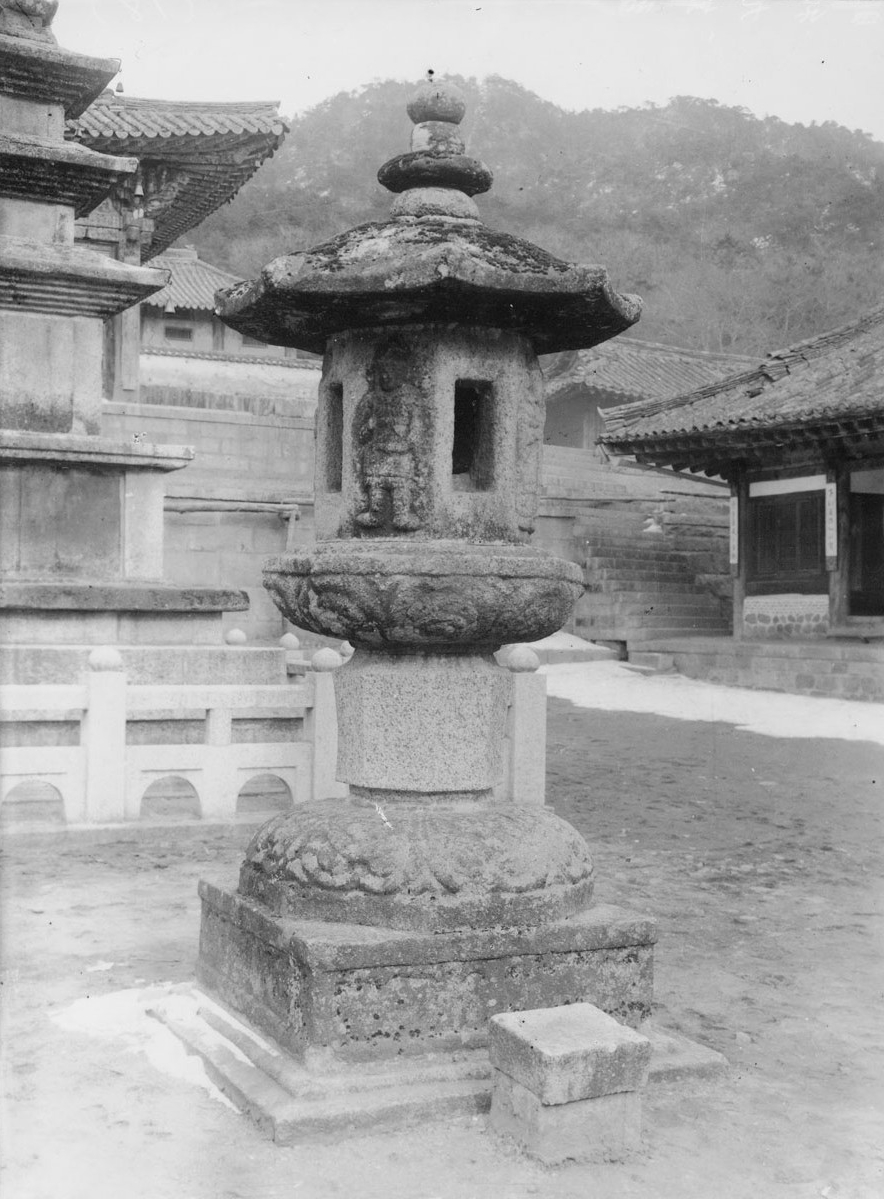
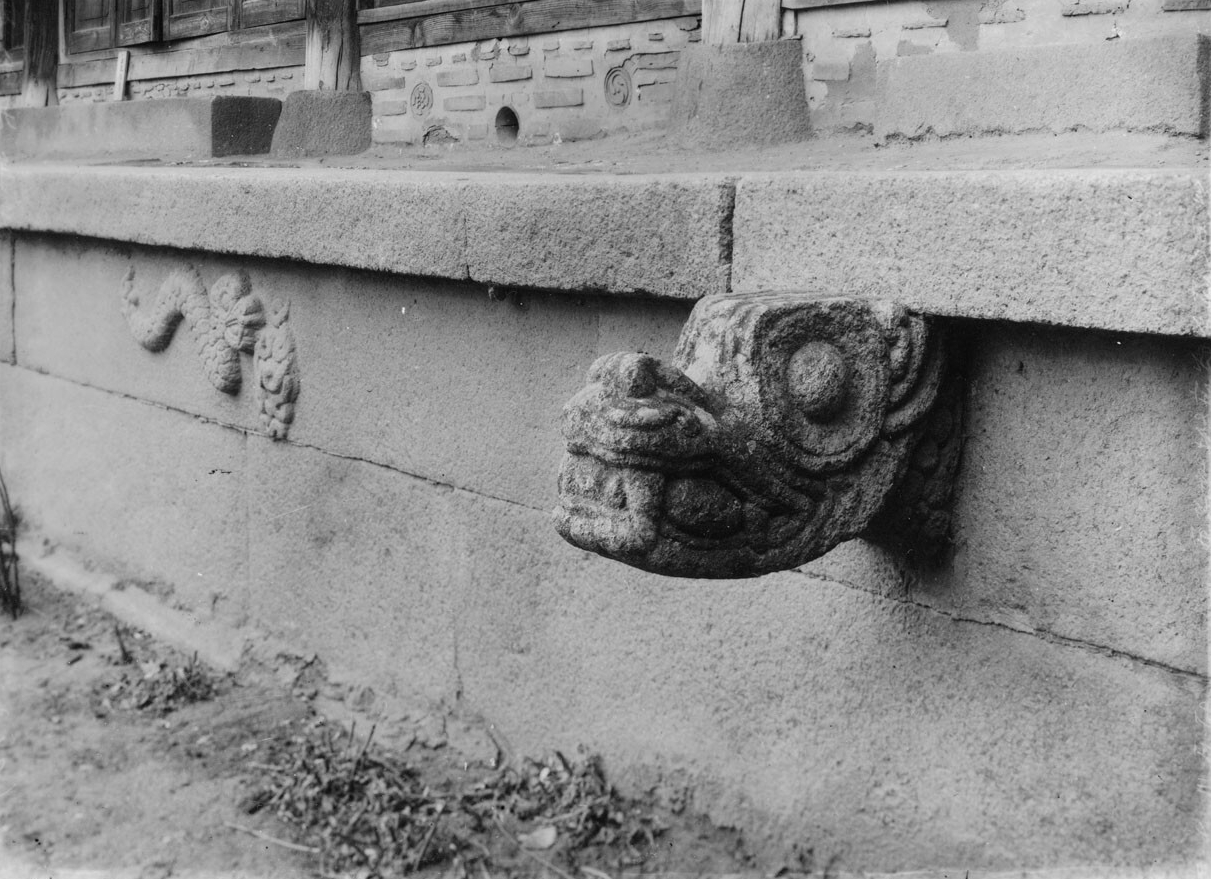
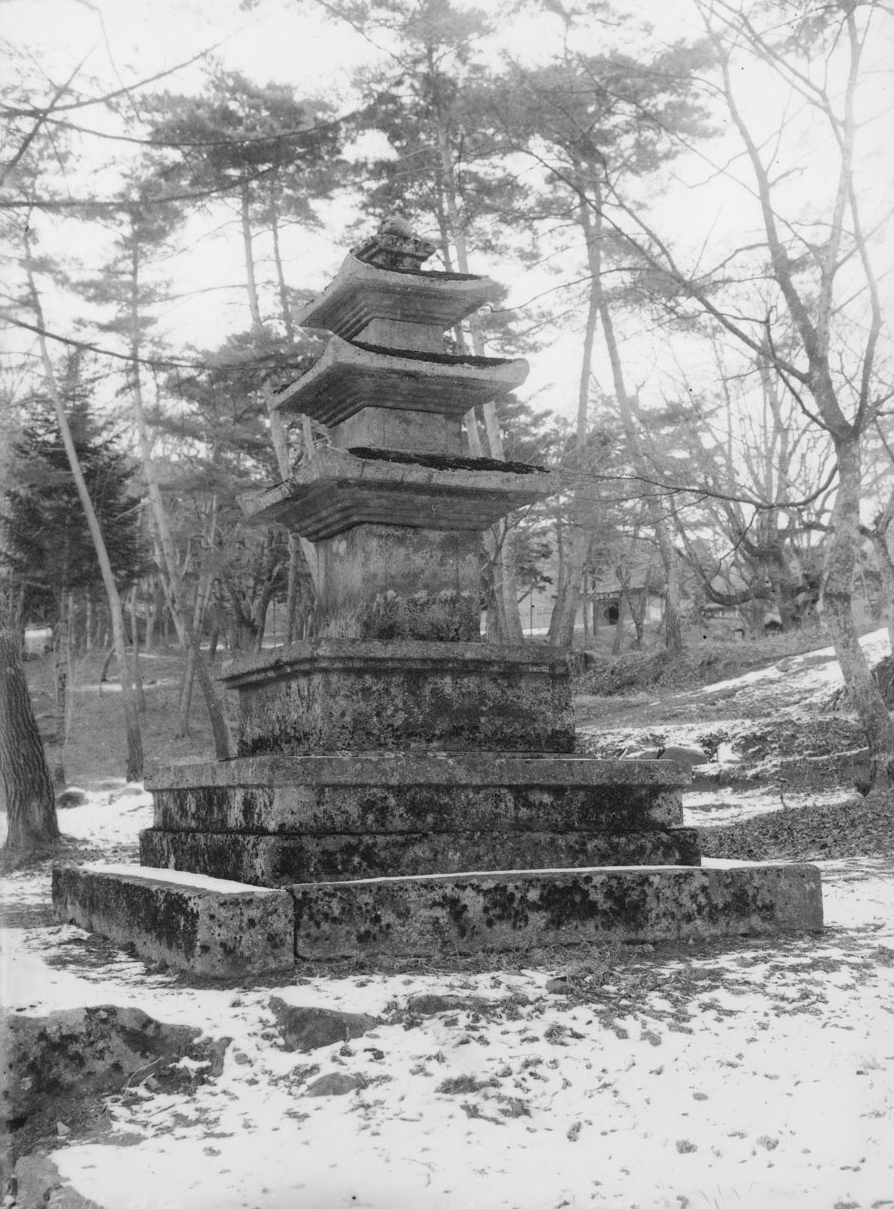
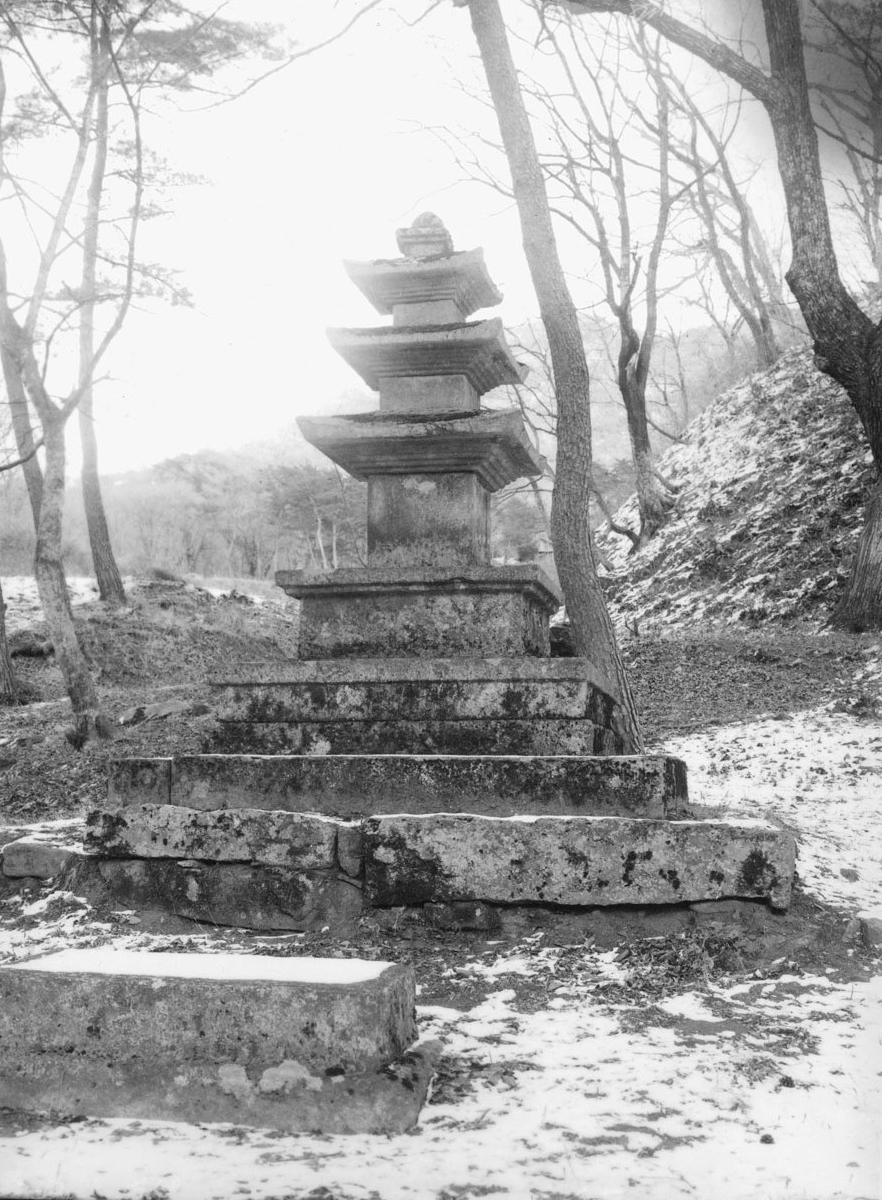
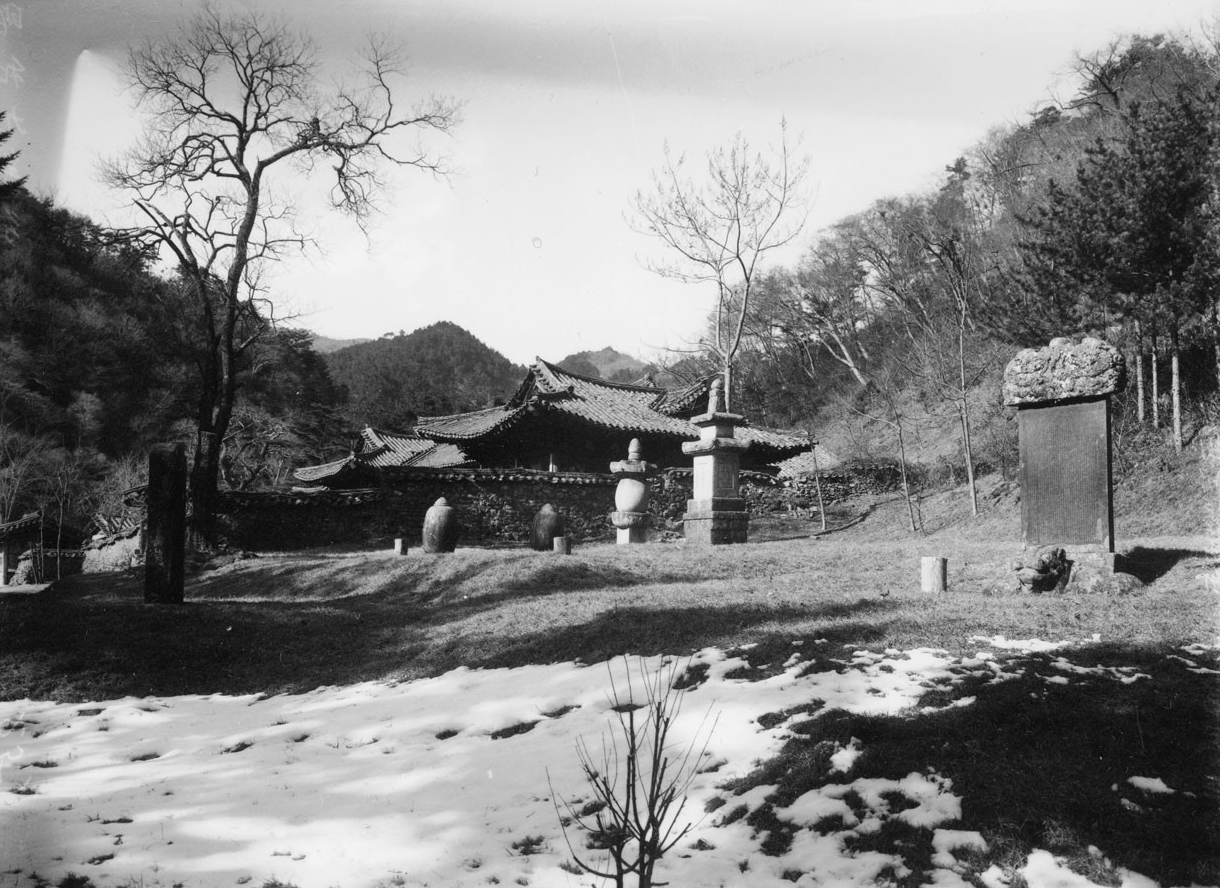
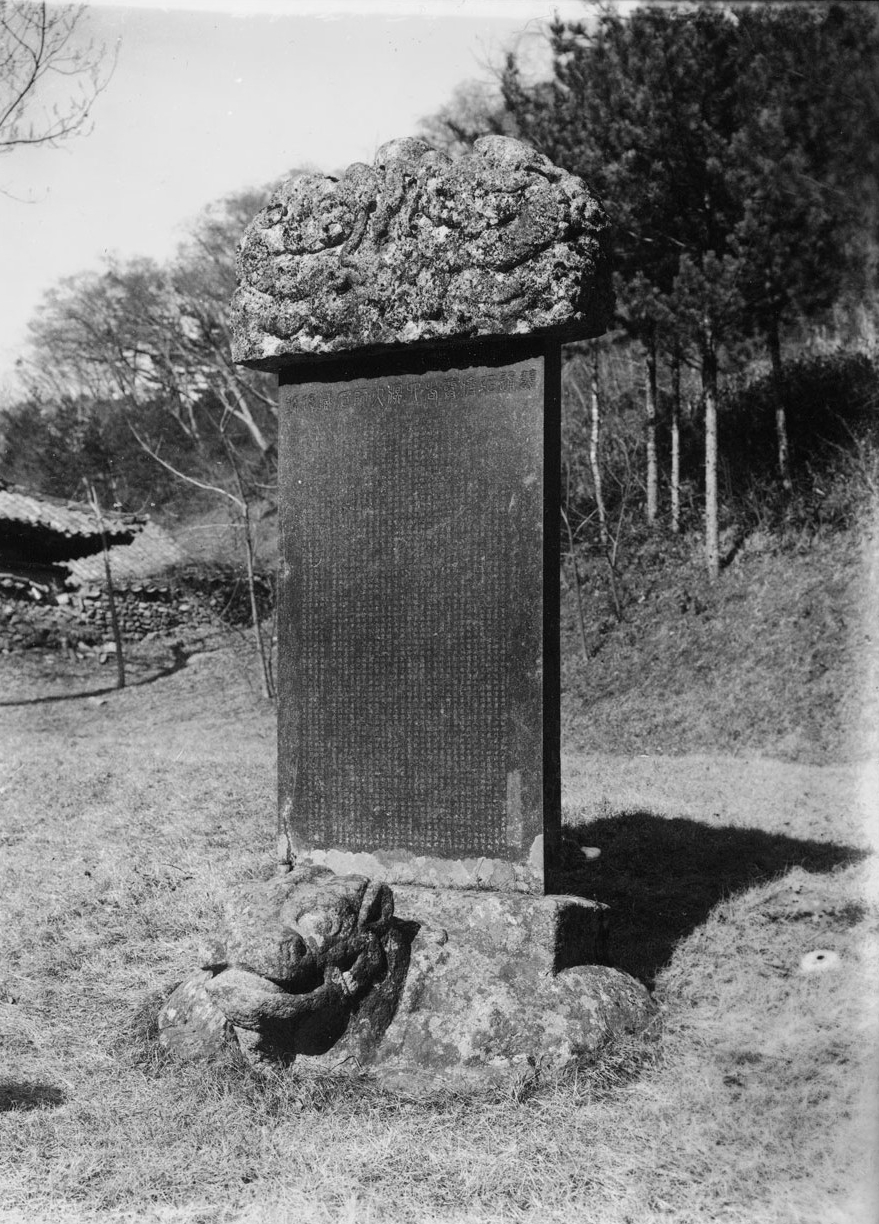
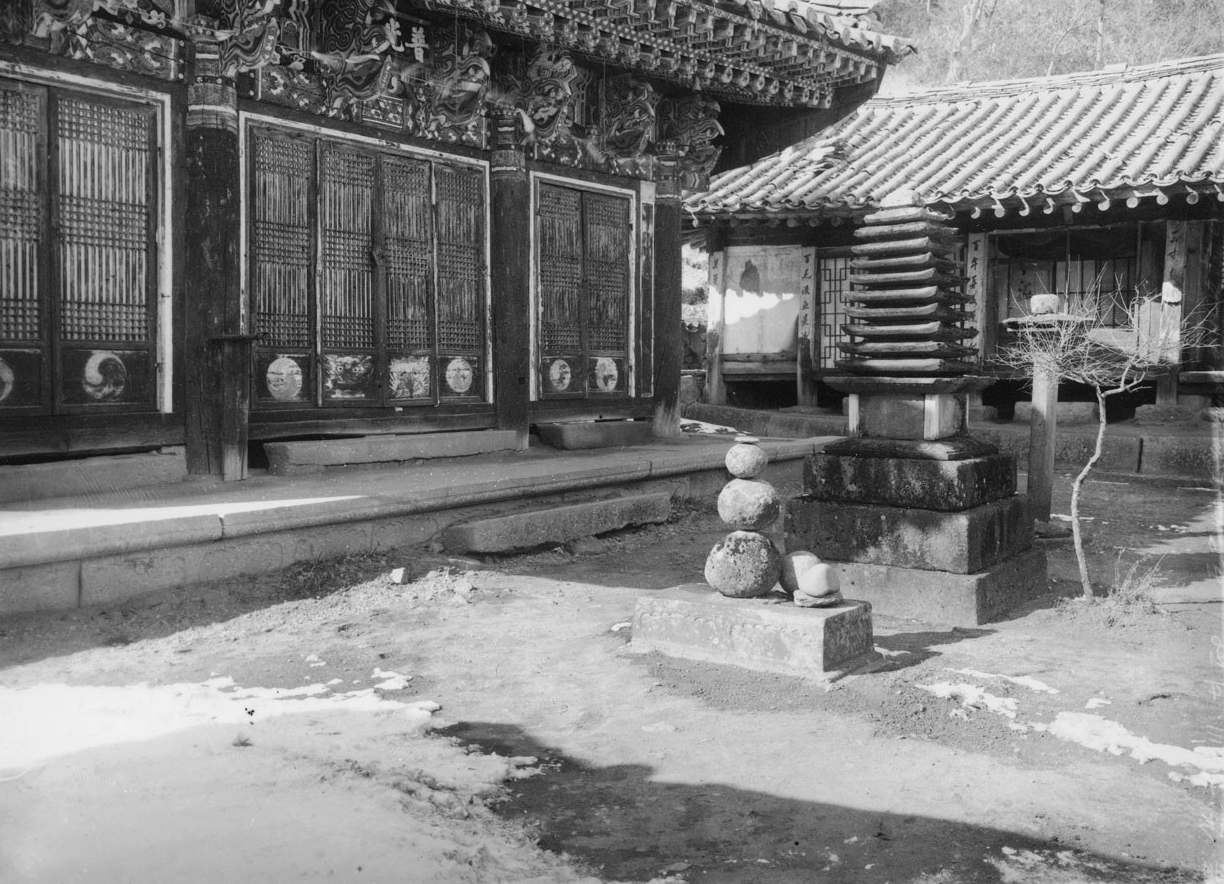
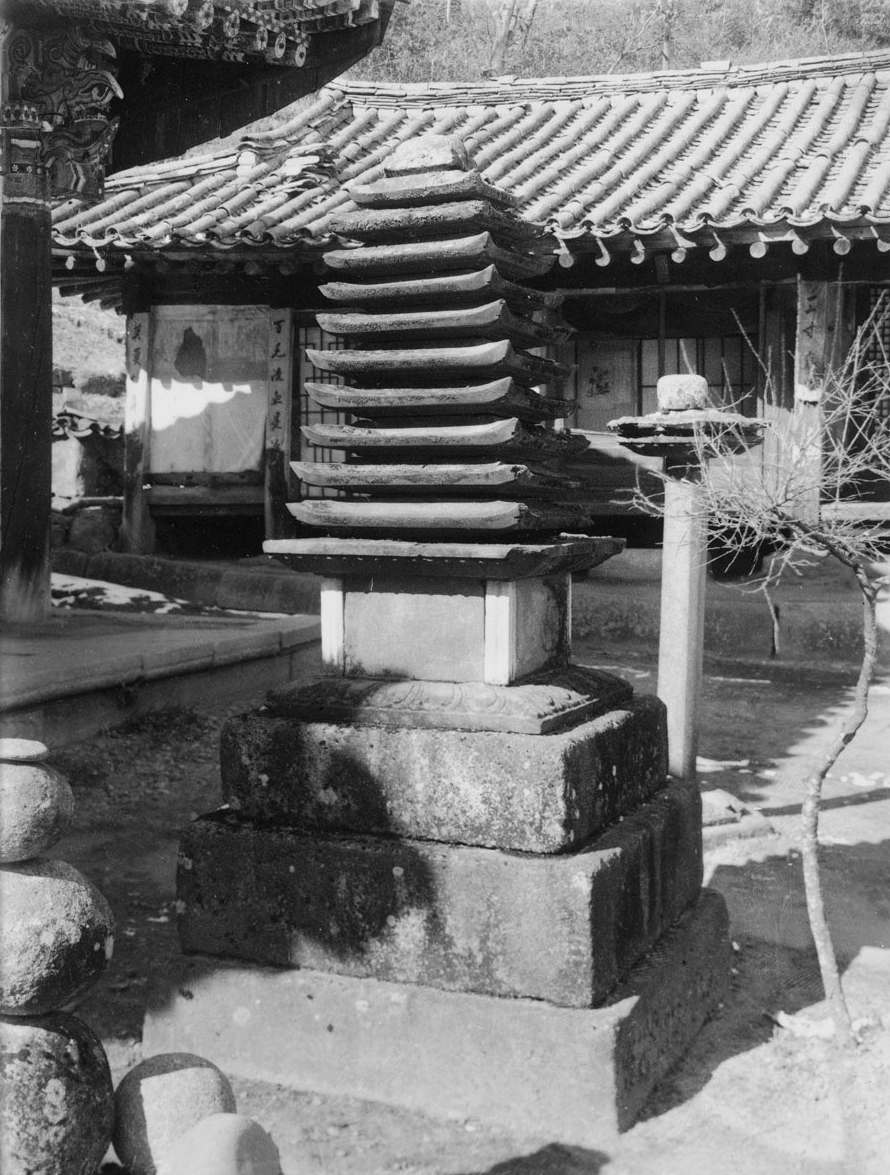
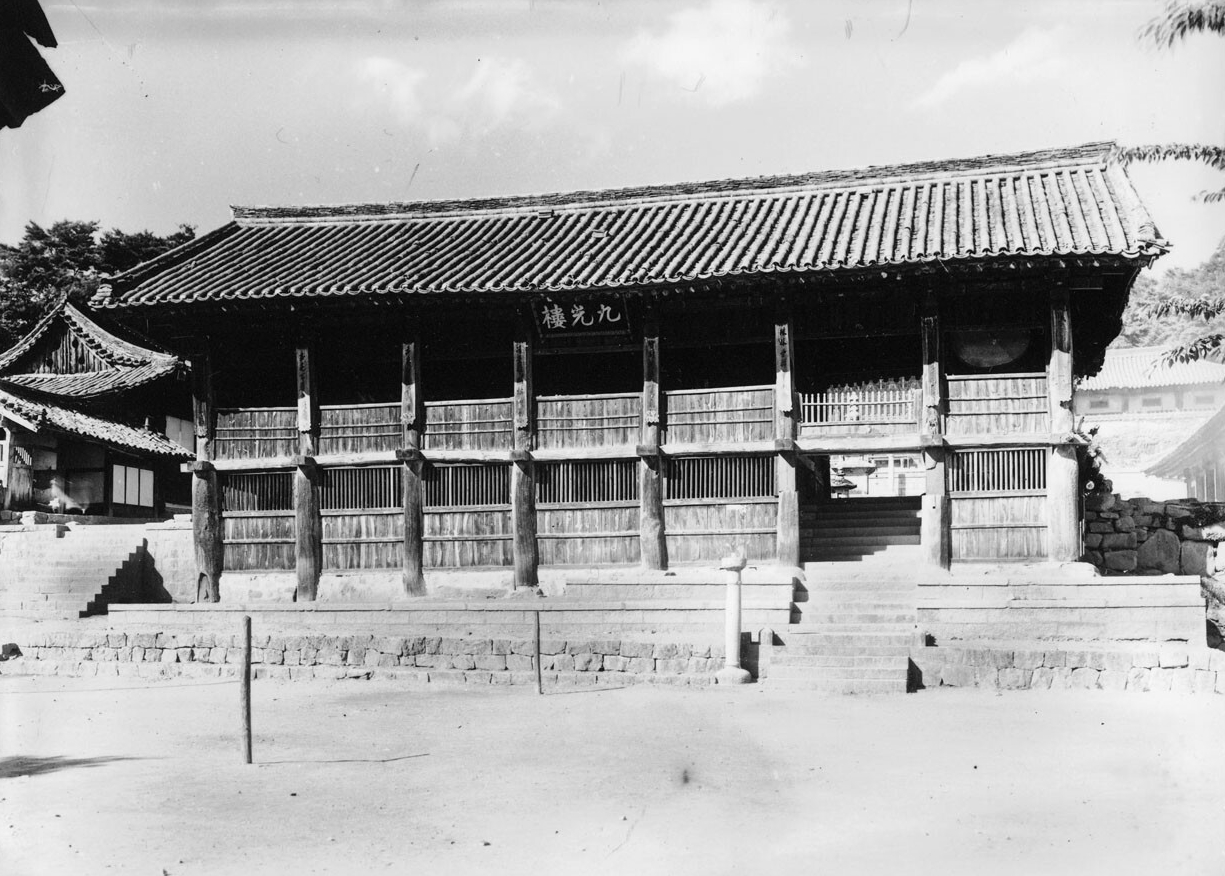
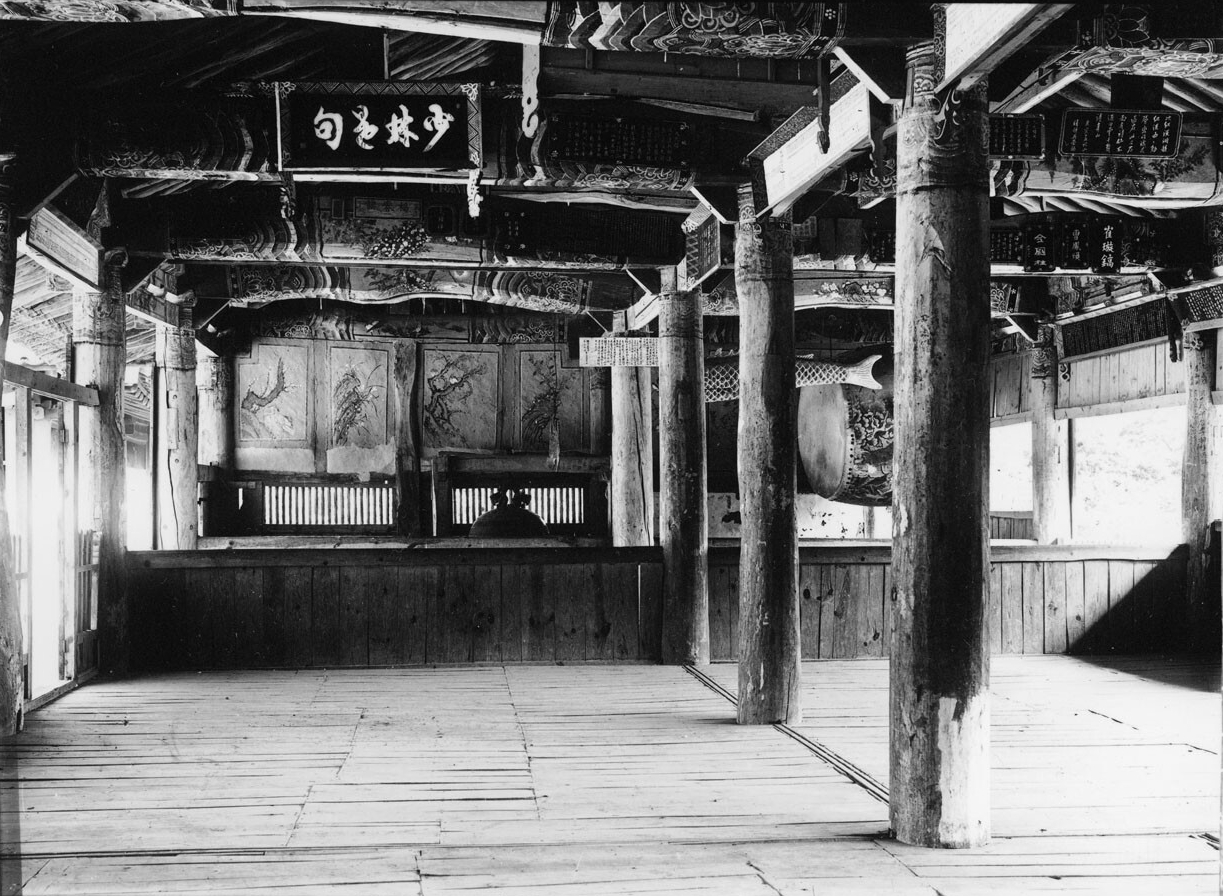
To further reinforce this point, the archaeological “rediscovery” of Japan’s antiquity in the form of excavated sites of beautifully restored Silla temples and tombs found in Japanese photography was the most tangible evidence for the supposed common ancestry both racially and culturally. As such, the colonial travel industry played a large part in promoting this “nostalgic” image of Korea as a lost and poor country, whose shared cultural and ethnic past was being restored to prominence once more through the superior Japanese and their “enlightened” government. And Haeinsa Temple played a large part in the the propagation of this propaganda, especially since it played such a prominent role in Korean Buddhist history and culture. Here are a collection of Colonial era pictures of Haeinsa Temple through the years.
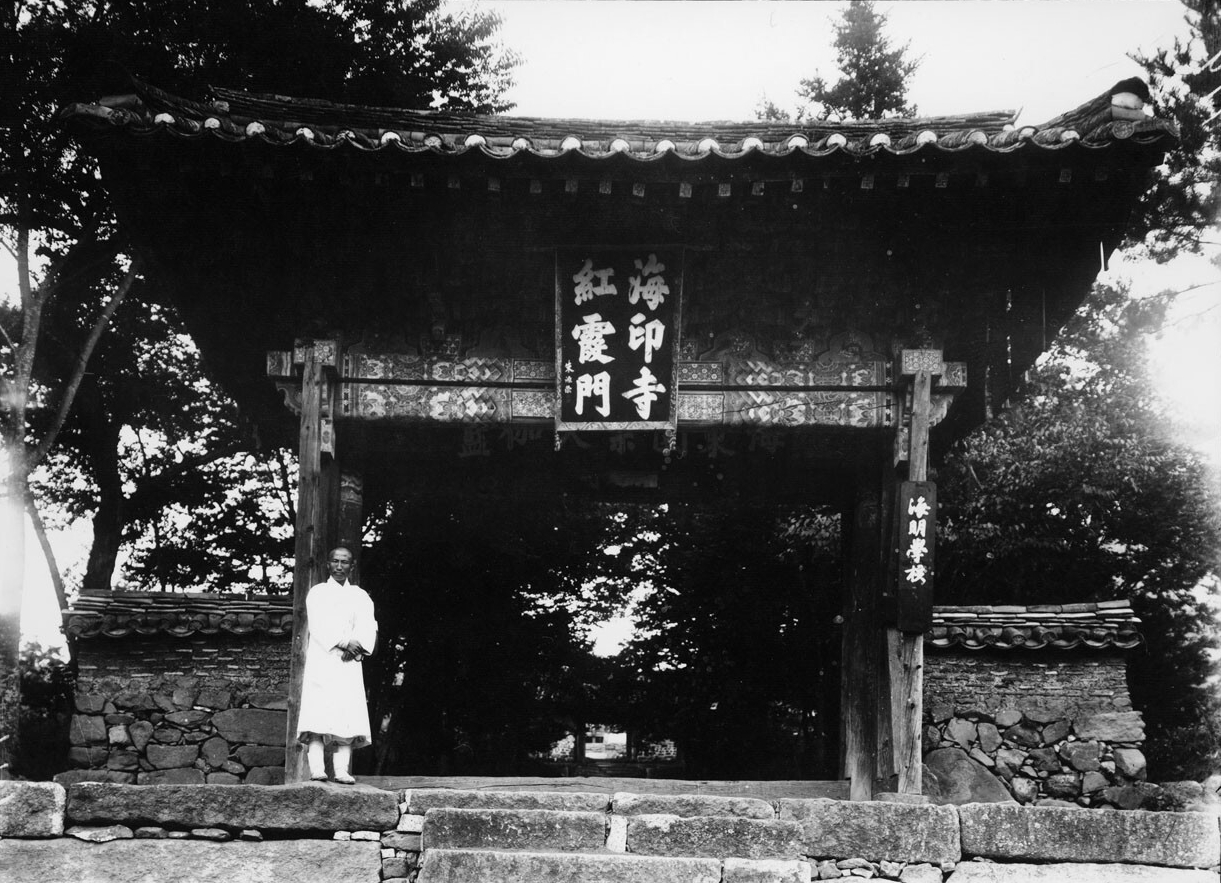
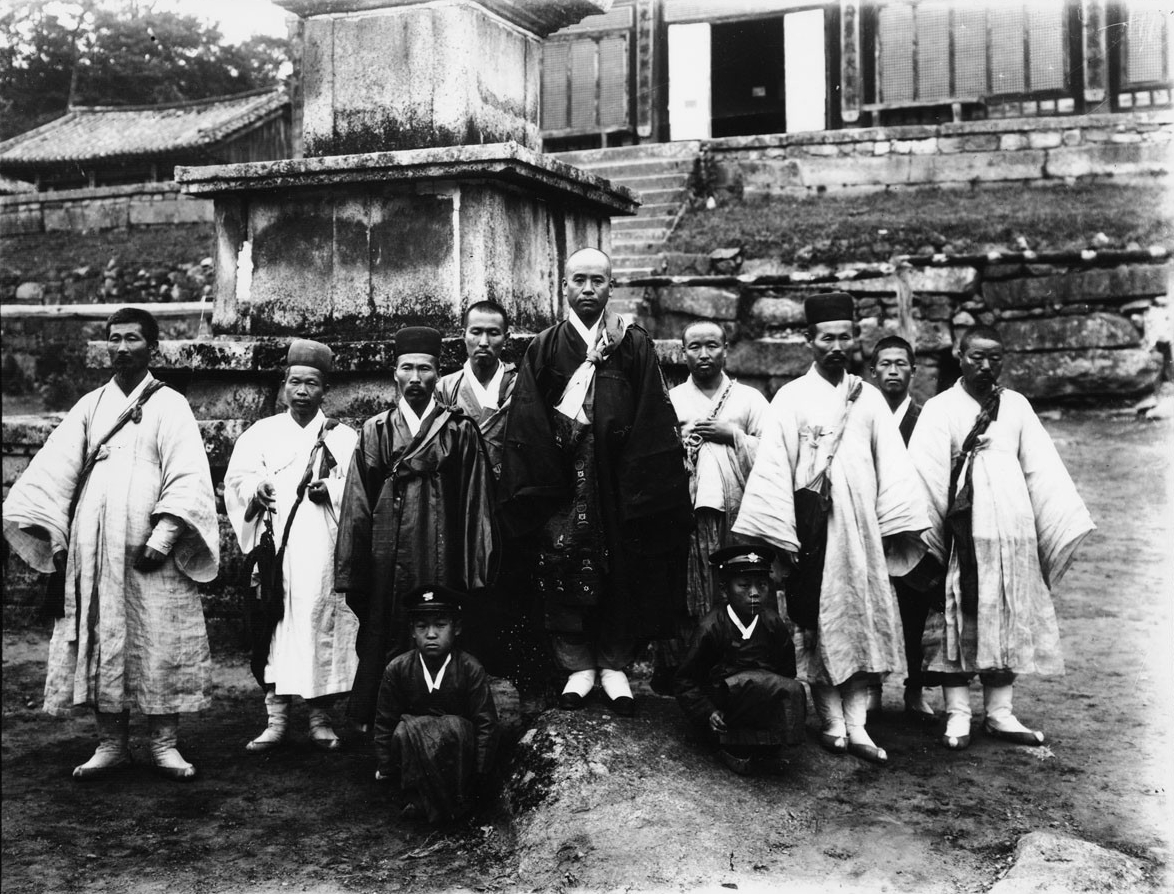
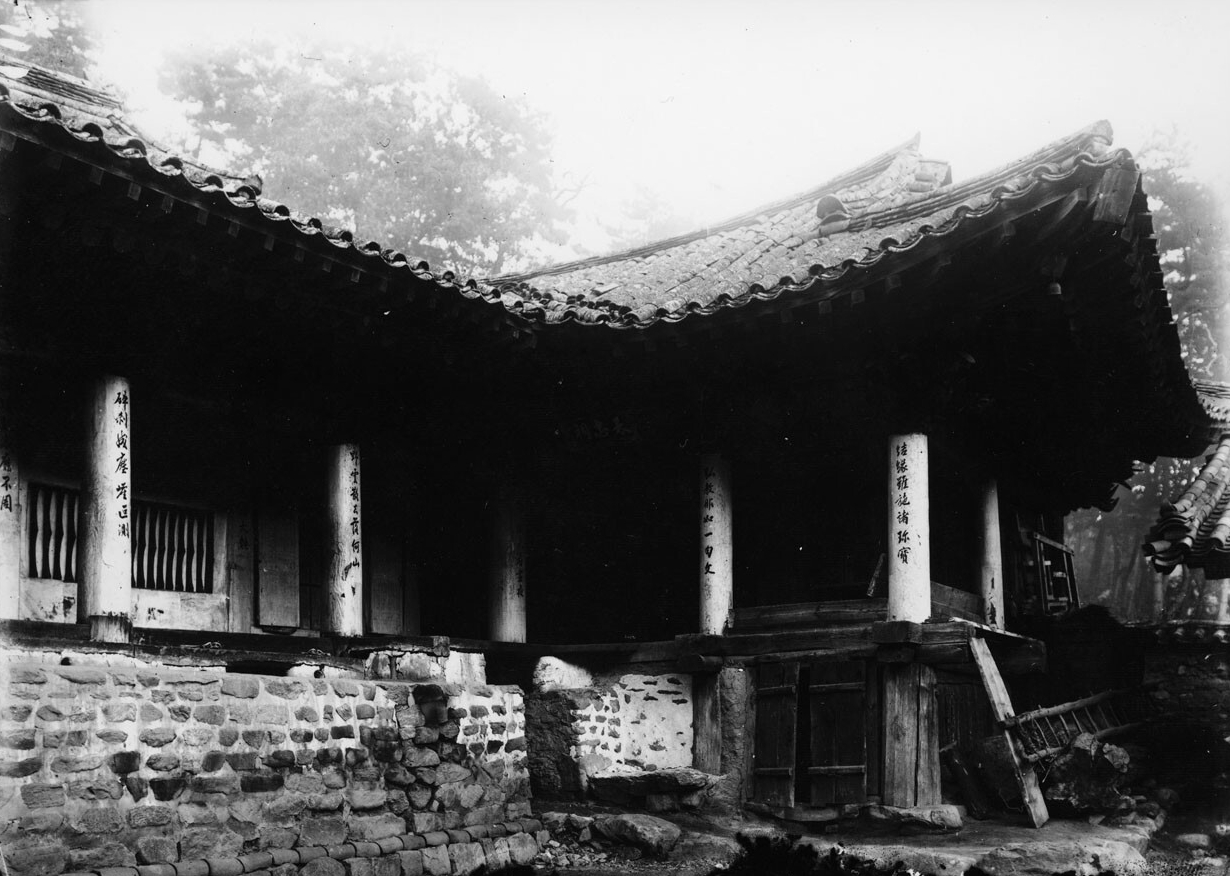
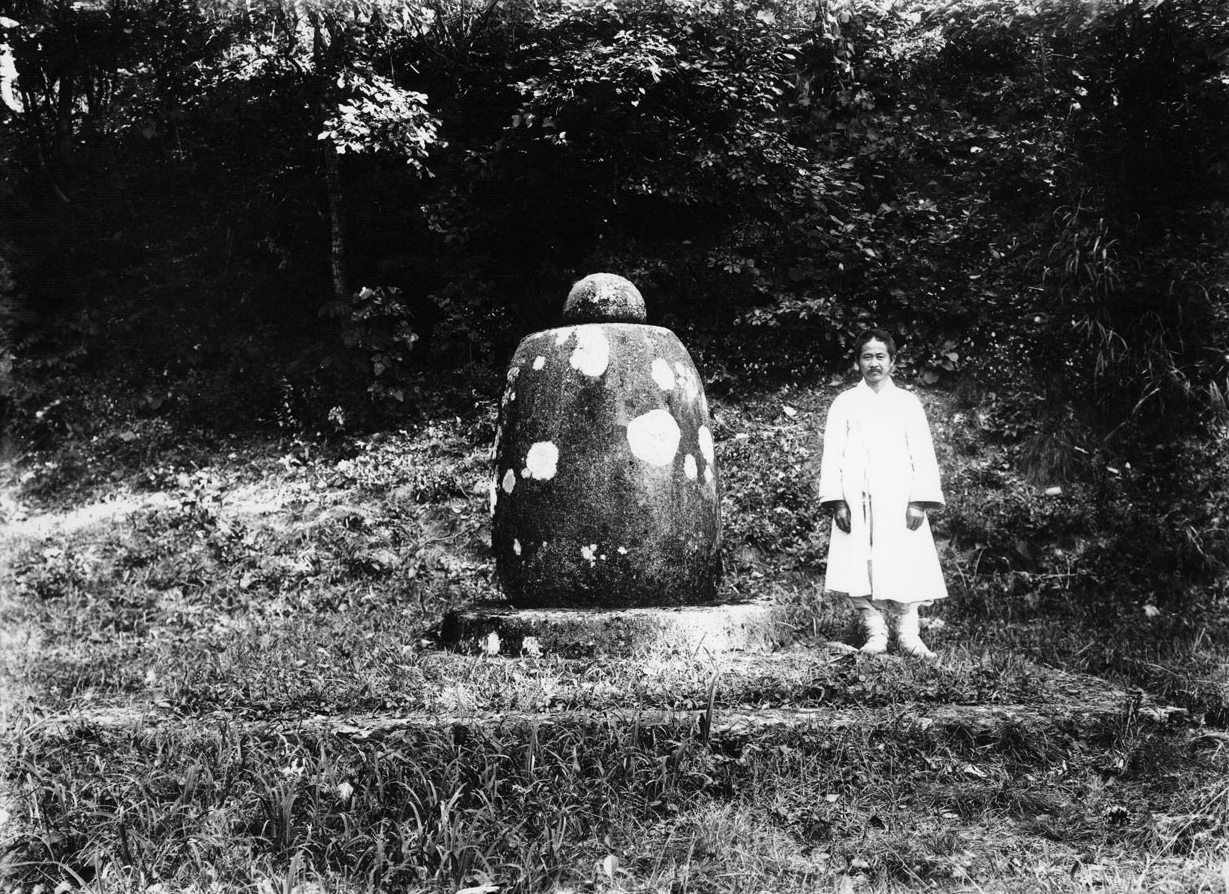
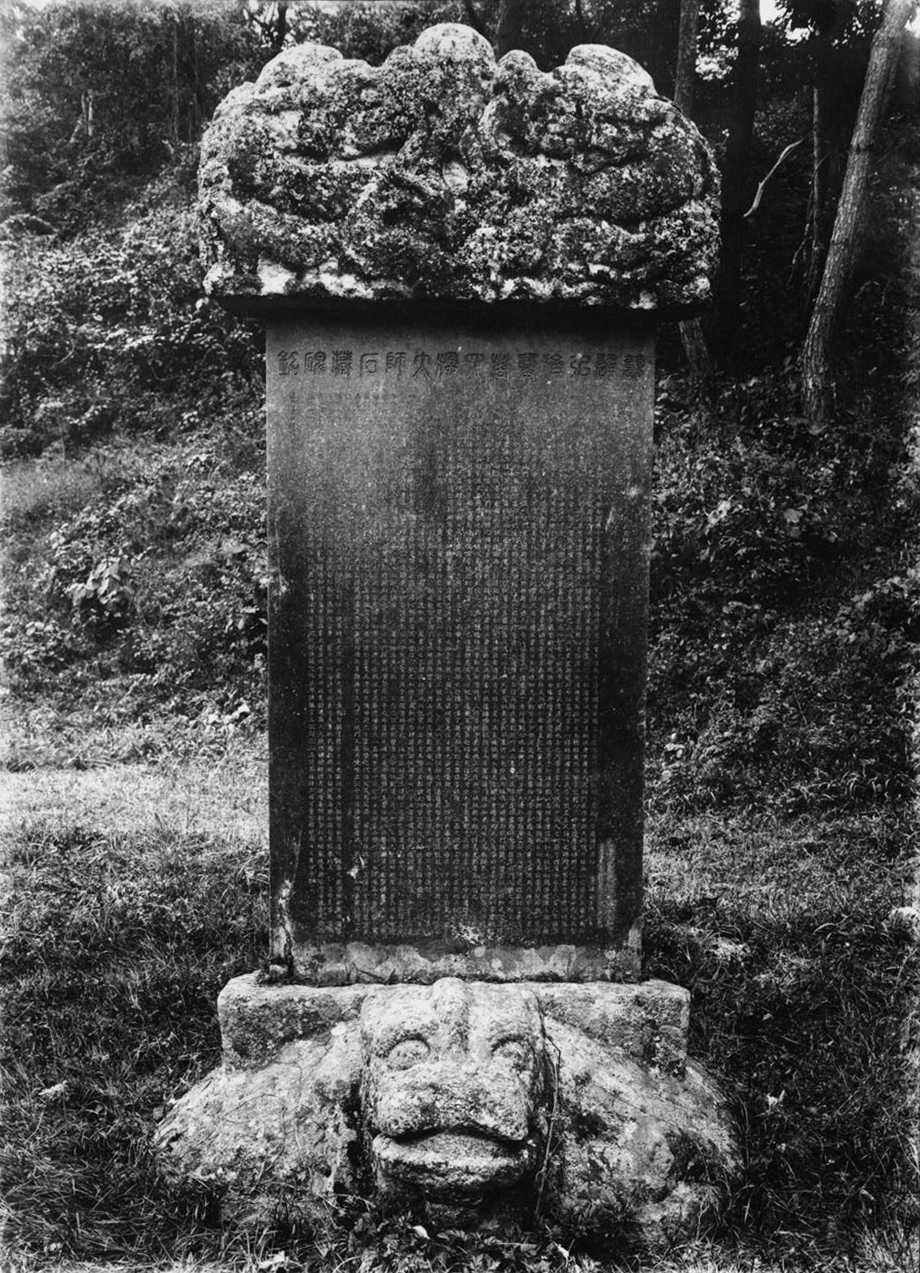
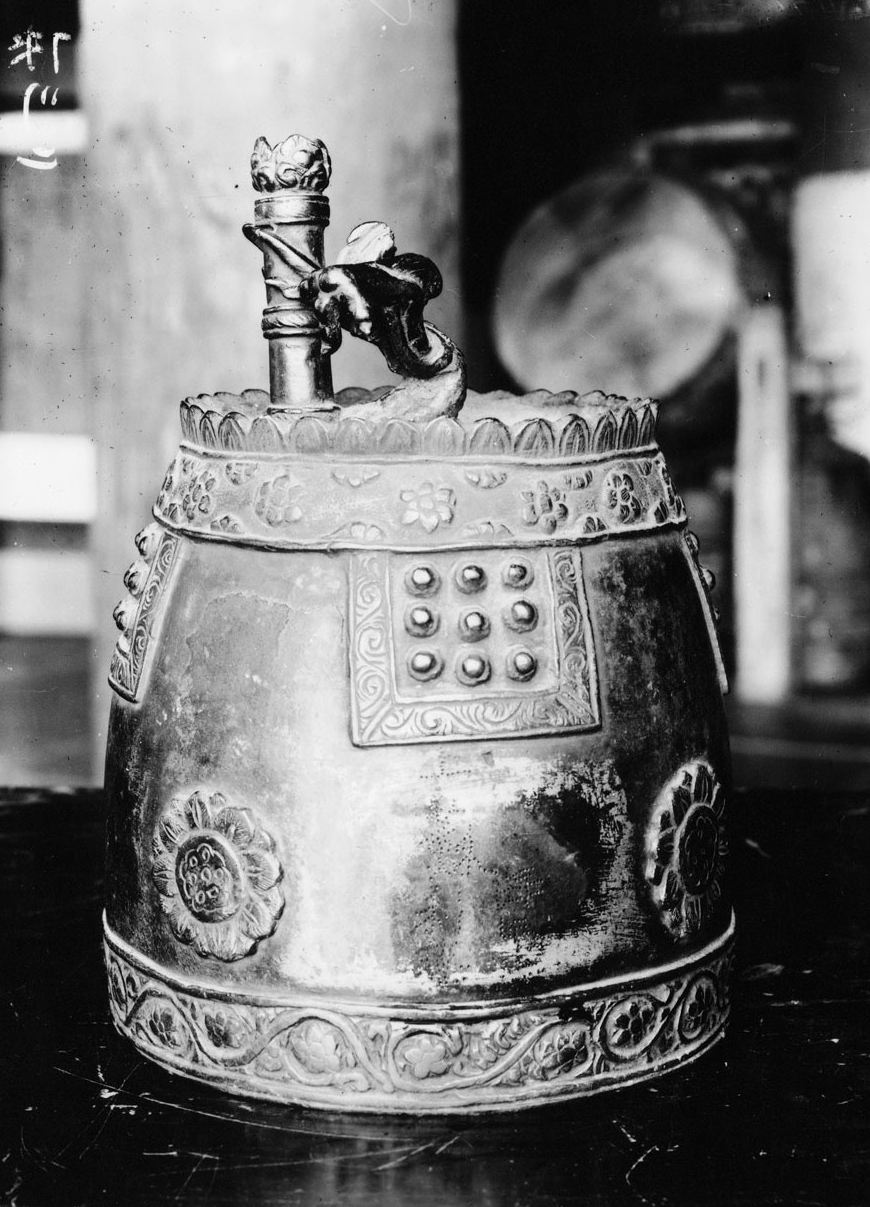
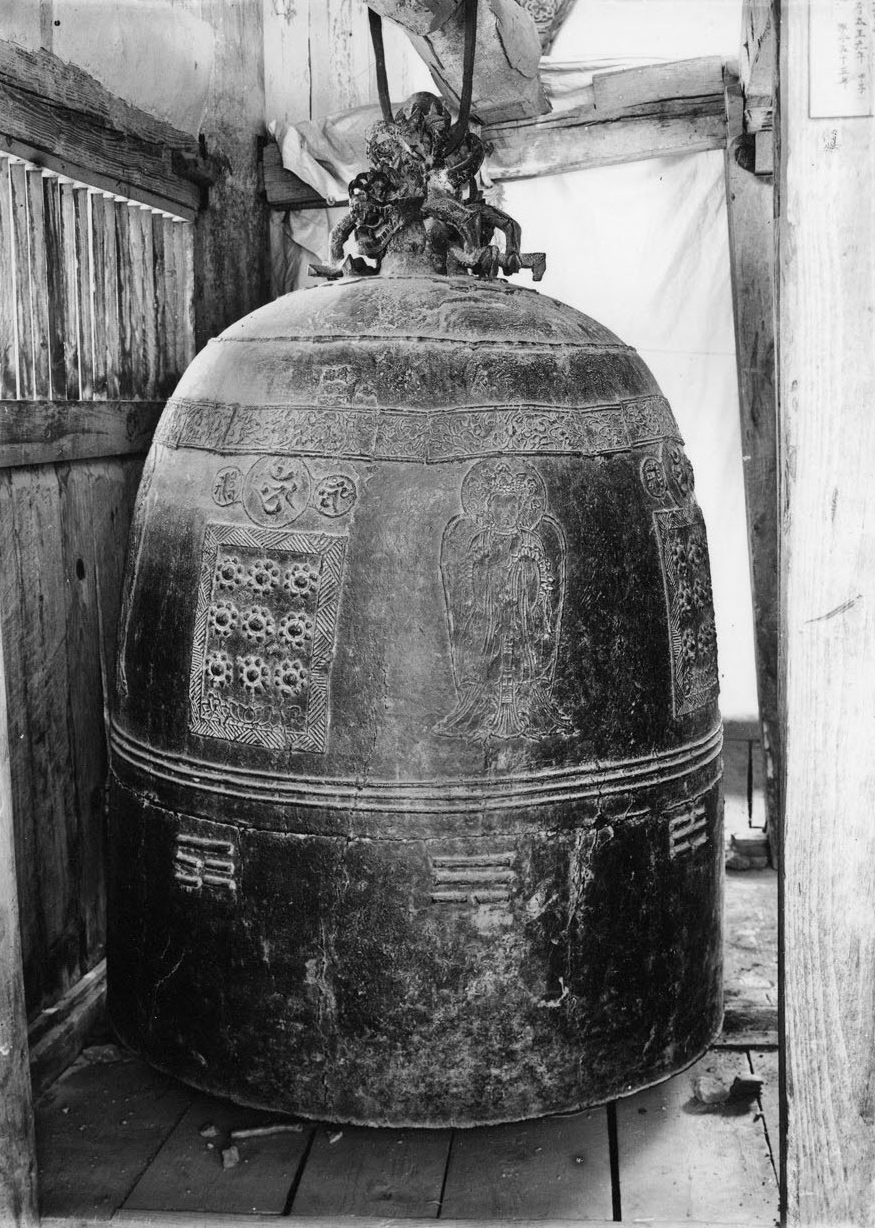
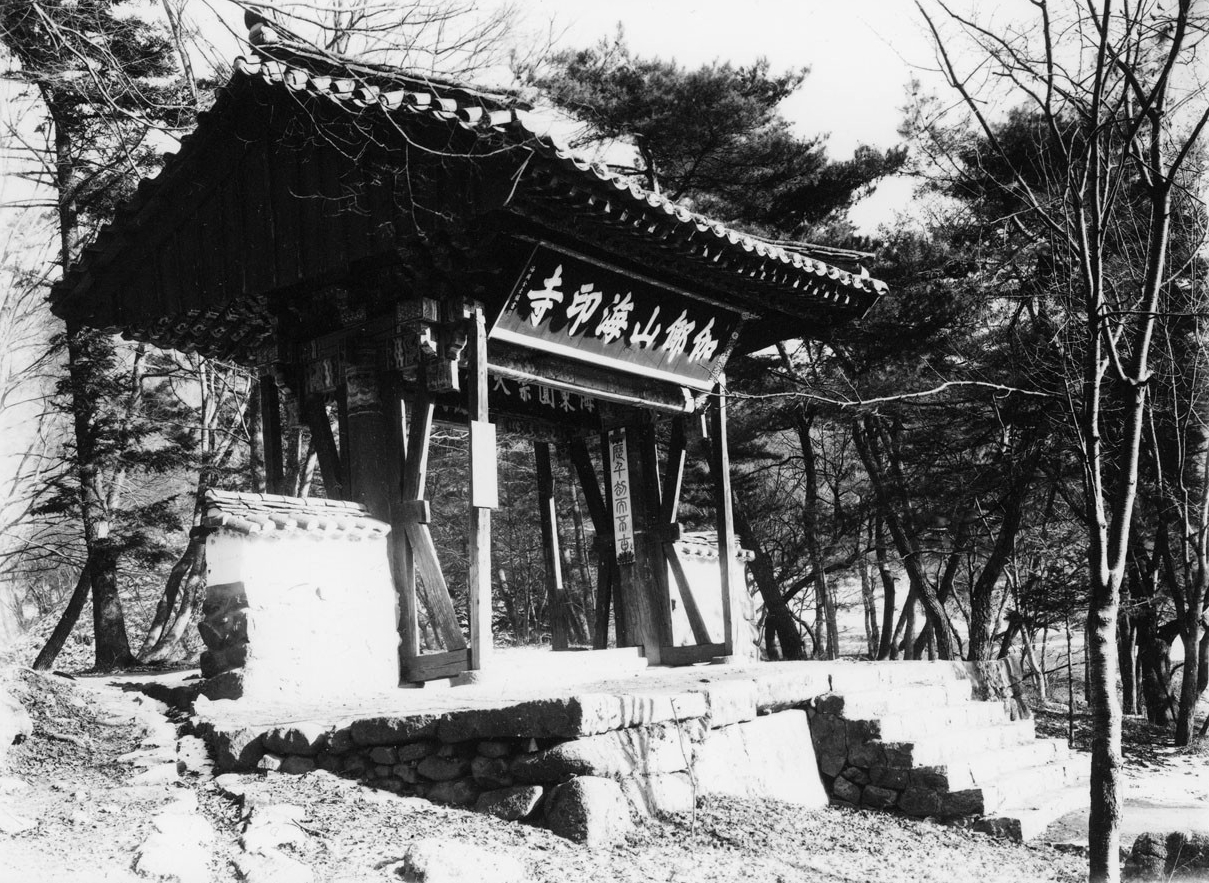
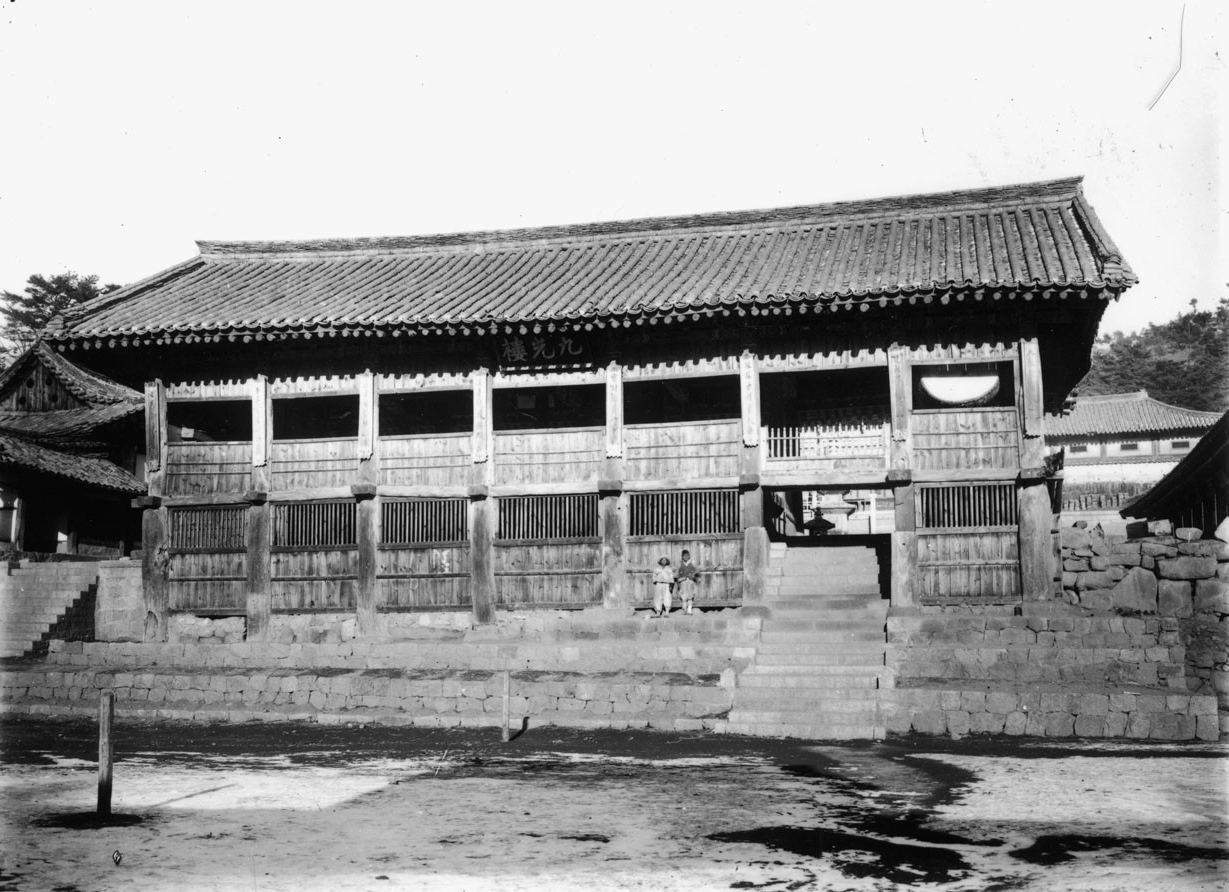
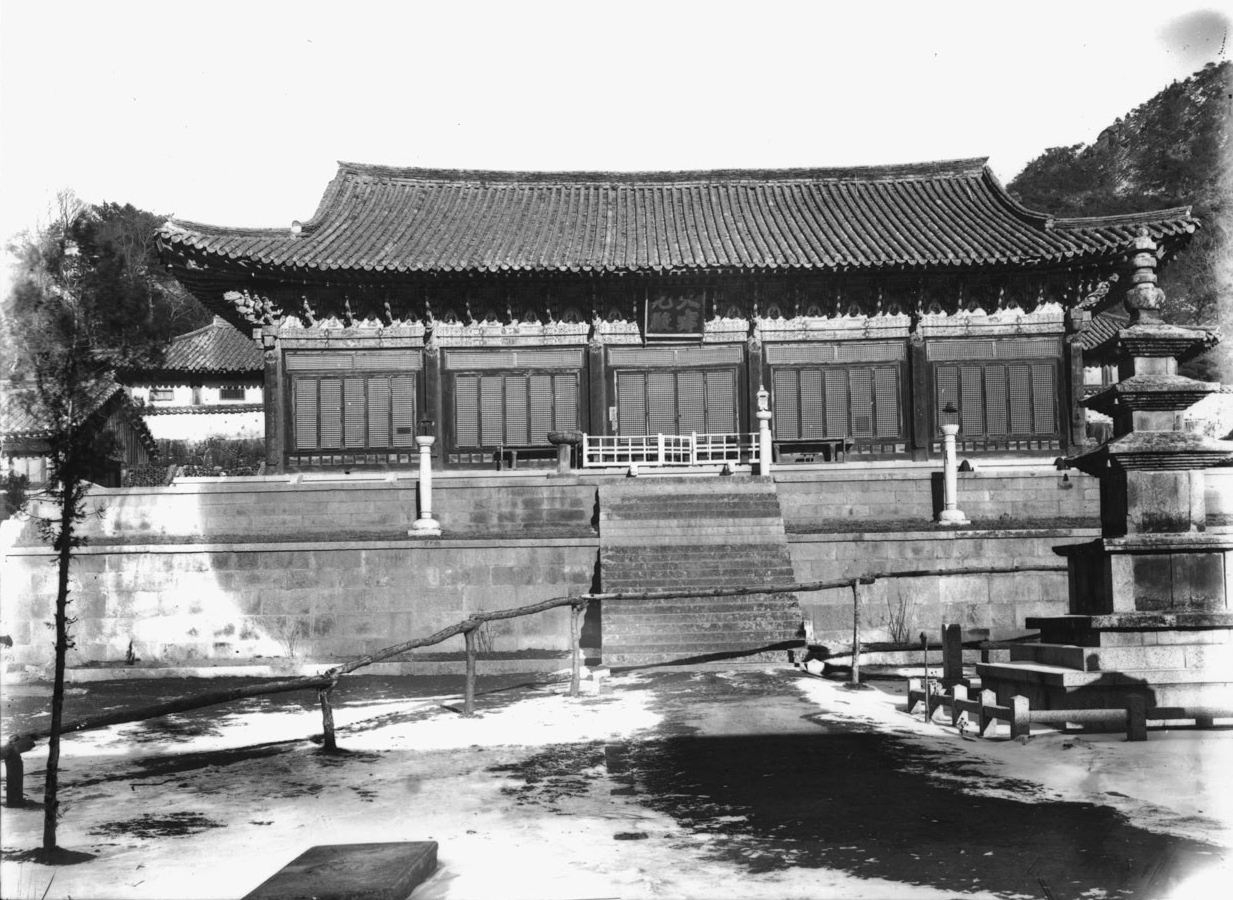
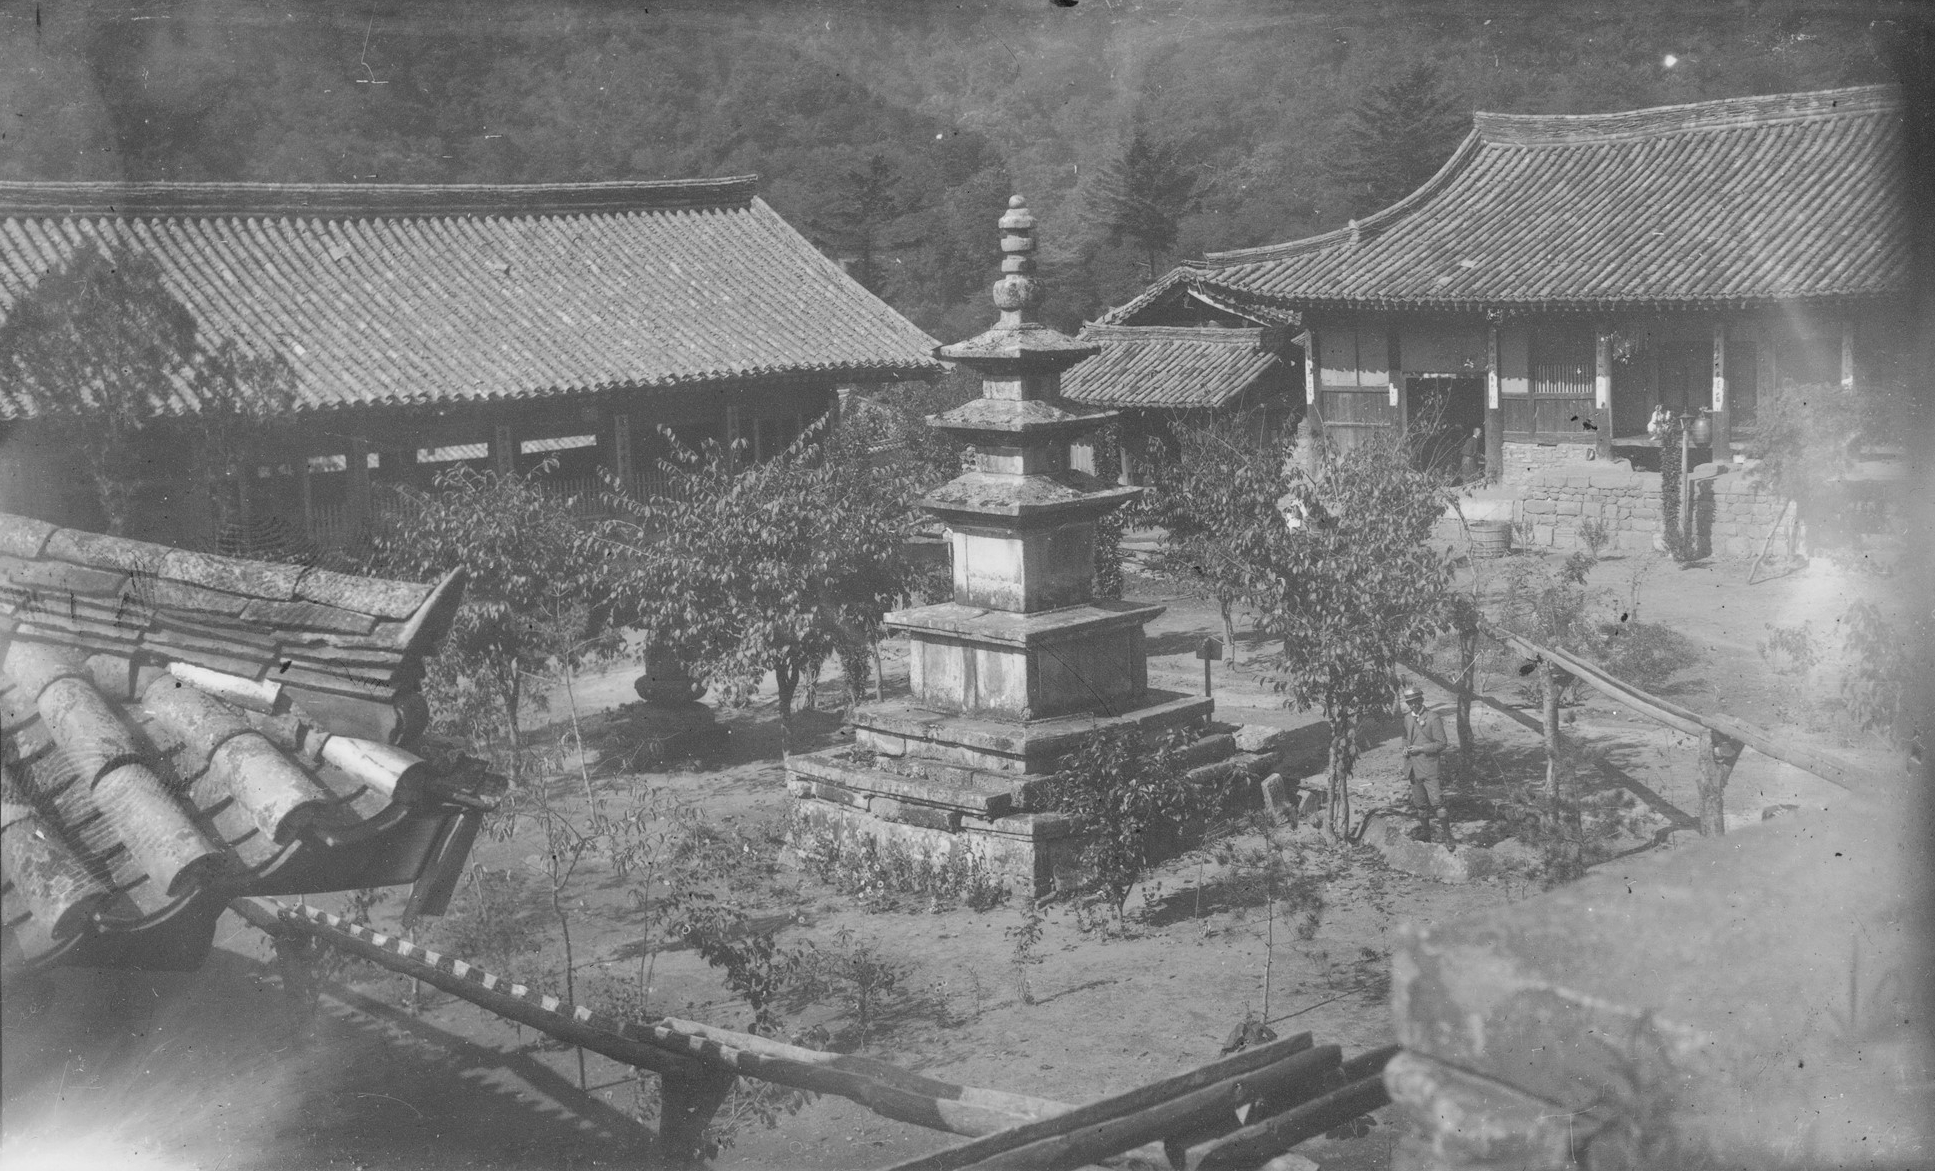
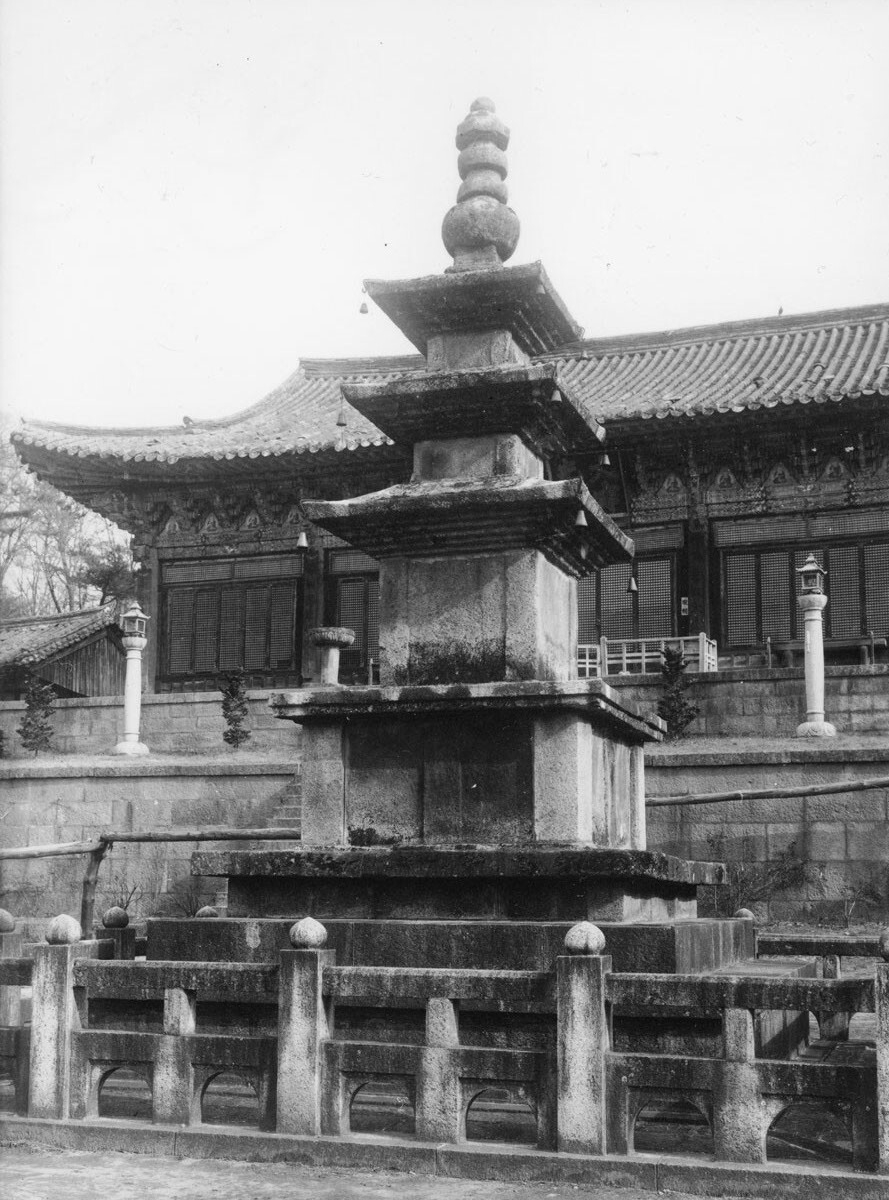
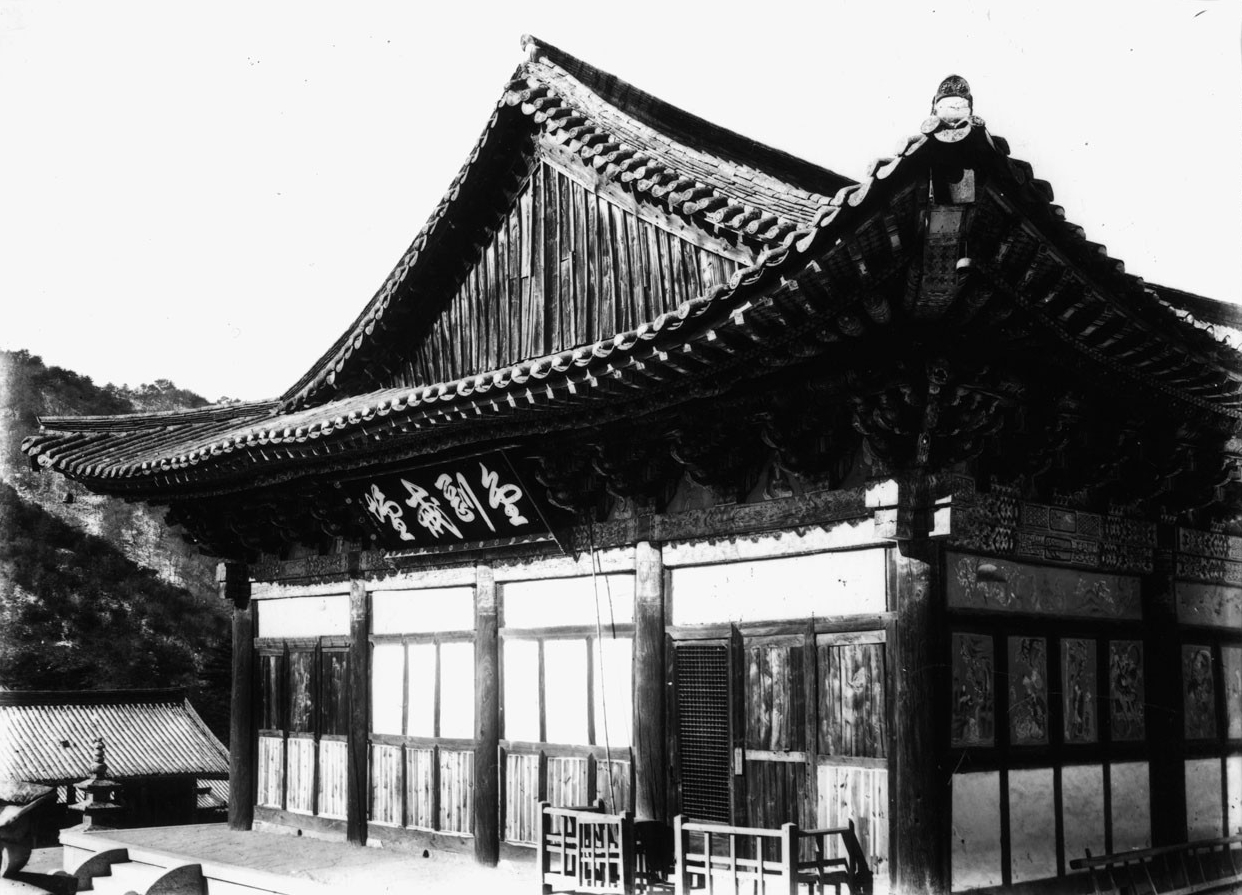
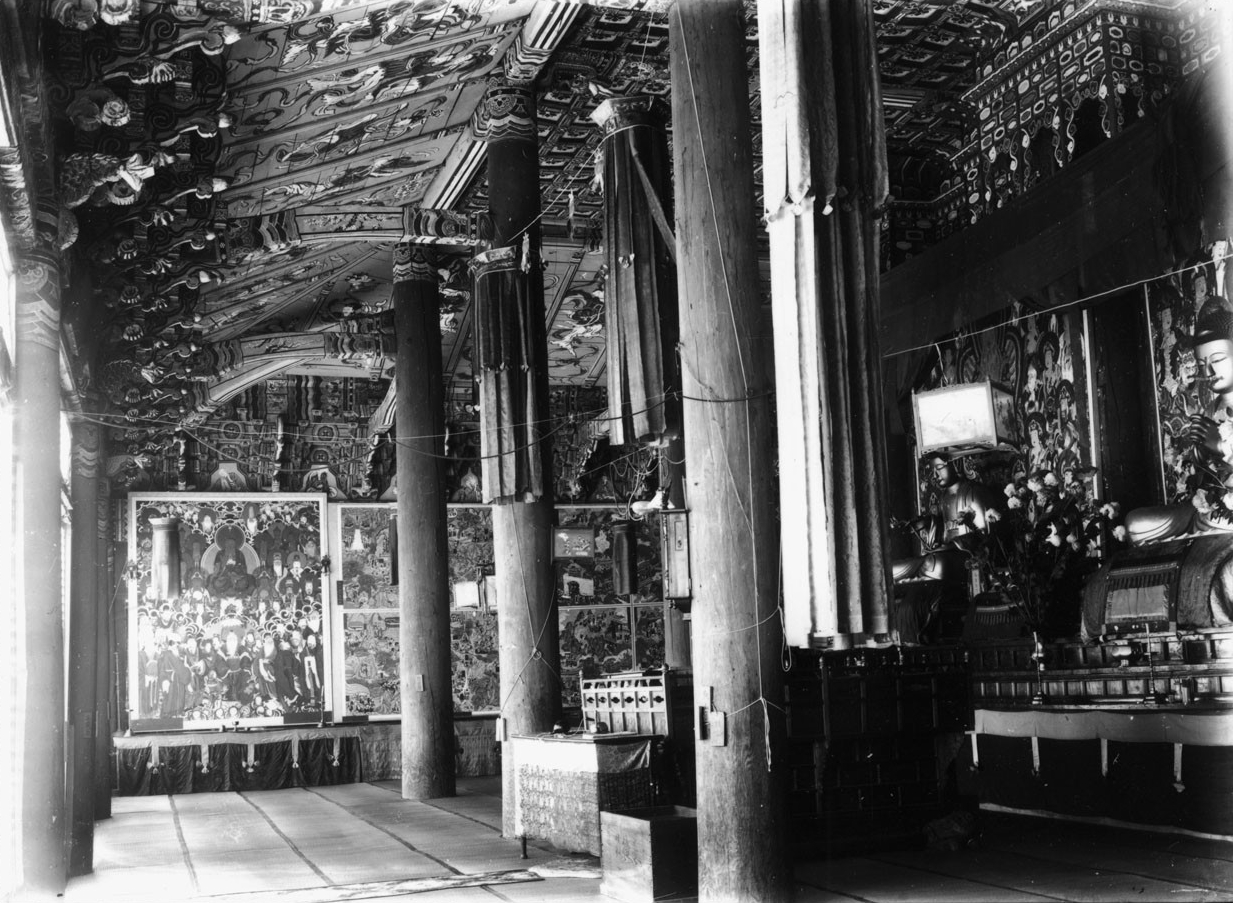
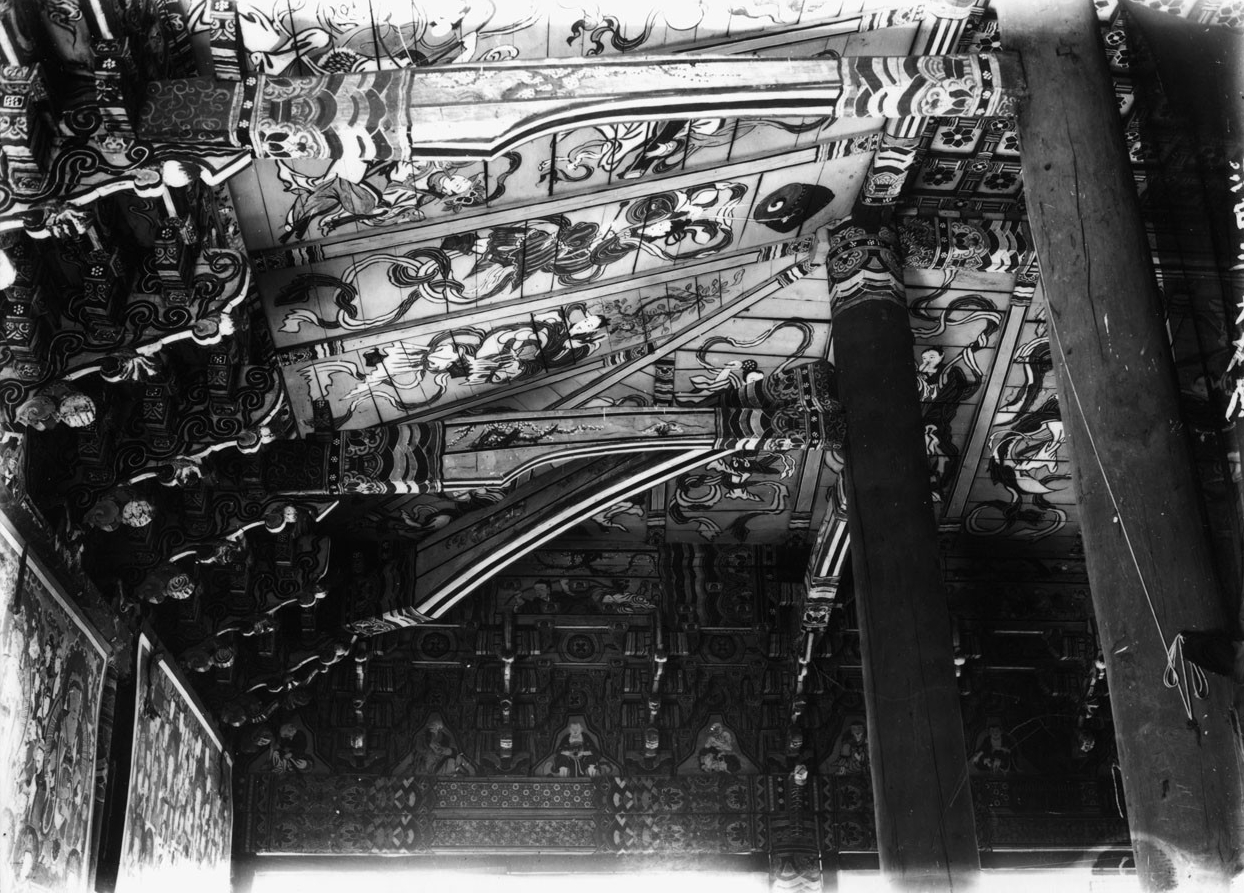
Pictures of Colonial Era Haeinsa Temple
1910


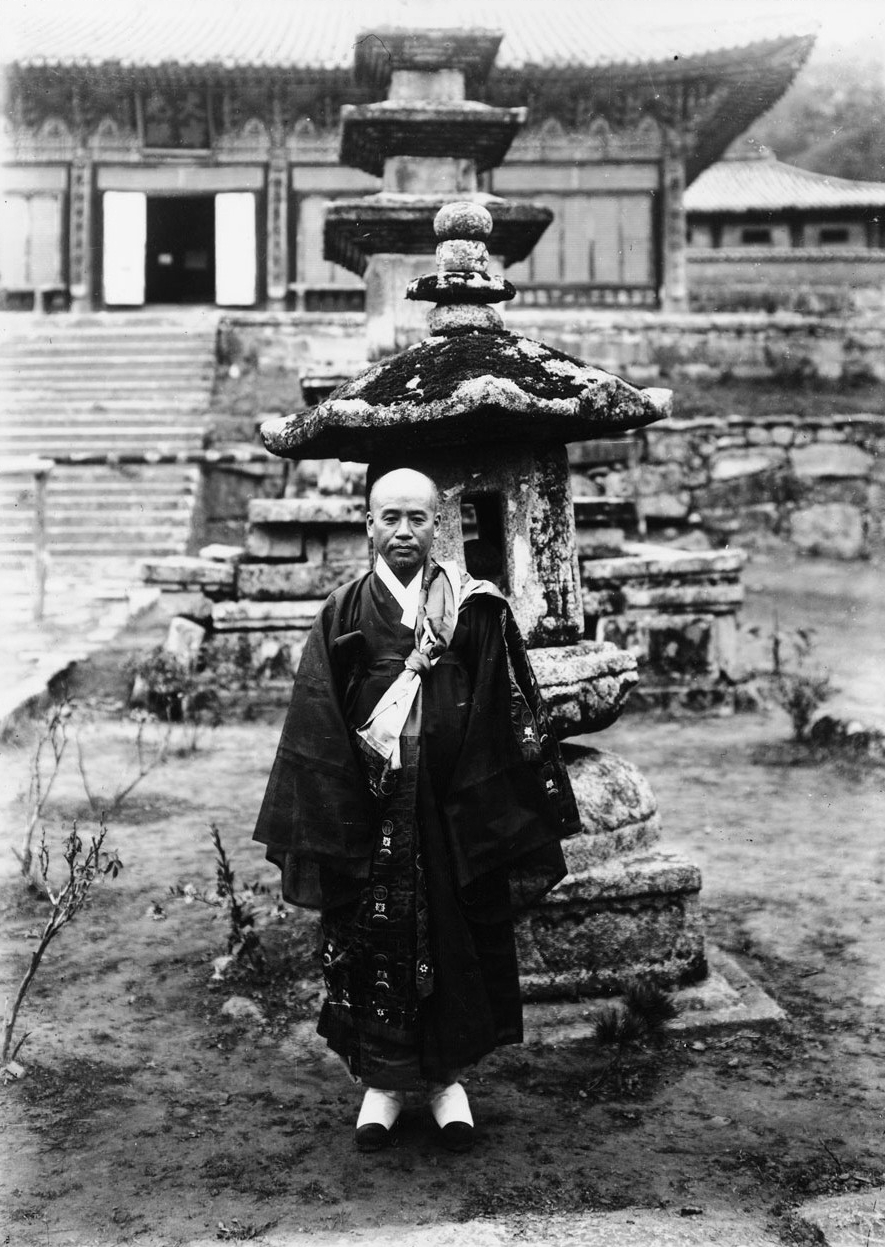
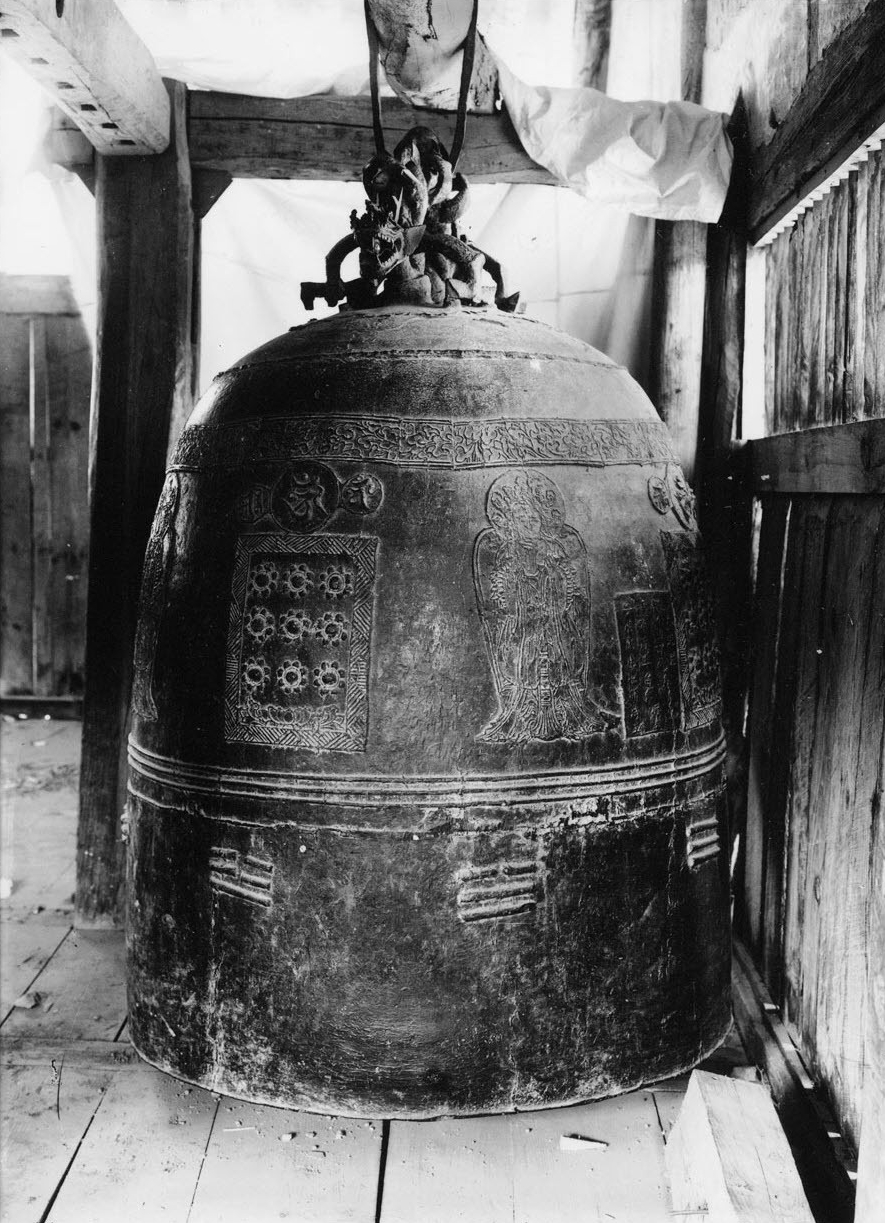
Pictures of Colonial Era Haeinsa Temple
1915
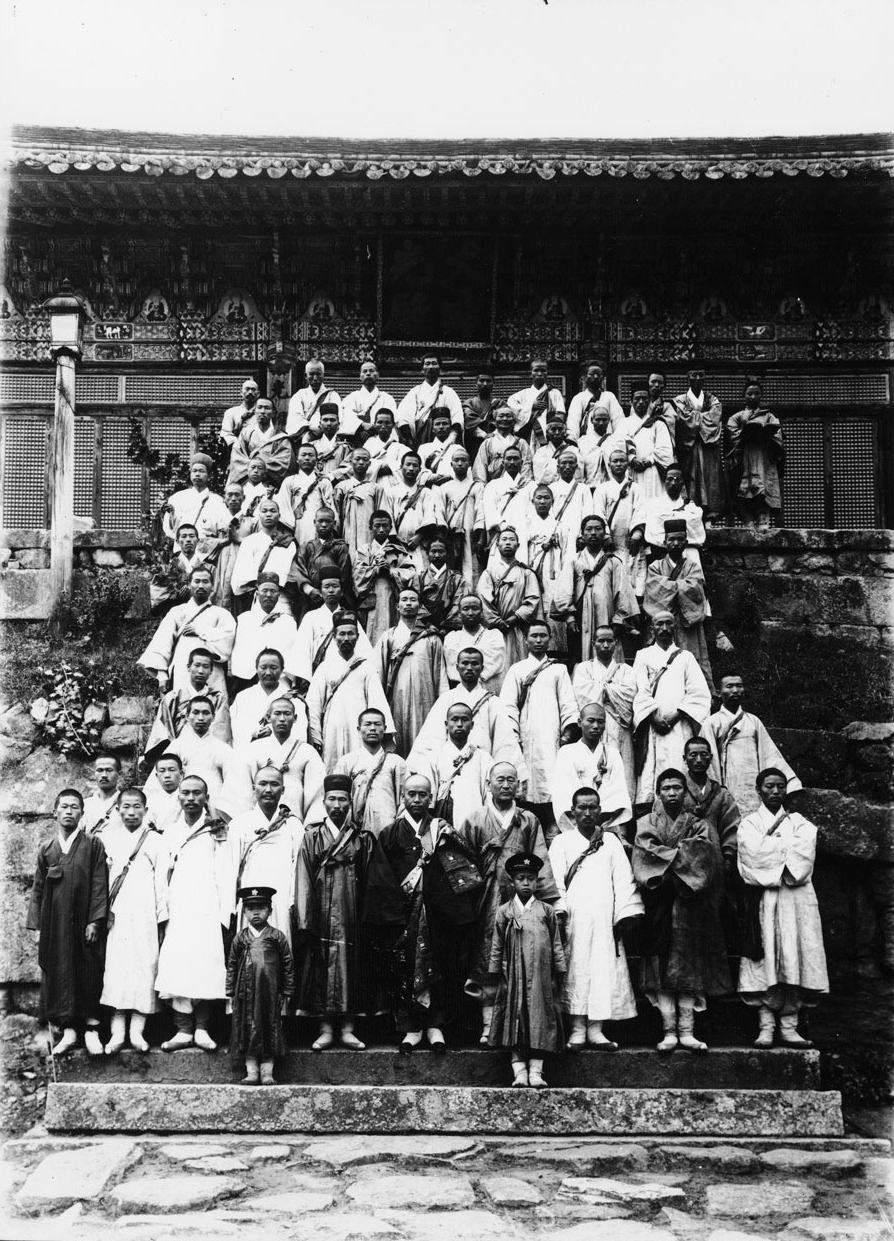
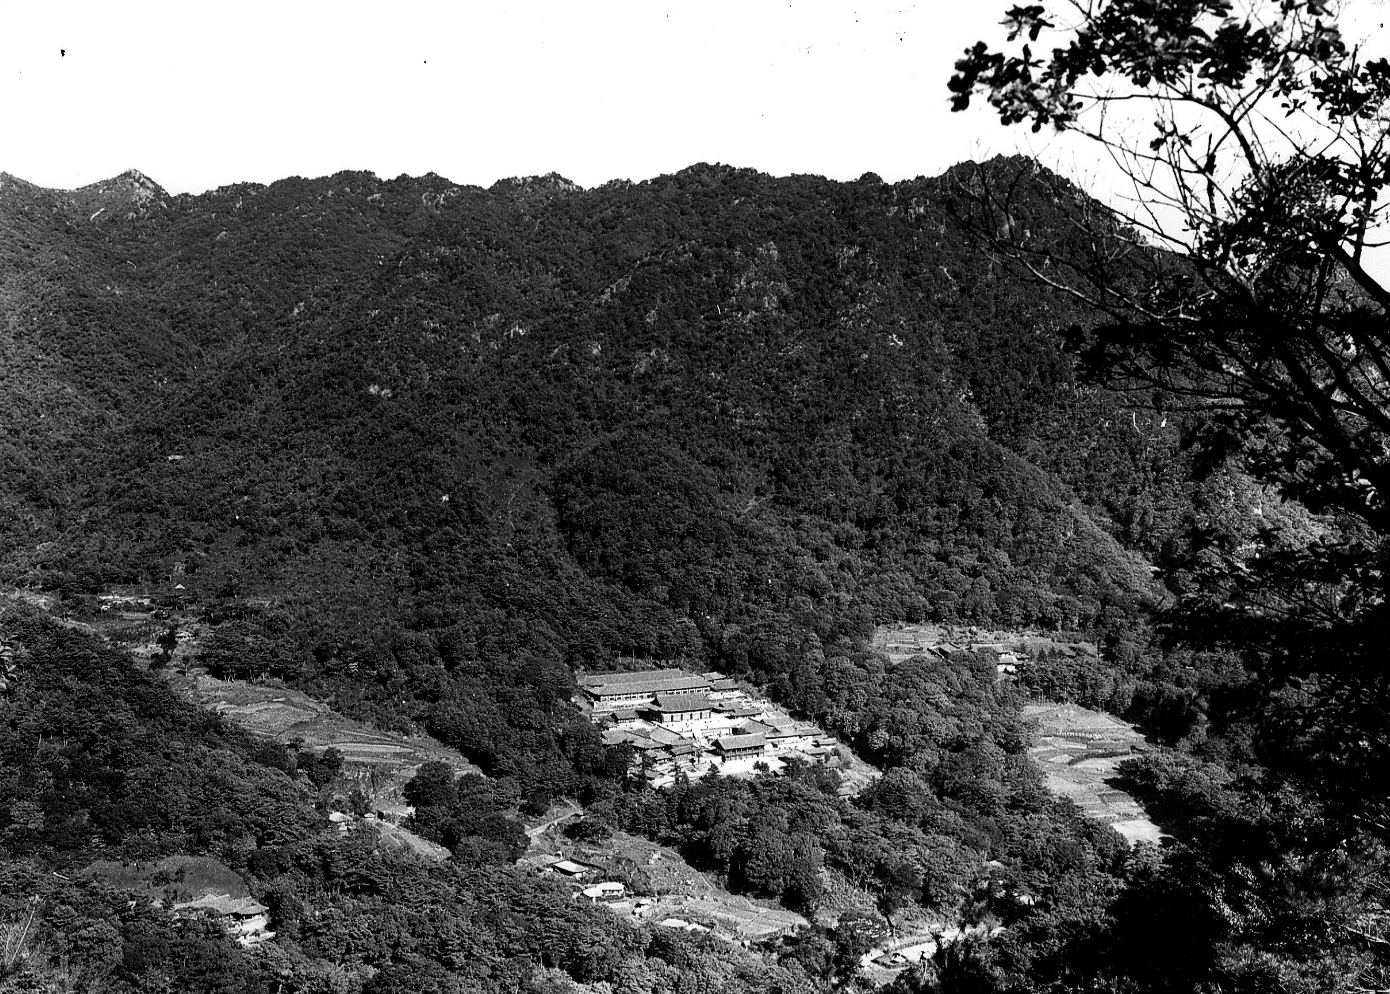
Pictures of Colonial Era Haeinsa Temple
1927
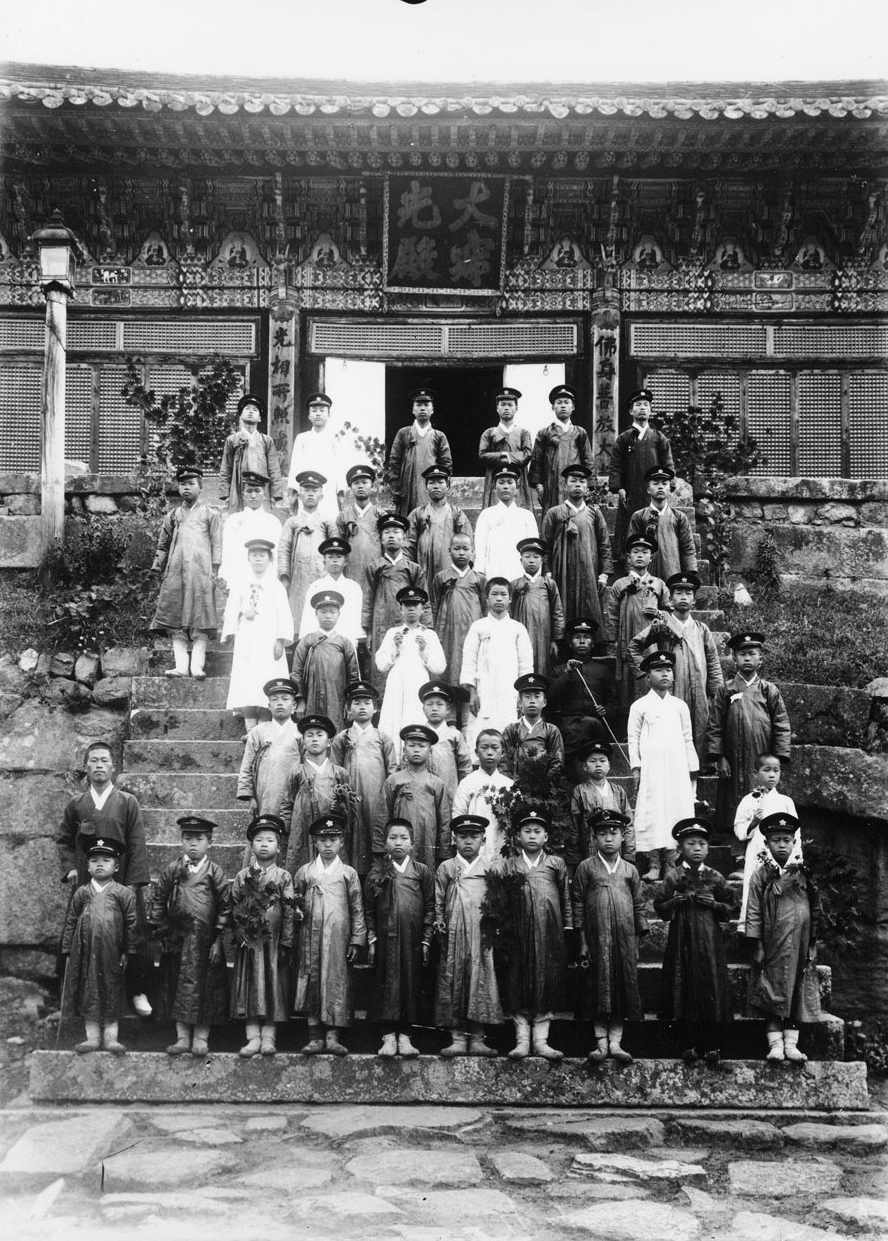
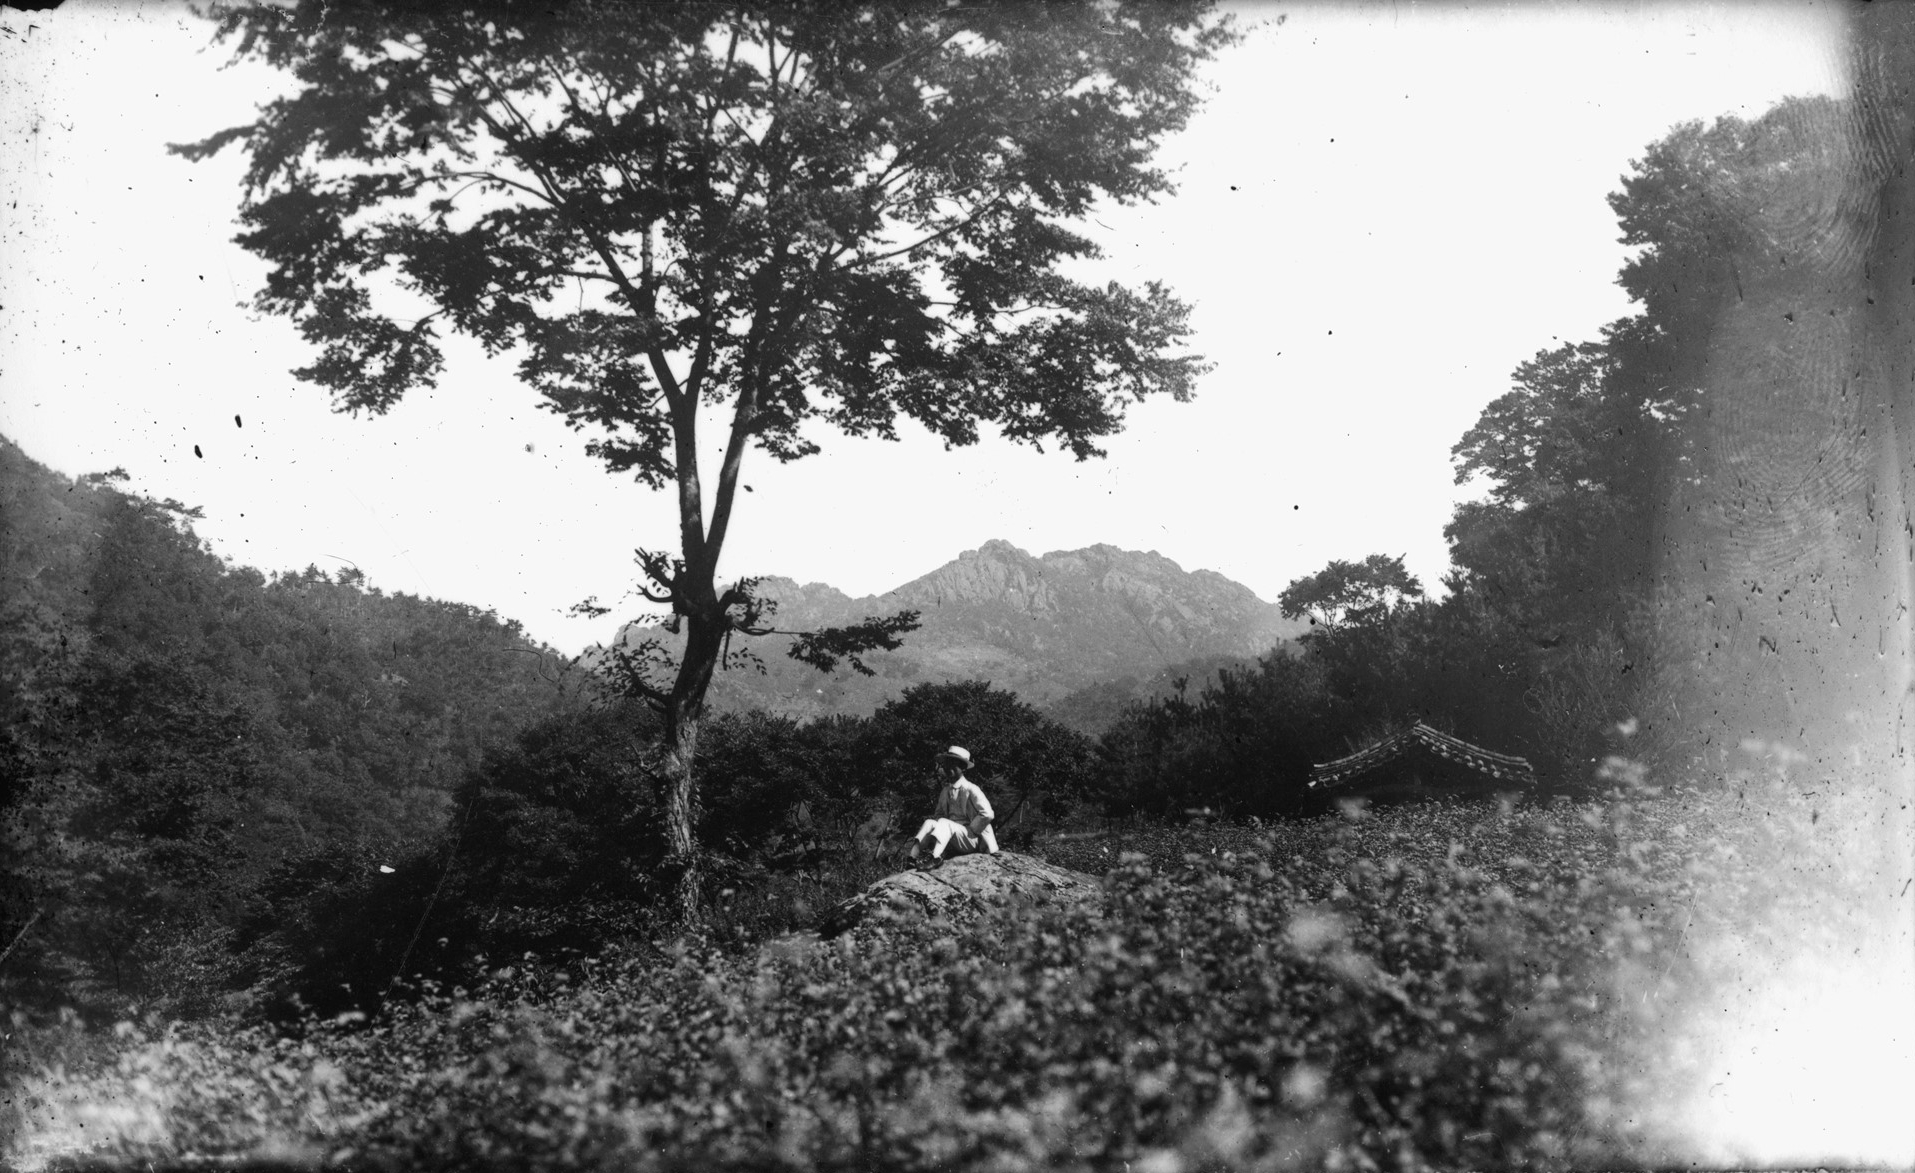
Pictures of Colonial Era Haeinsa Temple
1934


Pictures of Colonial Era Haeinsa Temple
1936
Pictures of Colonial Era Haeinsa Temple
Specific Dates Unknown (1909-1945)

Recent comments